Fujifilm Superia 400 Look on the Ricoh GR III: Complete Film Recipe Guide
If Kodak Gold is the sound of a summer afternoon, Fujifilm Superia 400 is the sound of the everyday — the green-leaning consumer film that filled drugstore fridges and powered a generation of point-and-shoots. It has a look all its own: vivid greens, electric blues, slightly cool shadows, and a punchy-but-believable color response that never tips into garish. The good news is that you can dial that exact character into your Ricoh GR III and shoot it straight out of camera, no scanning or Lightroom required.
In this guide, we'll break down a complete Fujifilm Superia 400 film recipe for the Ricoh GR III, explain why each setting earns its place, and share shooting tips to make the look really sing.
What Makes the Fujifilm Superia 400 Look
Before touching a single slider, it helps to know what you're actually chasing. Superia 400 is defined by a handful of unmistakable traits:
- A green-cyan bias, especially noticeable in foliage and shadows
- Vivid, saturated blues in skies and water
- Cooler shadows with a faintly cyan cast rather than warm Kodak shadows
- Strong but controlled saturation — colors pop without looking artificial
- A crisp, slightly contrasty rendering that still keeps highlights in check
Where Kodak stocks pull warm and golden, Superia leans the opposite direction: cooler, greener, more "Tokyo street at midday" than "golden hour in the suburbs." The Ricoh GR III's Image Control engine handles this beautifully, because its Positive Film base already has the punchy, slide-like color response we want to build on.
The Ricoh GR III Fujifilm Superia 400 Recipe
Head into MENU > Image Control on your Ricoh GR III and dial in the following:
| Setting | Value | |---|---| | Base | Positive Film | | Saturation | +2 | | Hue | -1 | | Key (Brightness) | 0 | | Contrast | +1 | | Contrast (Highlight) | -1 | | Contrast (Shadow) | +1 | | Sharpness | +2 | | Clarity | +1 | | Shading | +1 | | Toning | 0 | | White Balance | Color Temp (K) | | WB Value | 5400K | | WB Compensation | G3 / B2 |
The settings doing the heavy lifting here are white balance compensation and hue. The G3/B2 shift is the single most important move — it pushes the entire frame toward green and blue, which is exactly where Superia lives. The -1 hue nudges colors just enough to give greens that slightly synthetic, vibrant edge without poisoning skin tones.
The Positive Film base gives you Superia's snappy, saturated response, while +1 contrast with +1 shadow contrast keeps the image punchy and the shadows dense — but the -1 highlight contrast protects bright skies from clipping, which is critical for holding onto those electric Superia blues. A modest +2 saturation finishes the job without going neon.
Pro tip: it's all in the shadows
The fastest way to spot a fake Superia recipe is warm shadows. Real Superia 400 renders shadows slightly cool and cyan. That's why this recipe leans on white balance compensation rather than just cranking saturation. If your results look too warm, push the B (blue) compensation one more step before touching anything else — it's the difference between "generic film filter" and "that's Superia."
Best Conditions for the Superia Look
This recipe rewards certain light, and knowing when to reach for it makes all the difference.
Bright overcast and open shade
Superia 400 was built to be shot in everyday light, and it shines in flat, bright-overcast conditions. The cool shadows and green bias read as natural here, and the GR III's APS-C sensor keeps noise invisible at the ISO 400–800 you'll typically be using. This is the sweet spot.
Midday daylight
Counterintuitively, harsh midday sun — the light most "film look" recipes hate — is where Superia feels most authentic. The deep shadows, saturated colors, and crisp contrast all play to its strengths. Point the Ricoh GR III at a colorful storefront or a blue-sky cityscape and the recipe does the rest.
Greenery and water
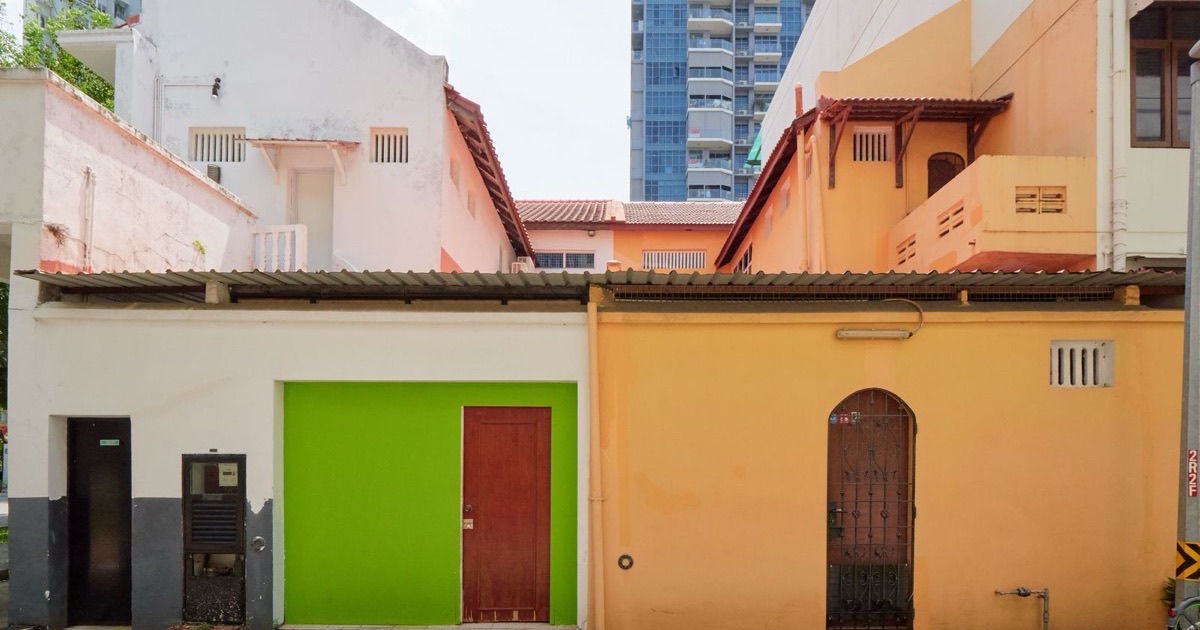
Anything with foliage, parks, or water is tailor-made for this recipe. The green-cyan bias makes leaves glow and turns ordinary blue skies into something postcard-vivid. It's the reason Superia became the unofficial film of travel snapshots.
Shooting Tips to Sell the Film Feeling
A recipe is only half the picture. A few habits will push your Ricoh GR III files from "digital with a filter" to "genuinely filmic":
- Shoot at ISO 400 as your baseline. Superia 400 is a 400-speed film, and locking the GR III to ISO 400 (or Auto with a 400 floor) gives you a consistent, period-correct grain and exposure feel.
- Expose for the highlights. Slide-style film clips fast in the highlights, so dial in -0.3 to -0.7 EV to protect skies and bright walls. The dense shadows are part of the look.
- Lean into color. This recipe is wasted on muted scenes. Hunt for primary colors — red doors, green hedges, blue signage — exactly the kind of subject the GR III's 28mm field of view frames so well.
- Add a touch of grain in post if you want it. The recipe is clean straight out of camera; a light grain overlay is the final 5% if you're chasing a true scanned-negative finish.
Save It to a User Mode
Don't re-enter thirteen settings every time you want the look. Save the recipe to one of the Ricoh GR III's User modes (U1, U2, U3) so Superia 400 is a single dial-click away. Pair it with Snap Focus at 2.5m and you've effectively rebuilt the zone-focus point-and-shoot that Superia was made for — which is rather the point.
If you'd rather skip the menu-diving entirely, our Fuji Superia Summer preset packages a ready-to-shoot version of this aesthetic — including the camera screenshot — so you can copy it in under a minute and get straight to shooting.
Final Thoughts
Fujifilm Superia 400 is proof that a "consumer" film can have just as much character as any premium stock. Its cool, green-leaning, vividly saturated look is unmistakable, and the Ricoh GR III is the ideal camera to recreate it — pocketable, sharp, and built around the same grab-and-shoot spirit. Dial in the recipe, save it to a User mode, and go find some color.
Want more film looks for your Ricoh GR III? Browse our full collection of GR III preset recipes — each one tuned to nail a classic film stock straight out of camera.