Ricoh GR III Indoor & Available Light Photography: Settings, Tips, and Best Recipes
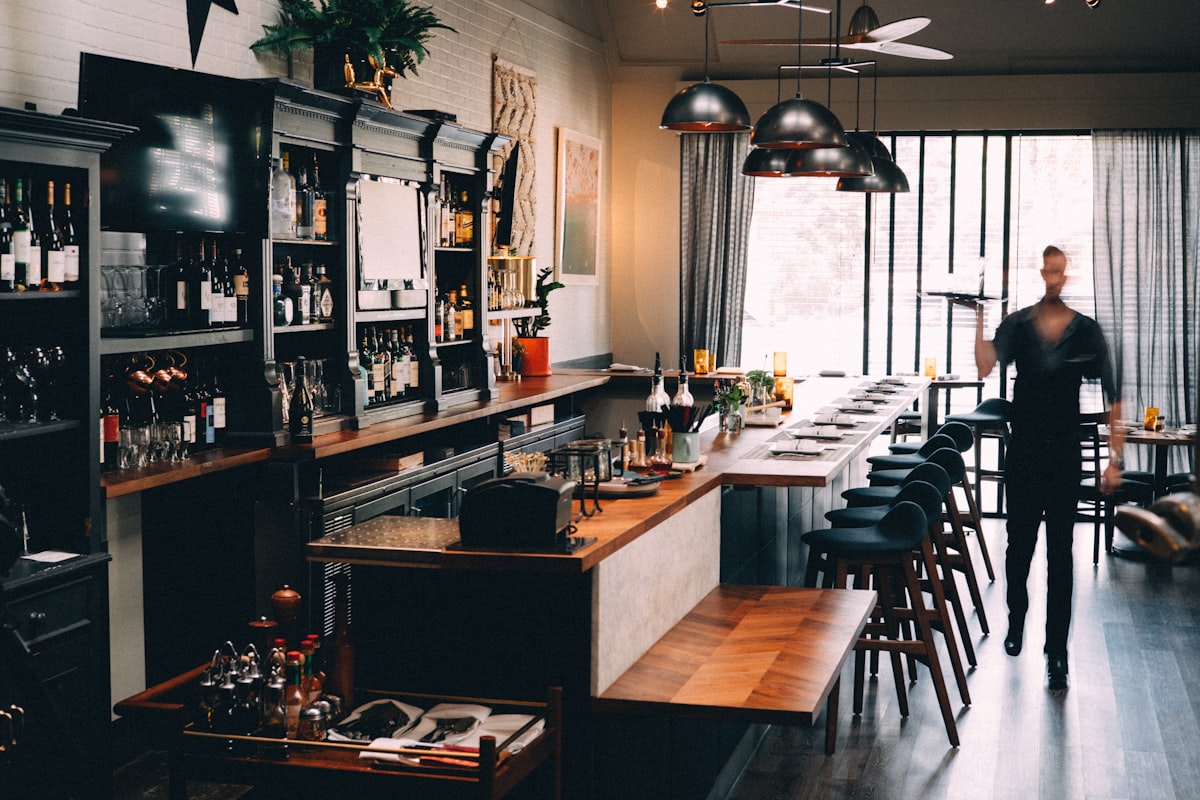
Shooting indoors with only available light is one of the most rewarding challenges in photography. No flash, no studio setup -- just you, your Ricoh GR III, and whatever light the room provides. Whether you are capturing the warm glow of a restaurant, the soft diffused light of a museum gallery, or the intimate atmosphere of a living room, the GR III is exceptionally well-suited for this kind of work.
This guide covers the settings, recipes, and techniques you need to consistently produce beautiful indoor photographs using nothing but the light that is already there.
Why the Ricoh GR III Excels Indoors
The GR III has several advantages that make it an ideal indoor available-light camera:
- Compact and discreet -- no one notices you shooting, which means natural expressions and unguarded moments in restaurants, cafes, and events
- APS-C sensor delivers clean files at high ISO, critical when you cannot add your own light
- f/2.8 wide open gathers enough light for most indoor situations without pushing ISO to extremes
- 28mm equivalent focal length is wide enough to capture interiors and environmental context without distortion
- Silent shutter mode eliminates the click of a mechanical shutter, letting you shoot in quiet spaces like galleries, libraries, and ceremonies
- 3-axis Shake Reduction gives you 2-4 extra stops of handheld stability at slow shutter speeds
Essential Camera Settings for Indoor Available Light
Shooting Mode: Aperture Priority
For most indoor available-light work, Aperture Priority (Av) is the most practical mode. Open up to f/2.8 and let the camera select the shutter speed. This gives you maximum light gathering while maintaining quick reaction time as you move between different lighting conditions within a space.
Switch to Manual mode (M) when the lighting is consistent and you want precise control -- for example, shooting next to a large window where the light does not change.
ISO Strategy
Indoor available light almost always means higher ISO than outdoor shooting. Navigate to MENU > Shooting Settings > ISO Sensitivity and configure:
- Auto ISO with a range of ISO 200-6400 is the most versatile approach. Set the minimum shutter speed to 1/40s for general shooting or 1/60s if your subjects are moving.
- Fixed ISO 1600 works well in moderately lit interiors like restaurants and well-lit homes.
- Fixed ISO 3200 is appropriate for dimmer environments like bars, theaters, and evening events.
The GR III produces very usable files at ISO 3200 and acceptable results at ISO 6400. Do not hesitate to use these settings -- a sharp photo with some grain is always better than a blurry photo at low ISO.
White Balance for Mixed Indoor Lighting
Indoor environments almost always have mixed light sources -- tungsten overhead lights, daylight from windows, LED accent lighting, candles. Auto white balance handles most situations reasonably well, but consider these alternatives:
- CTE (Color Temperature Enhancement) preserves and slightly exaggerates the warm tones of indoor lighting, which usually looks more natural than a neutral correction
- Manual Kelvin at 3200K gives a warm but controlled look under tungsten and warm LED lighting
- Daylight (5200K) preserves the full warmth of artificial indoor light as your eye actually sees it
- AWB works best when you are moving between rooms with different light sources and need the camera to adapt automatically
Focus Settings for Indoors
Indoor environments can challenge autofocus due to lower contrast and busy backgrounds.
Single-point AF gives you precise control over what the camera locks onto. Resize the AF point to its smallest setting for accuracy in cluttered scenes.
Snap Focus at 1.5m is excellent for indoor events and candid moments. At f/2.8 and 1.5 meters, your subject will be sharp and the background will fall into a pleasant blur. This distance is natural for indoor interactions.
Snap Focus at 2.5m works better for capturing wider interior scenes where your subjects are slightly further away.
Touch AF is useful when composing carefully -- tap the screen on your subject and let the camera handle the rest.
Metering Mode
Switch to Center-weighted metering for indoor shooting. Spot metering can be thrown off by bright windows or dark walls, and multi-segment metering sometimes overexposes to compensate for large dark areas in the frame. Center-weighted provides the most predictable exposures in mixed indoor lighting.
Use exposure compensation of -0.3 to -0.7 EV as a general starting point. Slight underexposure preserves highlight detail in bright windows and light fixtures, and the resulting moodier look often suits indoor photography better than a technically "correct" exposure.
Best Preset Recipes for Indoor Available Light
Warm Interior
This recipe enhances the natural warmth of indoor spaces. Set white balance to CTE or manual Kelvin at 3500K. Push saturation to +1 to enrich the warm amber and golden tones that characterize most indoor lighting. Set contrast to +1 for slightly deeper shadows that add depth to the scene. Keep sharpness at standard. This look is ideal for restaurants, homes, and any space lit primarily by warm artificial light.
Soft Window Light
Designed for scenes lit by natural daylight through windows. Set white balance to Daylight to keep the light neutral and clean. Reduce contrast to -1 for a softer, more gentle rendering that complements the diffused quality of window light. Keep saturation at 0 or -1 for a muted, editorial aesthetic. Increase sharpness by +1 to maintain crisp detail in the soft, even lighting. This recipe excels in studios, bright apartments, and gallery spaces.
Moody Available Light
For atmospheric, low-key indoor shots where shadows dominate. Set contrast to +3 to push shadows toward black and create dramatic light-to-dark transitions. Reduce saturation to -1 so colors remain restrained and do not compete with the interplay of light and shadow. Set white balance to Tungsten for a slightly cool undertone that contrasts with warm light sources in the frame. This recipe works beautifully in bars, theaters, dimly lit corridors, and evening interiors.
Indoor Film Emulation
Emulate the look of high-speed color film pushed one or two stops. Set saturation to +1 and contrast to +1. Use manual white balance around 3800K for a warm-leaning but not overly orange palette. The key to this recipe is embracing the grain -- shoot at ISO 3200 or higher and the natural noise pattern of the GR III sensor mimics the texture of pushed Portra 800 or Superia 1600. Best for candid indoor moments, events, and documentary-style work.
Techniques for Better Indoor Available Light Photos
Find and Use Window Light
Windows are your most powerful tool for indoor photography. Soft, directional light from a window creates beautiful modeling on faces, reveals texture in objects, and provides a natural gradient from light to shadow across a scene. Position yourself so the window is to the side of your subject for the most flattering light. Avoid shooting directly into a bright window unless you specifically want a silhouette.
Stabilize at Slow Shutter Speeds
When light levels drop, you may need shutter speeds below 1/30s. Use every stabilization advantage available:
- Brace the camera against walls, door frames, tabletops, or your own body
- Enable Shake Reduction in the menu -- it provides up to 4 stops of stabilization
- Use the 2-second self-timer when resting the camera on a surface to eliminate shutter press vibration
- Shoot in bursts at slow speeds and pick the sharpest frame
Work With the Light, Not Against It
The single most important skill in available-light photography is learning to see the light that is already present. Walk around the space before you start shooting. Notice where the light falls, where the shadows are, and how the light quality changes from one area to another. Move your subject into good light rather than trying to fight poor light with extreme ISO.
Use Open Aperture Intentionally
At f/2.8, the GR III produces shallow enough depth of field at close distances to separate subjects from busy indoor backgrounds. At 0.5 meters, the depth of field at f/2.8 is only a few centimeters -- use this to isolate details like hands, food, or objects on a table. At 1.5-2 meters, the background blur is more subtle but still provides pleasant separation.
| Subject Distance | Depth of Field at f/2.8 | Best Use | |-----------------|------------------------|----------| | 0.3m (macro) | ~1cm | Detail shots, textures, small objects | | 0.5m | ~3cm | Food, hands, tabletop items | | 1.0m | ~10cm | Half-body portraits, seated subjects | | 1.5m | ~20cm | Full upper body, environmental portraits | | 2.5m | ~55cm | Interior scenes with subject |
Embrace Imperfection
Some of the most compelling indoor photographs have visible grain, slight motion blur from a moving subject, or imperfect white balance. Available-light photography is about authenticity and atmosphere, not technical perfection. A candid shot of someone laughing in a dimly lit restaurant, even with grain and warm color cast, will always be more powerful than a sterile, perfectly exposed image.
Common Indoor Photography Mistakes to Avoid
Using flash when you do not need it. Flash kills the atmosphere that makes indoor available-light photography interesting. The GR III is capable enough in low light that flash is almost never necessary for the kind of photography this camera encourages.
Fighting mixed white balance. Rooms with both daylight and artificial light will have different color temperatures in different areas of the frame. This is natural and often looks better than forcing a single white balance across the entire scene. Let the warm and cool tones coexist.
Leaving ISO too low. Photographers sometimes keep ISO at 200 or 400 out of habit and end up with blurry images from slow shutter speeds. ISO 1600-3200 is your normal working range indoors. Use it confidently.
Ignoring the background. Indoor spaces are often cluttered. Move a step left or right, crouch down, or change your angle to simplify the background before pressing the shutter. The 28mm lens includes a lot of context -- make sure that context adds to the image rather than distracting from it.
Putting It Together
The Ricoh GR III is one of the best cameras ever made for indoor available-light photography. Its compact size lets you bring it everywhere, its sensor handles high ISO with grace, and its fast lens gathers enough light for nearly any interior environment. Set up Aperture Priority at f/2.8, configure Auto ISO with a sensible range, choose a recipe that matches the mood of the space, and focus on finding the best available light.
Browse our indoor and ambient light preset collection to find recipes designed specifically for interior shooting, or pick up a complete preset bundle that includes indoor-optimized looks alongside recipes for every other scenario.