Ricoh GR III Bridge Photography: Settings, Tips, and Best Recipes
Bridges are some of the most photogenic structures in any city. Their repeating geometry, soaring cables, and leading lines reward a camera that can render fine detail and handle wide-angle composition with confidence. The Ricoh GR III, with its sharp 28mm-equivalent lens and large APS-C sensor, is ideally suited to bridge photography -- whether you are framing the Golden Gate's massive towers, the lattice of a Brooklyn-style truss span, or a small pedestrian footbridge tucked into a forest.
This guide covers everything you need to shoot bridges confidently with your Ricoh GR III: optimal camera settings for daytime and night work, composition strategies that exploit the 28mm focal length, and the preset recipes that bring out the texture, contrast, and mood of these iconic structures.
Why the Ricoh GR III Excels at Bridge Photography
Before getting into settings, it helps to understand why this small camera is such a strong fit for bridge subjects:
- 28mm-equivalent focal length is the classic wide-angle for architectural photography -- wide enough to include a full span, tight enough to avoid heavy distortion
- 18.3mm f/2.8 GR lens is exceptionally sharp edge-to-edge, critical for resolving cables, rivets, and structural detail
- APS-C sensor delivers the dynamic range needed for high-contrast scenes where bright sky meets shaded undersides
- Snap Focus is ideal when you are walking across a bridge and want consistent sharpness at known distances
- 3-axis Shake Reduction makes handheld blue-hour and night bridge work realistic without a tripod
Essential Camera Settings for Bridge Photography
Shooting Mode: Aperture Priority or Manual
For most bridge work, Aperture Priority (Av) is the easiest way to control depth of field while letting the camera handle changing light.
Manual mode (M) becomes the better choice once you commit to a tripod for blue-hour, long-exposure, or panoramic stitching work. Lock your exposure deliberately so frames stay consistent across a sequence.
Aperture for Sharpness Across the Frame
The GR III's lens is excellent wide open, but stopping down a touch maximizes detail in the suspension cables, rivets, and roadway texture you want viewers to notice.
- f/5.6 is the lens's sweet spot for daytime architectural detail
- f/8 gives slightly more depth of field with minimal diffraction penalty -- great for shots where a foreground railing leads into a distant tower
- f/2.8 is reserved for low-light handheld captures and for isolating a single cable or detail with a soft background
Avoid f/11 and beyond unless you are creating a sunstar against a streetlight or the setting sun -- diffraction starts to soften the rest of the frame.
ISO Configuration
Navigate to MENU > Shooting Settings > ISO Sensitivity:
- Daylight bridge shots: ISO 200 base, expand to 400 in shaded undersides
- Blue hour: ISO 800-1600 handheld, ISO 200 on a tripod for cleanest files
- Full night: ISO 1600-3200 handheld, lower with stable support
The GR III's noise pattern stays organic up to ISO 6400, which matters for nighttime bridge work where you may need to freeze a pedestrian or push shadow detail later.
Focus Settings for Bridge Subjects
Bridges reward consistent focus more than aggressive tracking. The GR III gives you several reliable options:
Hyperfocal at f/8 is the most practical setup for walking a bridge with a wide view of the span. Set focus to roughly 3 meters at f/8 and almost everything from 1.5 meters to infinity falls within acceptable sharpness.
Snap Focus at 2.5m works well when you want a sharp foreground element -- a lamppost, a section of railing, a pedestrian -- with the structure behind it still recognizable.
Manual Focus to infinity is the cleanest option for landscape-style shots of a bridge from a distant overlook. Use focus peaking to confirm distant towers are sharp.
Shutter Speed Guidelines
| Scenario | Shutter Speed | Notes | |----------|---------------|-------| | Static bridge, handheld daylight | 1/250s - 1/500s | Plenty fast to ignore SR, even at the long end | | Walking the bridge handheld | 1/125s - 1/250s | Avoids your own footstep vibration | | Blue hour handheld | 1/30s - 1/60s | SR carries the load -- brace against a railing | | Smooth water under the bridge | 1/4s - 4s | Requires tripod and likely the built-in ND | | Light trails on the roadway | 10s - 30s | Tripod mandatory, ND filter helps | | Pedestrian motion blur | 1/15s - 1/4s | Person becomes a soft suggestion of motion |
White Balance for Bridges
Bridges sit at the intersection of natural and artificial light, and white balance choice is what gives an image its mood.
- Daylight (5200K) keeps a sunlit suspension bridge looking honest and natural
- Cloudy (6500K) warms an overcast scene and rescues a flat sky
- Tungsten (3000K) at blue hour pushes the sky toward deep cinematic cyan while warm sodium streetlamps still read as amber -- this is the classic bridge-at-twilight look
- Manual Kelvin 4500K balances mixed-light night scenes where lamps, headlights, and ambient sky all compete
Composition Strategies for Bridges with a 28mm Lens
Lead Through the Frame
The single strongest bridge composition is a leading line that pulls the eye from a near corner to a distant vanishing point. Stand at the edge of the walkway, line up your foot with the railing, and let the cables or roadway converge toward the far tower. The 28mm field of view is perfect for this -- wide enough to include the foreground, tight enough that the convergence reads as dramatic rather than fish-eyed.
Use the Tower as an Anchor
Suspension bridge towers are visually heavy -- placing one on a third-line gives the frame structure. Try framing with the tower on the left third, cables sweeping toward the right, and the road or water filling the bottom third.
Shoot From Below
Walk to the base of a tower and shoot straight up. The GR III's 28mm lens produces strong but controlled vertical convergence that emphasizes scale. Hold the camera level for symmetrical cables, or tilt deliberately for a more dynamic, exaggerated rise.
Find a Distant Vantage Point
A wide-angle lens at distance compresses bridges into the cityscape they belong to. Look for hills, opposite shorelines, ferry terminals, or rooftops where you can include the entire span plus surrounding context. Cropping later is preferable to losing the silhouette.
Include Human Scale
A single pedestrian, cyclist, or jogger in the middle distance instantly conveys the size of a bridge. With the GR III's responsive Snap Focus, you can wait for the right figure to step into your composition without missing the moment.
Best Preset Recipes for Bridge Photography
Cinematic Steel
For modern suspension and cable-stayed bridges, this recipe gives the structural metal a punchy, slightly desaturated look. Set image control to Standard with contrast +2, saturation -1, and a slight blue shift in white balance. Lower the hue slider toward cyan by one step. The result reads like a film still: cool, deliberate, and architectural.
Heritage Iron
Older truss bridges and historic spans benefit from a warmer, more nostalgic palette. Use Positive Film image control with saturation +1 and contrast +1. Set white balance to Cloudy or 5500K to bring out the warm tones in weathered iron and old paint. A slight shadow lift of +1 keeps the structural details visible without flattening the scene.
Blue Hour Bridge
This recipe is designed for that 20-minute window after sunset when the sky goes deep cobalt and the bridge lamps switch on. Switch to Standard image control, set white balance to Tungsten, contrast +2, and saturation +1. The Tungsten setting pulls the sky into a dramatic cool tone while keeping the warm lamps glowing amber. A two-stop highlight reduction protects the brightest lights.
Monochrome Span
For dramatic black-and-white bridge studies, switch to Monotone with contrast +3 or +4. Apply a yellow filter effect to darken blue sky and emphasize the cables against it. Add grain at medium or high strength for film-like texture. This look is especially powerful for suspension bridges where the cable geometry becomes the entire composition.
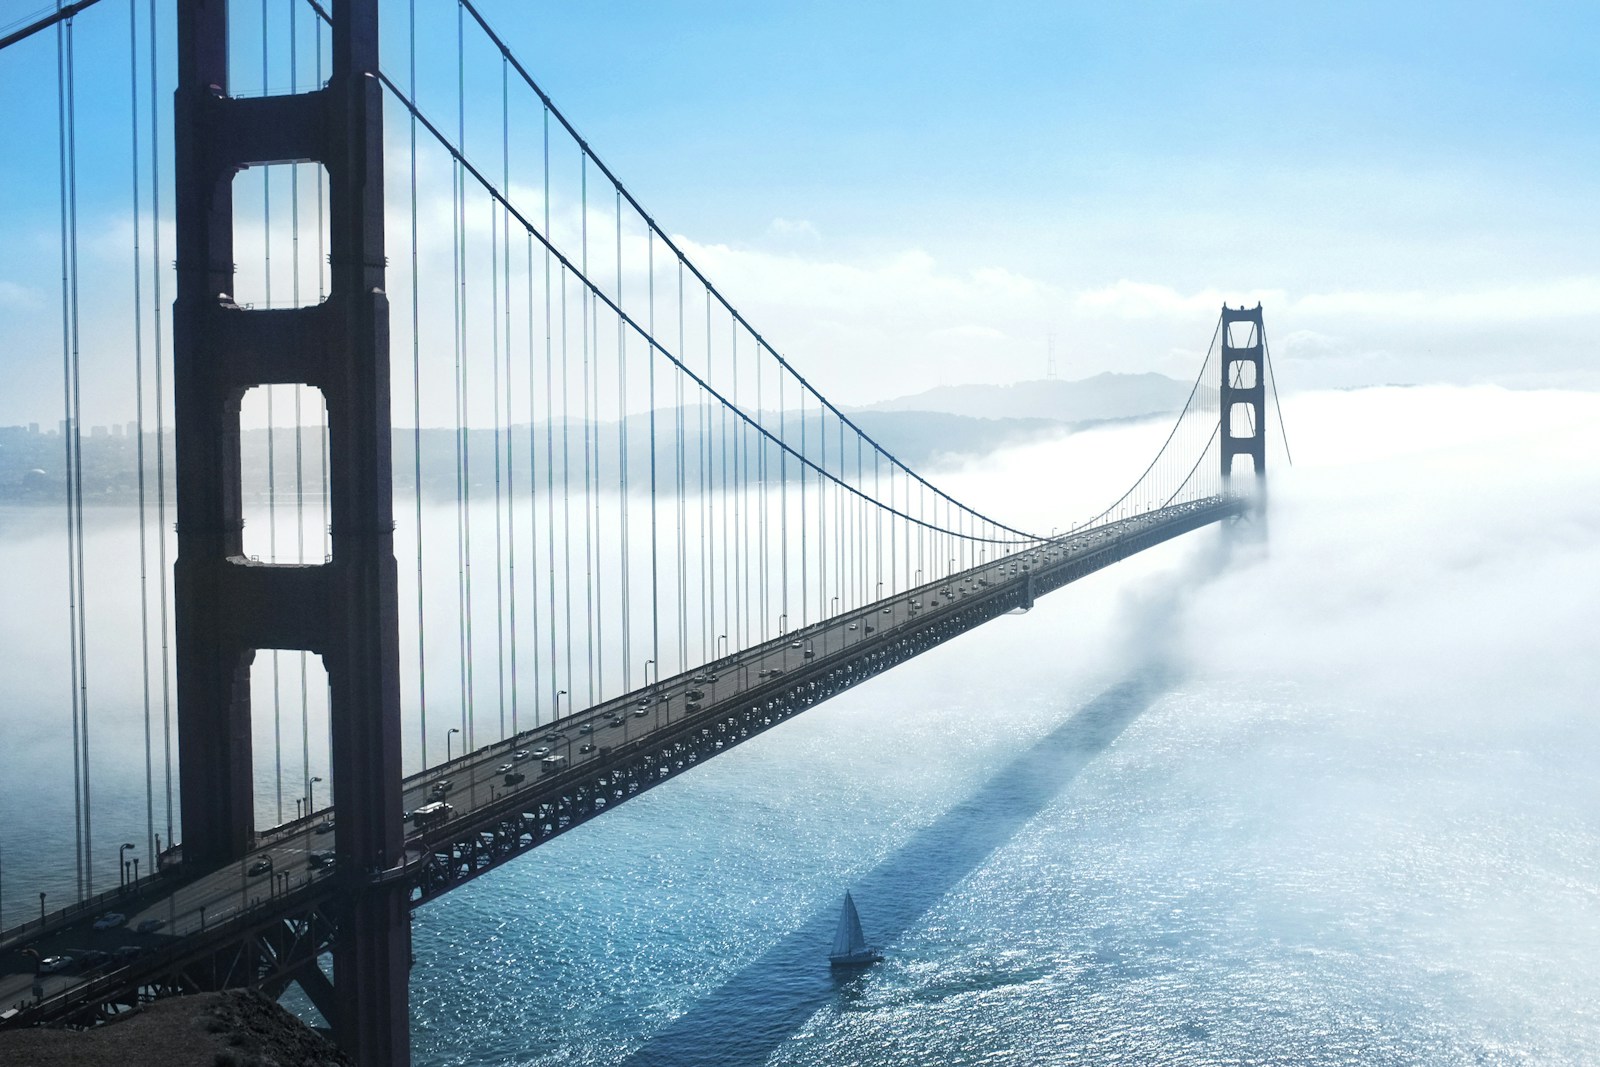
Foggy Span
When fog or mist surrounds a bridge -- common at coastal locations like the Golden Gate -- this recipe leans into the atmosphere. Use Standard with contrast -1, saturation -2, and white balance set to Daylight. Lift shadows by +1 and pull highlights down by -1 to compress the dynamic range. The result is a soft, ethereal rendering that lets the fog do the storytelling.
Techniques That Make a Difference
Time Your Visit
The best bridge photography happens at the edges of the day. Aim for the golden hour after sunrise for soft warm light from the east, or the blue hour after sunset when artificial lighting starts to balance with the sky. Midday light tends to flatten textures and burn out the sky behind the cables.
Watch the Wind
Bridges move. Long suspension spans sway noticeably in wind, and your tripod is sitting on that same moving surface. For exposures longer than half a second, expect some softening -- either compose for it (slight motion in cables can look natural) or shoot shorter exposures and stack them later.
Use the Built-in ND Filter
Enable the 2-stop ND from MENU > Shooting Settings > ND Filter when you want to:
- Smooth out water beneath the bridge at 1-2 seconds during daylight
- Capture light trails from passing traffic at the long end of dusk
- Soften pedestrian motion into ghostly blur
Mind the Foreground
A bridge alone is impressive, but a bridge with a foreground -- a boat passing through, kayakers in the river, a railing leading into the frame, a person leaning on the wall -- becomes a photograph. Use the GR III's quick power-on time to react when those elements appear.
Shoot Verticals Too
Bridges photograph beautifully in vertical orientation when you want to emphasize a single tower, exaggerate the convergence of cables, or include a tall foreground subject. The GR III has no orientation penalty -- the sensor and lens perform identically -- so rotate freely.
Bracket High-Contrast Scenes
Bridges photographed against a bright sky often blow out highlights or crush shadows. Enable bracketing in MENU > Shooting Settings > Auto Bracket and capture a three-frame sequence at -1, 0, and +1 EV. You can blend later, or simply pick the best single exposure.
Common Bridge Photography Mistakes to Avoid
Centering everything. A bridge plopped dead-center with a tower in the middle of the frame is the most common bridge photo on the internet. Move your feet, change your angle, and use the rule of thirds -- the structure deserves a more considered composition.
Forgetting the surroundings. A bridge is part of a place. Including water, skyline, shoreline, or terrain anchors the structure in its environment. A bridge floating in empty sky reads as a sticker, not a photograph.
Ignoring keystone distortion. When you tilt the GR III up at a tower, vertical lines converge. Sometimes that exaggeration is the point; other times it looks accidental. Decide which you want, then commit.
Underestimating reflections. If there is water near a bridge, look for reflections at the same level as the water surface. Crouch low. Sometimes the inverted reflection is the better composition than the bridge itself.
Shooting only the famous angle. Every iconic bridge has the postcard view. That shot has been taken millions of times. Walk a block in either direction, climb a few stairs, or find a side street -- the unfamiliar angle is almost always more interesting.
Putting It Together
Bridges are demanding but generous subjects -- they reward photographers who plan their light, work the angles, and lean into the wide perspective the Ricoh GR III gives them. Whether you are shooting the Golden Gate in fog, a small country footbridge at golden hour, or a city span at twilight, the same fundamentals apply: deliberate aperture, considered composition, and a recipe that fits the mood.
Browse our urban architecture and travel preset collection to find recipes designed for structural subjects, or grab a complete preset bundle that includes bridge-friendly looks alongside recipes for every other shooting scenario.