Ricoh GR III Night Photography: Settings, Tips, and Best Recipes
The Ricoh GR III might be a compact camera, but its large APS-C sensor, fast f/2.8 lens, and built-in image stabilization make it a surprisingly powerful tool for night photography. From neon-lit cityscapes to moody low-light street scenes, the GR III can deliver images that rival much larger setups -- if you know how to configure it properly.
This guide covers everything you need to shoot confidently with your Ricoh GR III after dark: optimal camera settings, the best preset recipes for nighttime looks, and practical techniques that make a real difference.
Why the Ricoh GR III Works for Night Photography
Before diving into settings, it helps to understand why this small camera punches above its weight at night:
- APS-C sensor with strong high-ISO performance, usable up to ISO 6400 and beyond
- f/2.8 maximum aperture gathers significantly more light than typical compact cameras
- 3-axis Shake Reduction provides up to 4 stops of stabilization for handheld low-light shooting
- Built-in 2-stop ND filter for creative long exposures even with bright artificial light
- Snap Focus eliminates autofocus hunting in dark conditions where AF often struggles
Essential Camera Settings for Night Photography
Shooting Mode: Manual or Aperture Priority
For night photography, you need more control over exposure than full auto provides.
Manual mode (M) is ideal when you have time to compose -- cityscapes, light trails, and architectural shots. Set your aperture, shutter speed, and ISO deliberately to get the exact exposure you want.
Aperture Priority (Av) works well for night street photography where conditions change quickly. Open up to f/2.8 and let the camera handle shutter speed. Keep an eye on the shutter speed readout to ensure it stays fast enough for sharp handheld shots.
ISO Configuration
Navigate to MENU > Shooting Settings > ISO Sensitivity and set up for low-light shooting:
- Fixed ISO approach: Start at ISO 1600 as your baseline for handheld night shooting. Go up to ISO 3200 or 6400 when needed -- the GR III handles grain well at these levels, especially in black and white.
- Auto ISO approach: Set the range to ISO 200-6400 with a minimum shutter speed of 1/30s. The stabilization system can keep things sharp at 1/30s in most situations.
Avoid pushing past ISO 6400 unless absolutely necessary. The GR III's sensor starts showing significant noise beyond this point, though it remains usable at ISO 12800 for black-and-white work.
Focus Settings for Low Light
Autofocus can struggle in dark environments. The GR III gives you several options:
Snap Focus at 2.5m is the most reliable method for night street photography. At f/2.8 the depth of field is narrower than during daytime shooting, so 2.5 meters gives you a good working distance with acceptable sharpness from roughly 1.8 to 5 meters.
Manual Focus with focus peaking is best for tripod work and deliberate compositions. Enable focus peaking in MENU > Shooting Settings > Focus Assist and set the peaking color to red or white for maximum visibility against dark scenes.
Touch AF on the rear LCD works well for static night scenes where you can take a moment to tap your exact focus point.
Shutter Speed Guidelines
Different night photography styles require different shutter speeds:
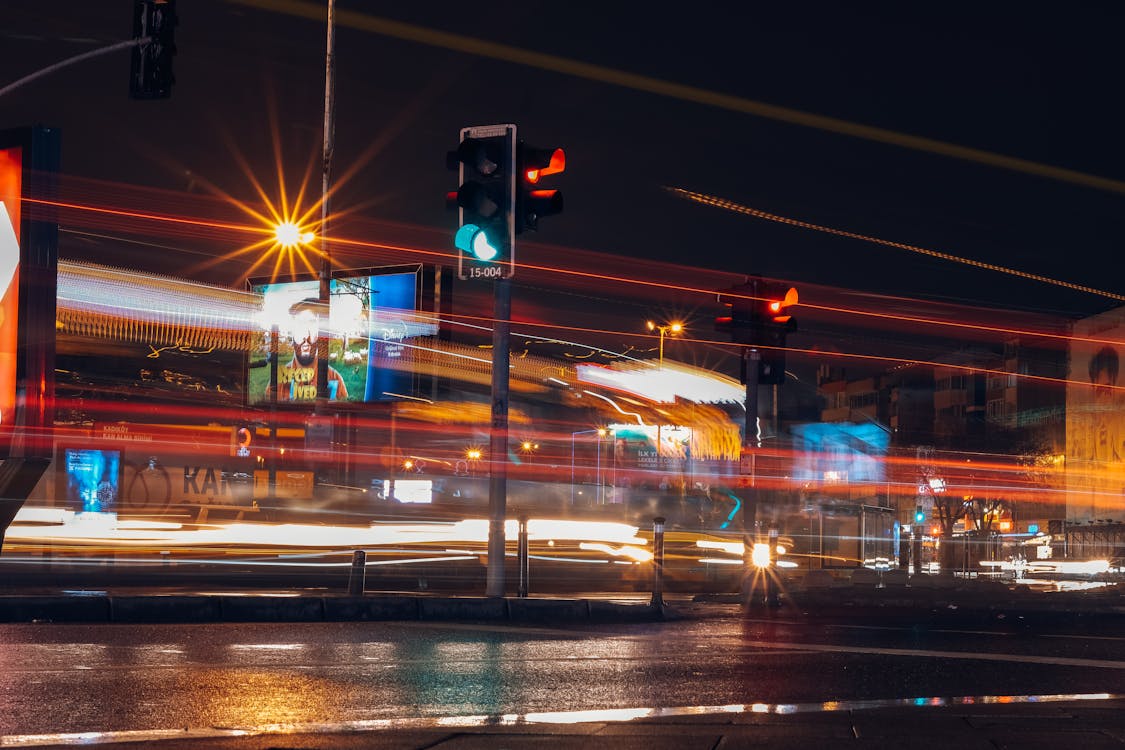
| Style | Shutter Speed | Notes | |-------|--------------|-------| | Handheld street | 1/30s - 1/125s | Use Shake Reduction, brace against walls | | Light trails | 1s - 10s | Requires tripod or stable surface | | Neon signs and storefronts | 1/60s - 1/250s | Bright enough for faster speeds | | Star points on streetlights | f/8 at 1/4s - 1s | Stopped-down aperture creates starburst | | Silky smooth traffic | 15s - 30s | Use ND filter + tripod |
White Balance for Night Scenes
Auto white balance tends to neutralize the warm glow of artificial lighting, which removes much of the atmosphere from night shots. Consider these alternatives:
- Tungsten (3000K) produces a cool, cinematic blue tone in mixed city lighting
- Daylight (5200K) preserves the warm amber of streetlights and neon signs
- CTE (Color Temperature Enhancement) exaggerates whatever color cast is present, creating dramatic warm-to-cool contrasts
- Manual Kelvin at around 3800K offers a good balance between warm highlights and cool shadows
Best Preset Recipes for Night Photography
Cinematic Neon
A recipe built for urban nightscapes with artificial lighting. Push saturation slightly positive to make neon signs and city lights pop. Set contrast to +1 or +2 so that shadows go deep black while highlights retain their glow. Use a slight warm shift on white balance to complement the amber tones of streetlights. This look works especially well in commercial districts, entertainment areas, and any location with colorful signage.
Moody Noir
For atmospheric, dark night street photography, the noir look is hard to beat. Switch to Monotone image control and push contrast to +3 or +4. Add the maximum grain effect for a gritty film-like texture. Set the filter effect to red to darken skies and brighten skin tones under artificial light. The result is a dramatic, high-contrast look reminiscent of classic noir cinema.
Cool Urban Tones
Set white balance to Tungsten to shift the overall palette toward cool blues. Reduce saturation slightly to -1 for a more restrained, editorial feel. Keep contrast neutral and lower sharpness by one step for smoother rendering of light sources. This recipe excels at creating a calm, contemplative mood in night cityscapes and quiet side streets.
Warm Film Emulation
Emulate the look of pushed color film by setting white balance to daylight (which preserves warm artificial light), boosting saturation to +1, and shifting the hue slightly toward amber. Set highlight adjustment to -1 to retain detail in bright light sources and shadow adjustment to +1 to lift deep blacks. This recipe captures the nostalgic warmth of analog night photography.
Techniques That Make a Difference
Use a Mini Tripod or Gorilla Pod
The GR III is so light that even a small tabletop tripod provides rock-solid stability for long exposures. Place it on walls, benches, railings, or any flat surface. Combined with the 2-second self-timer to eliminate shutter-press vibration, this setup enables exposures of several seconds without any camera shake.
Leverage the Built-in ND Filter
The 2-stop ND filter is invaluable for night long exposures. Even at f/8 and ISO 200, bright city scenes may overexpose at slow shutter speeds. Enable the ND filter from MENU > Shooting Settings > ND Filter to extend your exposure time and achieve smooth light trails and silky motion blur.
Shoot in RAW+JPEG
Night photography benefits enormously from RAW files. High-contrast scenes with bright lights and deep shadows contain more recoverable detail in RAW than JPEG. Shoot RAW+JPEG so you get the recipe-processed JPEG for immediate review and sharing, plus the RAW file for pulling back blown highlights or lifting shadow detail later.
Embrace High ISO Grain
Do not fear high ISO on the GR III. At ISO 3200-6400, the noise pattern is relatively fine-grained and organic. In black-and-white night photography, this grain actually enhances the mood and texture of the image. Many photographers intentionally push ISO higher than necessary for the aesthetic effect.
Use Interval Shooting for Time-Stacking
The GR III's interval shooting mode can capture a series of images at set intervals. In post-processing, you can stack these frames to simulate ultra-long exposures, creating dramatic light trail composites while keeping noise low since each individual frame uses a reasonable ISO.
Common Night Photography Mistakes to Avoid
Over-relying on autofocus. In low light, the GR III's contrast-detect AF can hunt or lock onto the wrong subject. Switch to Snap Focus or Manual Focus for consistent results.
Chimping every shot. The bright LCD screen at night ruins your adapted night vision. Turn down LCD brightness to its lowest setting and trust your exposure settings rather than constantly reviewing the screen.
Forgetting to turn off Shake Reduction on a tripod. When the camera is on a stable surface, the SR system can actually introduce micro-vibrations as it tries to compensate for movement that is not there. Disable it when using a tripod.
Ignoring composition in favor of light. Bright lights and neon signs are visually compelling, but strong night photographs still need solid composition -- leading lines, framing elements, and clear subjects.
Putting It Together
The Ricoh GR III is a genuinely capable night photography camera once you understand its strengths and configure it accordingly. Set up your exposure for the type of night shooting you are doing, choose a recipe that matches the mood you want, and use the techniques above to get sharp, well-exposed images in challenging conditions.
Browse our night and urban preset collection to find recipes designed specifically for after-dark shooting, or grab a complete preset bundle that includes night-optimized looks alongside recipes for every other shooting scenario.