Ricoh GR III Aurora & Northern Lights Photography: Settings, Recipes, and Field Tips
The aurora borealis is one of the most demanding subjects in photography. It is faint, fast-moving, and only appears in remote, freezing locations where every minor camera setting matters. The Ricoh GR III is not the obvious tool for the job -- there is no interchangeable wide-aperture lens, no full-frame sensor, no built-in intervalometer in the original firmware -- but its compact size, sharp 18.3mm f/2.8 lens, and excellent high-ISO files make it a surprisingly capable aurora camera once you understand how to dial it in.
This guide walks through exactly that: the camera settings that work in real-world aurora conditions, the focus techniques that keep stars and foreground sharp, the preset recipes that bring out the green and magenta tones without crushing the natural look, and the practical field tips that protect your gear and your fingers when the temperature drops below freezing.
Why the Ricoh GR III Works for Aurora Photography
The GR III has several qualities that make it a viable aurora camera, even alongside dedicated astro setups:
- Sharp 18.3mm f/2.8 lens (28mm equivalent) captures a wide enough field for sweeping aurora arcs while resolving foreground detail at the same time
- APS-C sensor with strong high-ISO performance produces clean files at ISO 1600-3200, which is the working range for most aurora exposures
- Compact body that fits in a coat pocket means you can keep the camera close to your body heat in subzero conditions, dramatically extending battery life
- Snap Focus and manual focus with focus peaking let you lock infinity precisely without fighting AF in pitch-black conditions
- Quiet operation and no mirror slap keeps long-exposure shots free of vibration without needing mirror lock-up
It will not match a full-frame astro camera for noise or absolute light gathering. What it will do is travel anywhere with you, set up in seconds, and produce publishable aurora images when the conditions are right.
Essential Camera Settings for Aurora Photography
Shooting Mode: Manual
There is no situation in aurora photography where Aperture Priority or Program mode will give you the result you want. The scene is too dark, the meter is unreliable, and small adjustments to shutter speed change everything. Set Mode dial to M and stay there for the entire session.
Aperture: Wide Open at f/2.8
The GR III's f/2.8 is its widest aperture, and that is exactly where you want to be for the aurora. Every fraction of a stop you give back to depth of field costs you light you cannot recover. Shoot wide open and accept slightly softer corners -- the aurora itself rarely benefits from corner-to-corner crispness, and most viewers will be looking at the sky, not pixel-peeping the edge of the frame.
Shutter Speed: Match It to the Aurora's Activity
This is the setting most aurora photographers get wrong. The aurora is not a static subject. When it is dancing -- visible structure shifting in seconds -- a long exposure will smear all that structure into a green wash. When it is slow and diffuse, a short exposure will simply be too dark.
- 2 to 4 seconds for fast-moving, structured aurora with visible curtains and rays. Preserves the shapes the eye sees in real time
- 5 to 10 seconds for moderate aurora activity -- the most common condition. Balances brightness and detail
- 15 to 25 seconds for faint, diffuse aurora that needs every photon you can collect. Stars will begin to show motion above ~20 seconds at 28mm equivalent, so do not push past 25 seconds if you want pinpoint stars
Take a test shot, check the LCD, and adjust. The aurora changes by the minute -- be ready to change your shutter speed with it.
ISO: 1600 to 3200 as a Working Range
The GR III's APS-C sensor handles ISO 1600 cleanly and ISO 3200 with manageable noise. Beyond ISO 3200 the files become harder to recover, especially in the dark sky areas where chroma noise shows up first.
- ISO 1600 when the aurora is bright and you can use a 10+ second exposure
- ISO 3200 for typical conditions where you need both brightness and shorter exposures to preserve aurora structure
- ISO 6400 only as a last resort for very faint aurora, very fast activity, or composing through clouds. Plan to do more noise reduction in post
Avoid the temptation to use lower ISOs to maximize quality. Aurora photography is a low-light discipline -- the cleanest file is the one that is correctly exposed, not the one with the lowest ISO number.
Focus: Manual to Infinity
Autofocus is useless in aurora conditions. There is not enough contrast in the night sky to lock on, and the camera will hunt forever. The GR III gives you two reliable manual focus approaches:
Method 1: Daylight pre-focus. Before sunset, point the camera at a distant landscape feature, autofocus on it, then switch to manual focus and tape the lens ring in place if you are worried about it moving. The lens will hold infinity for the rest of the session.
Method 2: Live View with focus peaking. Frame a bright star or the moon in the center of the LCD, zoom in using the live view magnification, and rotate the focus ring until the star becomes the smallest, sharpest point. Enable focus peaking in red (MENU > Focus > Focus Peaking) and watch the edges of the star light up when you hit critical focus. This is the most reliable method in the field.
Method 3: Snap Focus. Set Snap Focus to infinity through MENU > Snap Focus Distance. This gives you a one-press shortcut to the focus distance you established with one of the methods above. Useful if you are changing compositions frequently and worried about bumping the focus ring.
Never trust the infinity mark on the lens or the AF lock from earlier in the day to be perfect. Always confirm focus on the LCD before committing to a long shooting session -- a hundred images out of focus is the worst possible outcome.
White Balance: 3500K to 4000K
Auto White Balance will guess at the aurora and usually guess wrong. The greens will look anemic, the magentas will turn pink, and the snow will pick up a color cast that looks nothing like what you saw.
- Manual 3500K produces cool, deep blue skies that make the green aurora pop dramatically. Snow renders neutral to slightly cool. This is the default that most aurora photographers use
- Manual 4000K keeps the sky slightly warmer and more neutral. Better for aurora over warm-lit scenes -- a cabin with interior lights, a fire, or a town in the distance
- Manual 5000K if you specifically want a more documentary, true-to-meter rendering. The sky will look less dramatic but more naturally dark
Set this via MENU > White Balance > CTE or Manual, and dial in the Kelvin value directly. Avoid Tungsten preset (2850K) which pushes too cold for most aurora scenes.
File Format: RAW
Shoot RAW (DNG on the GR III). Aurora images benefit enormously from selective adjustment of the green and magenta channels, recovery of subtle aurora details from the dark sky, and noise reduction at the channel level. JPEG-only is a significant handicap for this genre even if your in-camera recipe is dialed in well.
Use RAW + JPEG if you want to share quick previews from your phone using the GR III's Wi-Fi while preserving the RAW for serious editing later.
Preset Recipes for Aurora Photography
These recipes apply to the JPEG output. They will not affect the RAW file, but they make a difference for in-camera review, for sharing directly to social media, and for understanding how to develop the look you want in post.
Recipe 1: Classic Aurora Green and Magenta
A balanced look that boosts the natural aurora colors without pushing them into cartoon territory. Best for typical aurora over snow or forest scenes.
- Image Control: Standard
- Saturation: +1
- Hue: 0
- High/Low Key: -1
- Contrast: +1
- Contrast (Highlight): -1
- Contrast (Shadow): +1
- Sharpness: +1
- Shading: -1
- Clarity: +1
- White Balance: Manual 3500K
- WB Compensation: B1, G1
The slight B/G compensation pushes the sky cooler and intensifies the green aurora. The lifted shadow contrast preserves silhouetted foreground elements like trees and mountains.
Recipe 2: Deep Cinematic Aurora
A darker, moodier rendering that emphasizes the contrast between the bright aurora and the deep night sky. Best when the aurora is very active and stands out clearly against the surrounding sky.
- Image Control: Cross Processing
- Saturation: +2
- Hue: -1
- High/Low Key: -2
- Contrast: +2
- Contrast (Highlight): -1
- Contrast (Shadow): -2
- Sharpness: +1
- Shading: -2
- Clarity: +2
- White Balance: Manual 3500K
- WB Compensation: B2, M1
Cross Processing as the base gives the magenta highlights a slightly punchy edge while keeping the greens vivid. The negative Hue shift nudges the aurora toward a more teal-green that reads cinematic on screens.
Recipe 3: Subtle Documentary Aurora
A toned-down, naturalistic look that resists the temptation to oversaturate. Best when the aurora is part of a larger scene with people, cabins, or other landscape elements you want to keep believable.
- Image Control: Positive Film
- Saturation: 0
- Hue: 0
- High/Low Key: 0
- Contrast: 0
- Contrast (Highlight): -1
- Contrast (Shadow): +1
- Sharpness: 0
- Shading: 0
- Clarity: 0
- White Balance: Manual 4000K
- WB Compensation: B1, 0
Positive Film at default settings produces a clean, neutral starting point. The 4000K white balance preserves the warm tones of any artificial light in the scene -- cabin windows, headlamps, campfires -- while still rendering the aurora green clearly.
Recipe 4: High-Contrast Black and White Aurora
Yes, black and white aurora is a thing, and it can be extraordinary. The aurora becomes a sweeping cloud of luminance, the stars become diamond pinpoints, and the foreground becomes a graphic silhouette. Use this when the colors of the aurora are muted or when you want to emphasize structure over color.
- Image Control: Hard Monotone
- Filter Effect: Red
- Toning: 0
- High/Low Key: -1
- Contrast: +2
- Contrast (Highlight): 0
- Contrast (Shadow): -2
- Sharpness: +2
- Shading: -2
- Clarity: +2
- White Balance: Manual 3500K
The Red filter darkens the green aurora slightly, increasing its definition against the sky and giving more separation between curtains and background. Heavy shadow contrast keeps trees and mountains as pure silhouettes against the luminous sky.
Composition Techniques for Aurora Photography
Anchor the Frame With a Strong Foreground
A photo of just the aurora overhead is rarely as compelling as a photo of the aurora over something. The eye needs a place to start before it travels into the sky.
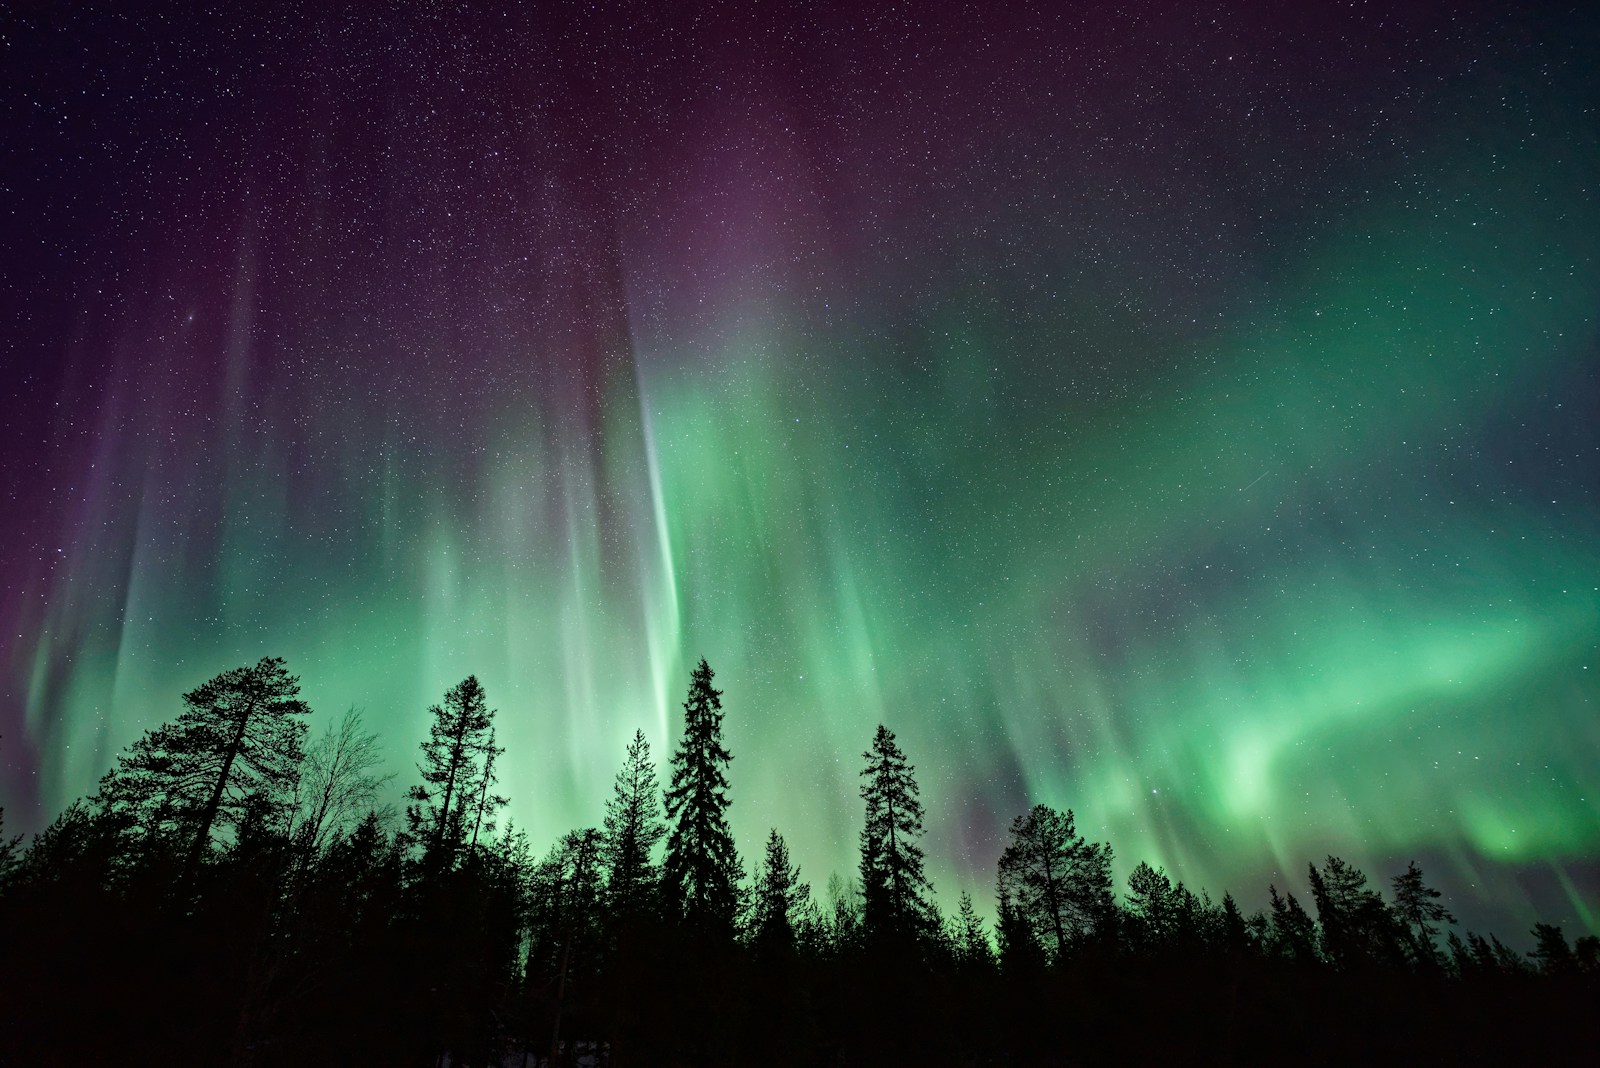
- Pine and spruce trees silhouette beautifully against the green glow. Look for isolated trees or distinct treelines
- Lakes and ponds create reflections of the aurora -- often as photogenic as the sky itself
- Cabins and small buildings with warm interior light add scale and a human element
- Mountains and ridges anchor the bottom of the frame and give the aurora a horizon to dance above
The 28mm equivalent field of view of the GR III is ideal for this kind of composition. It is wide enough to include sweeping aurora but narrow enough that the foreground retains presence.
Place the Horizon Low
When the aurora is the subject, give it room. Place the horizon in the lower third or even lower fifth of the frame, leaving the upper two-thirds for the sky and the aurora. A horizon in the middle of the frame splits the image and weakens both halves.
Use Reflections Whenever Possible
Calm water -- a lake, a fjord, a puddle, even a slick of meltwater on rock -- doubles the aurora. The reflection is usually slightly darker than the sky itself, which creates a natural tonal balance with the bright aurora curtain above.
Watch for any wind, even a light breeze, breaking up the reflection. A few seconds of stillness is all you need for the exposure -- be patient.
Include Stars
Aurora and stars together create a sense of scale and depth that aurora alone cannot. With the 28mm equivalent lens you can keep stars sharp at up to 20-25 seconds, giving you a generous exposure window to capture both the aurora and a star-filled sky.
The aurora itself often obscures stars in the brightest curtains, but the surrounding sky will be full of them at any clear, dark-sky location.
Resist the Symmetrical Vertical
Aurora photographers often shoot straight up at the corona when the aurora is directly overhead. This can work, but it usually does not -- the result is a sky photograph with no anchor. Even when the corona is overhead, look for a tree, a person, a mountain, or a rock formation to give the image a frame of reference.
Field Tips: Cold Weather and Aurora Logistics
Battery Management
Cold drains batteries faster than almost anything else. At -20°C, a fully charged GR III battery may last 30-40 minutes of active shooting instead of the usual several hours.
- Carry 2-3 spare batteries minimum for any serious aurora session
- Keep spares in an inside pocket against your body to keep them warm and ready
- Rotate batteries -- when the camera battery dies, swap it for a warm one and put the cold one in your inside pocket. It will often recover enough charge for another 15-20 minutes
- Use a USB power bank to top off batteries between locations. The GR III charges via USB, and a warm power bank in your jacket can keep you shooting all night
Condensation Prevention
The single biggest threat to your camera on an aurora trip is condensation. Bringing a -20°C camera into a +20°C cabin will cause moisture to form on every surface, including internal lens elements, in seconds.
- Place the camera in a sealed ziplock bag before entering any warm space. Squeeze the air out and seal it tight. Let it warm up gradually for 30-60 minutes before opening
- Avoid breathing on the lens -- moisture from your breath freezes instantly and is hard to remove without damaging the coating
- Keep the camera outside or in an unheated entryway when on extended trips to avoid repeated temperature cycling
Stability and Tripod
You cannot handhold aurora exposures. Even a 2-second exposure at 28mm equivalent will show motion blur. You need a tripod.
- A small travel tripod is enough -- the GR III is light, and the exposures are not that long. A 1-meter aluminum tripod is plenty for most aurora work
- Avoid extending the center column if there is any wind -- it amplifies vibration
- Use the 2-second self-timer to eliminate shutter-press vibration. The GR III's self-timer is in the drive mode menu
- Hang your camera bag from the tripod as a counterweight if it is windy
Headlamp Etiquette
A single white headlamp will obliterate other photographers' exposures and your own dark adaptation.
- Use a red headlamp whenever possible. Red light preserves night vision and shows up much less in long exposures
- Aim downward -- light pollution from a headlamp pointed at the horizon will show up in any exposure pointed in that direction
- Turn it off before each exposure -- even a brief sweep of white light can ruin a 15-second shot
Reading Aurora Forecasts
Aurora photography is impossible to plan more than a few days in advance. Use these tools:
- Kp index -- the simplest metric. Kp 3+ for most northern latitudes, Kp 5+ for any chance further south
- NOAA Space Weather Prediction Center -- 30-minute aurora forecasts that are reliable for short-term planning
- My Aurora Forecast or Aurora Pro apps -- mobile apps with push notifications when aurora activity spikes
- Local Facebook groups -- in Iceland, Norway, Alaska, and northern Canada, local groups post real-time sightings that are more accurate than any forecast
Clear skies matter more than Kp. A Kp 6 aurora behind cloud cover is invisible. A Kp 3 aurora under perfect dark sky is unforgettable.
Post-Processing Tips for Aurora Images
Even with strong in-camera settings, the RAW file gives you room to refine the image:
- Cool the white balance further if the sky looks too brown or warm in the raw conversion
- Boost the green and magenta saturation selectively using HSL adjustments rather than global saturation, which will distort skin tones and warm light sources
- Apply noise reduction in the dark sky areas while protecting the aurora itself and the stars -- masked noise reduction is far better than global
- Recover faint aurora detail by lifting shadows carefully. Aurora curtains often extend well beyond what the LCD review shows
- Sharpen the foreground and stars separately -- the aurora itself should not be sharpened heavily, but sharp foreground elements and pinpoint stars make the image feel crisp
Avoid the temptation to push saturation to extremes. The most striking aurora images are usually the ones that show the aurora close to how the eye saw it, not as a neon green smear across the sky.
Final Thoughts
The aurora is one of the few subjects where you cannot wait for a better camera, a better lens, or a better day. It happens when it happens, in places it happens, and you either have a camera ready or you do not. The Ricoh GR III, properly configured and protected from the cold, is a camera that will be in your pocket when the aurora appears -- which is the most important specification any aurora camera can have.
Practice your manual focus technique at home. Confirm your white balance preference on a clear, dark night with stars. Learn where the buttons are with gloves on. When the alerts come in and the sky lights up, the work you have already done will let you focus on the only thing that matters: standing under the aurora and pressing the shutter.