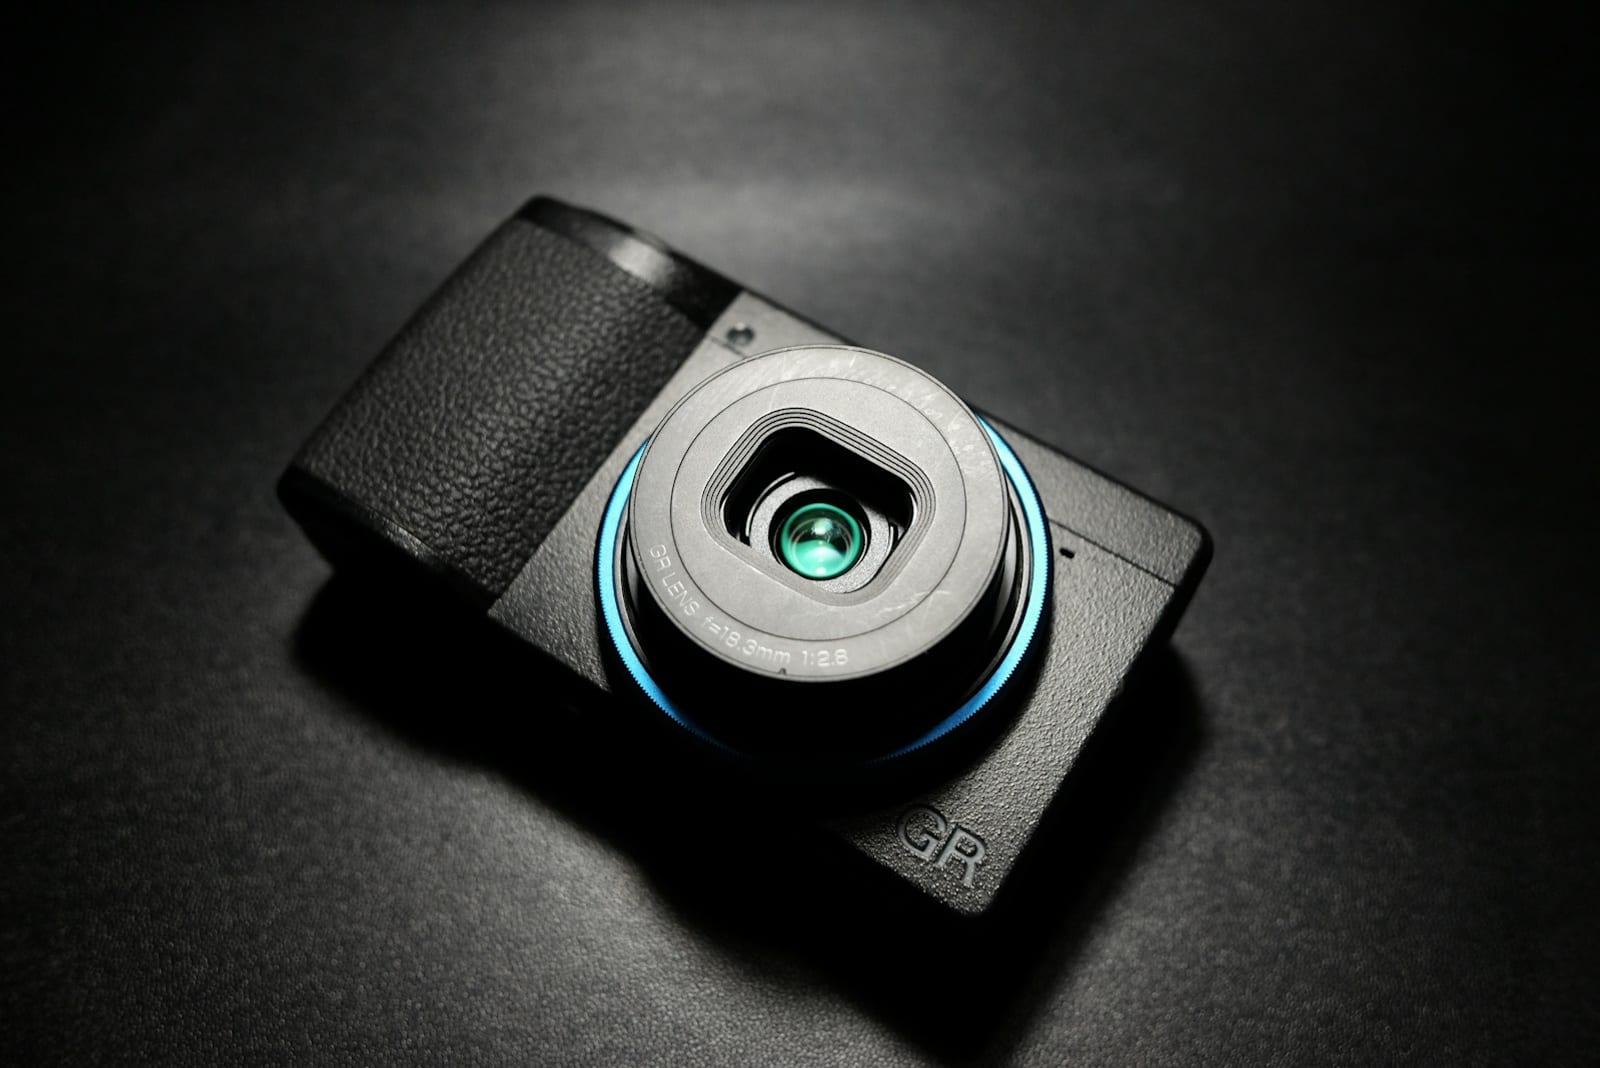
Ricoh GR III Battery Life: How to Get More Shots Per Charge
Every honest review of the Ricoh GR III lands on the same criticism, and it isn't the autofocus or the lack of a viewfinder. It's the battery. Ricoh's own spec sheet says approximately 200 recordable images per charge, which is roughly half what you'd expect from a camera this size, and it's the reason nearly every GR III owner ends up buying spares.
But 200 is a test number, not a prediction. Depending on how you shoot and how six specific menu items are configured, the same DB-110 will give you 120 frames or well past 400. The gap between those two outcomes is entirely in your control, and almost none of it involves buying anything.
Here's what's actually happening inside that number, and how to move it.
What the 200-Shot Rating Actually Measures
The DB-110 is a 3.6V, 1350mAh lithium-ion cell — 4.9Wh of energy, which is genuinely small. For scale, that's about a tenth of a modern phone battery, powering a 24MP APS-C sensor, a stabilisation unit and a permanently-on rear screen.
The 200-figure comes from the CIPA standard, and Ricoh publishes the exact test conditions: 23°C, the monitor on, one picture taken every 30 seconds, and the camera turned off and back on again after every 10 pictures. Playback time is separately rated at approximately 180 minutes.
Read those conditions carefully, because they explain most of the confusion around GR III battery life.
The test involves a lot of power cycling — a full startup every ten frames, and startup is expensive on this camera because the lens has to extend and the sensor-shift unit has to initialise. If you leave the camera on and let it sleep between shots instead, you skip that cost entirely and comfortably beat 200.
Conversely, the test involves almost no chimping, no menu diving, no half-pressing to hunt focus, and no wireless radios. Add those back in and you can fall well short. This is why two GR III owners can report 150 and 400 shots from the same battery and both be telling the truth.
The practical takeaway: the GR III's battery is consumed by time-with-the-screen-on far more than by shutter actuations. Optimise for screen time, not frame count.
The Six Settings That Matter
All of the power management lives in the E7 (Power Supply Settings) and E3/E4 menus, plus one item in A7. Defaults are not terrible, but they're tuned for a general user rather than someone shooting a full day.
1. Sleep Mode — E7
MENU > E7 > Sleep Mode. Options are 1min., 3min., 5min., 10min., 30min., or Off, defaulting to 1 min.
Sleep Mode turns off the monitor while leaving the camera live — the status lamp stays lit, and a half-press wakes it instantly. This is the single most useful power feature on the GR III, because it kills the biggest drain (the screen) without paying the startup cost of a full power cycle.
Leave this at 1 min. It's one of the few defaults worth keeping. If anything, the instinct to lengthen it is exactly backwards.
2. Auto Power Off — E7
MENU > E7 > Auto Power Off. Same option set: 1min., 3min., 5min., 10min., 30min., Off, defaulting to 1 min.
This one is a genuine trade-off, and the right answer depends on what you're doing.
For street shooting, the 1-minute default is too aggressive. You lower the camera for ninety seconds, it powers down, and the next frame costs you a full lens-extension startup — both in battery and in the two seconds where the shot happens without you. Set it to 5 min. for active shooting: the camera sleeps its screen after a minute anyway, so you're keeping a mostly-dark camera warm rather than burning power.
For a camera that lives in a bag between sessions, keep it short. And note the honest version of the trade: repeated cold starts cost more than short idle periods, but a camera that stays on for thirty minutes in your bag costs more than either.
Never set Auto Power Off to Off. There's no upside and one very expensive failure mode.
3. LCD Auto Dim — E7
MENU > E7 > LCD Auto Dim: On. This dims the display automatically if the camera isn't moved within five seconds, and restores full brightness the moment you pick it up. It's on by default, it costs you nothing, and if a previous owner turned it off, turn it back on.
4. LCD Brightness — E3
MENU > E3 > LCD Setting > Brightness runs from -7 to +7. Most people never touch it, and most people are running brighter than they need indoors.
Drop it to around -2 for interior and evening shooting. You'll notice the difference in runtime across a day and you won't notice the difference in the image.
The separate Outdoor View Setting (-2 to +2) exists for the opposite problem — bright sun. Use it deliberately when you need it, and set it back to 0 when you go inside. Leaving it at +2 all day is a slow, invisible drain.
5. Shake Reduction — A7
MENU > A7 > Shake Reduction: On/Off. The GR III's 3-axis sensor-shift SR unit is widely considered the main reason it does worse than the GR II on battery, because it's a physically moving assembly held under active control.
Don't reflexively turn it off — at 1/15s handheld it's the difference between a keeper and a smear. But it does nothing for you in situations where you don't need it:
- Shooting in bright daylight at 1/500s and above
- Anything on a tripod, especially long exposures
- Working from a stable surface
Pro tip: rather than digging into A7 each time, assign Shake Reduction to the Fn button via MENU > D2 > Fn Button Setting. It becomes a one-press toggle, which is the only way you'll actually use it situationally instead of setting it once and forgetting.
Related: when the Self-timer is set in Drive Mode, the GR III automatically turns SR off. If you want it forced on regardless, set Auto SR Off to Disable Auto SR Off in A7 — but for battery purposes, the default behaviour is doing you a favour.
6. Instant Review — D3
MENU > D3 > Instant Review > Display Time offers 0.5sec., 1sec., 2sec., 3sec., Hold, or Off, defaulting to 0.5 sec.
Every frame you shoot lights the screen at full brightness for this long. At the default it's negligible. At Hold — which some people set while learning the camera — every single shot leaves the screen burning until you press something.
Set it to 0.5 sec. or Off. This is where a shooting habit beats any setting: the urge to review every frame after the shutter is the most expensive thing you can do to a GR III battery. Trust the exposure, keep walking, review in a café.
The Radios Are the Real Ambush
Menu settings are worth maybe 30% more frames. Wireless is worth losing your entire afternoon, and it fails in a way that gives you no warning.
The important detail, straight from Ricoh's manual: Auto Power Off does not function while the camera is connected to a communication device with Image Sync. Sleep Mode is suspended too. A GR III with a live app connection will not put itself to sleep and will not turn itself off — it sits in your bag, awake, until the cell is flat.
If you use Wi-Fi and Image Sync, two rules:
- Disconnect when the transfer is done. Not "close the app" — actually end the connection.
- Check your Bluetooth Action Mode. MENU > E6 > Bluetooth Setting > Action Mode has three values: On anytime, On when power is on, and Disable. On anytime keeps the Bluetooth radio alive even with the camera switched off — it's what enables background transfers, and it's also why some owners find a "fully charged" camera at 60% the next morning. Use On when power is on as your default and switch to On anytime only when you actually want transfers running in the background.
Also worth knowing: Auto Power Off is likewise suspended during movie recording and playback, during Interval Shooting and Interval Composite, while data is processing, and while the camera is connected to a computer. None of those are bugs — but if you set up an interval sequence and walk away, the camera has no power-saving fallback at all.
Small bonus: MENU > E4 > Power Button Lamp can be set to Off. The saving is trivial, but it also makes the camera less conspicuous in the dark, which is a reasonable street-shooting argument on its own.
Charging and Spares
The GR III charges in-camera over USB-C, and Ricoh's stated figure is about 2.5 hours from empty to full at 25°C using the supplied cable and adapter. A few things worth knowing:
- Turning the camera on while charging interrupts the charge. You cannot shoot and charge at the same time.
- A power bank works fine as a field charger, which is what makes the single-spare-plus-battery-pack approach viable for travel.
- The camera can also charge from a computer over USB.
- Ricoh sells an optional external charger, the BJ-11, and it isn't in the box. Any DB-110 dual dock does the same job. If you own more than one battery, this is the accessory that actually changes your day — charging three cells sequentially through the camera body takes an entire evening and ties up the camera the whole time. Our accessories guide makes the same case at more length.
- For mains-powered work like long interval sequences, the optional D-AC166 AC adapter removes the problem entirely.
Two notes on the batteries themselves. Ricoh explicitly specifies genuine DB-110 cells only, and while third-party packs are widely used, an incompatible battery will throw an error and refuse to work. And if a battery starts running down quickly even after a full charge, that's not a settings problem — it's end of service life. DB-110s that have been through a few hundred cycles are simply worse than new ones, which is worth remembering before you go hunting for a menu fix.
One thing cold weather will teach you: lithium capacity falls sharply below freezing. The CIPA test is run at 23°C. In winter conditions, keep the spare in an inside pocket against your body — a cold battery that reads empty will often come back once it warms up.
A Practical Full-Day Setup
For a day of street or travel shooting:
- E7 > Sleep Mode: 1min. — keep the default
- E7 > Auto Power Off: 5min. — fewer expensive cold starts while you're actively shooting
- E7 > LCD Auto Dim: On
- E3 > LCD Setting > Brightness: -2, with Outdoor View Setting used only when needed
- D3 > Instant Review: 0.5sec. and break the chimping habit
- A7 > Shake Reduction on the Fn button, off in bright light
- E6 > Bluetooth Action Mode: On when power is on, Wi-Fi off unless transferring
- One spare DB-110 in a pocket, plus a power bank
And a small feature nobody mentions: the GR III shows you the number of images taken that day when you turn the power off. It's a surprisingly good habit-tracker. If that count is 40 and your battery is dead, the battery isn't the problem — the screen time is.
Final Thoughts
The Ricoh GR III's battery is small, and no amount of menu tuning changes the physics of 4.9Wh. But the 200-shot rating describes a test protocol, not your day. Screen time, cold starts, an always-awake app connection and a chimping habit are what actually drain a DB-110 — and all four are things you decide, not things the camera does to you.
Get the settings above in place and one spare cell covers a genuinely long day. That's the version of this camera worth carrying: the one that stays in your pocket because it's small, and stays usable because you set it up properly.
One more argument for shooting this way: a recipe baked into the JPEG means there's nothing to review and nothing to fix later. Load a look into U1, U2 or U3 and the screen stays dark between frames because you already know what you're getting.
Browse the full collection of Ricoh GR III presets, or start with Kodak Gold 200 for warm daylight frames and Ilford HP5 B&W for high-contrast monochrome. Bundles are here, and our guide to applying presets walks through getting them into a user mode.
Get a free recipe + 15% off your first order
Our Natural Analog recipe (exact settings for the GR III, GR IIIx and GR IV) and a personal discount code, straight to your inbox.
No spam. Unsubscribe in one click.