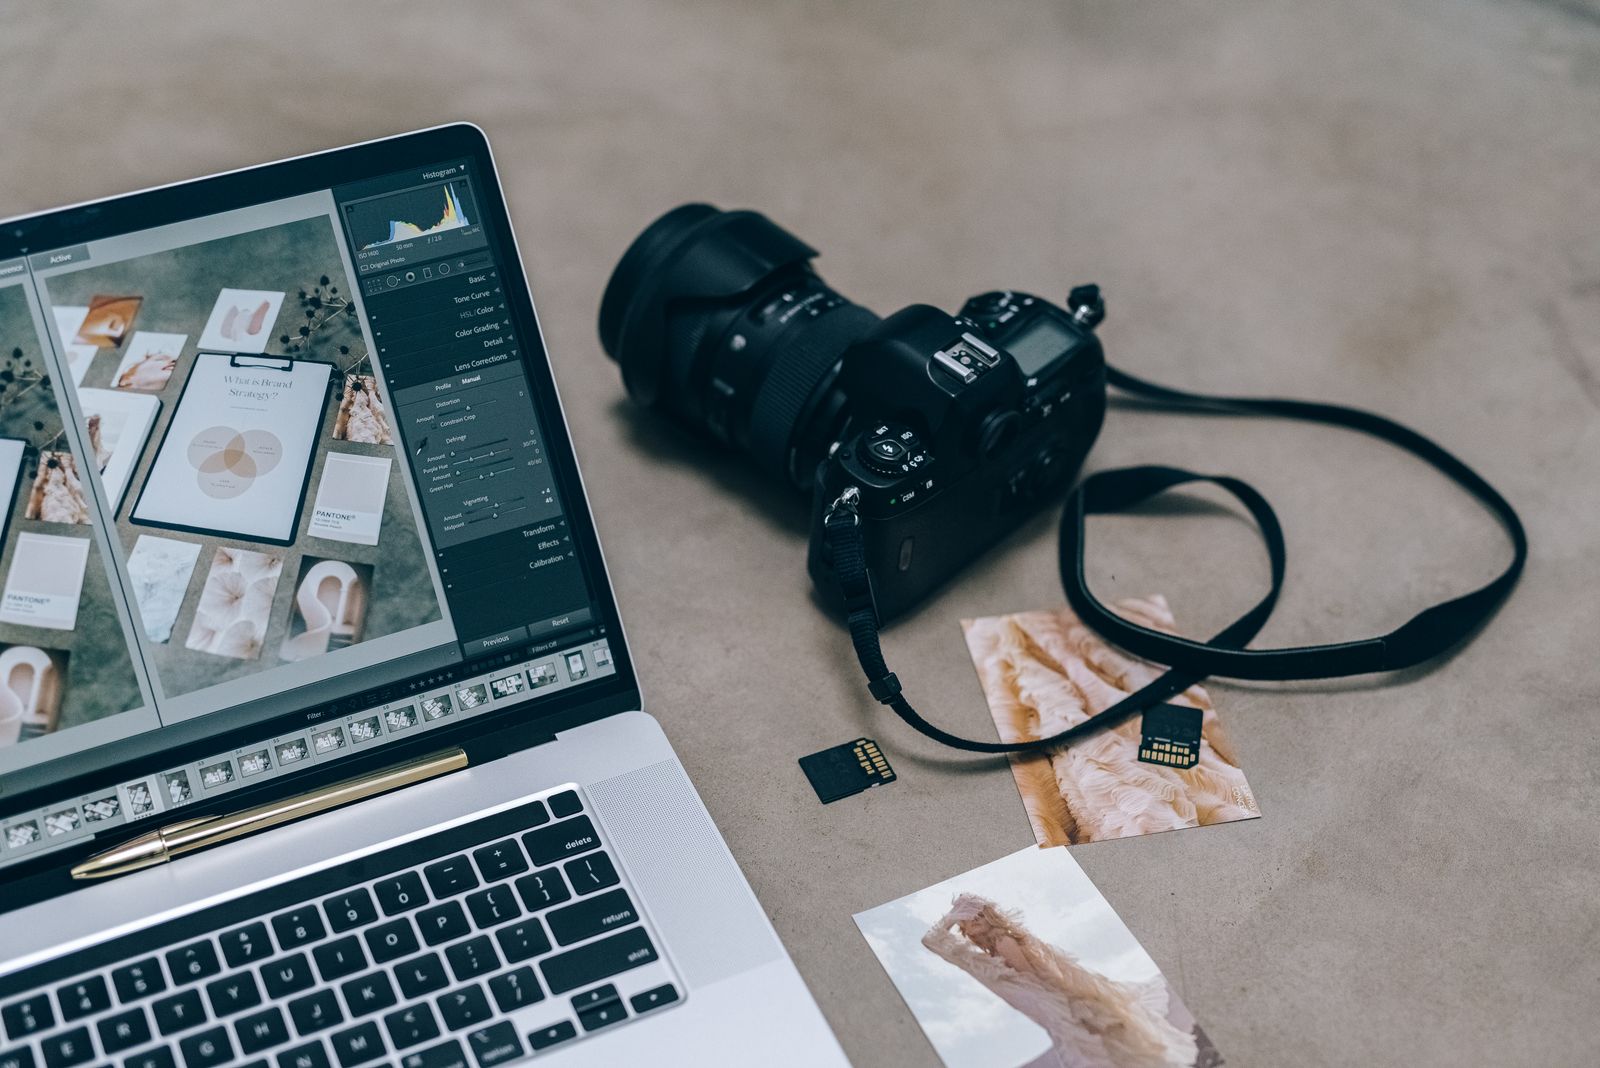
Ricoh GR III RAW vs JPEG: Which Should You Actually Shoot?
Ask this question in any Ricoh forum and you'll get the same reflex answer: always shoot RAW. It's the safe advice, it's technically defensible, and on the GR III it's also the answer most likely to make you stop enjoying the camera.
Because the GR III isn't a studio body. It's a camera you carry because it disappears into a pocket, wakes up in about a second, and gets out of your way. Every one of those virtues has a file-format cost attached to it — and the DNG file the GR III writes is unusually large for a 24-megapixel APS-C camera.
This guide covers exactly what the Ricoh GR III's three format options do, what RAW costs in buffer, battery and card space, why the film recipe workflow only lives in JPEG, and the in-camera RAW development feature that lets you stop choosing.
The Three Options, and What They Actually Write
You'll find these at MENU > Shooting Settings > File Format:
| Setting | What lands on the card | Approx. size per frame |
|---|---|---|
| JPEG | One JPEG at your chosen size/quality | ~8–15 MB at L / Fine |
| RAW | One 14-bit DNG plus an embedded JPEG | ~40+ MB |
| RAW+ | One DNG plus a full separate JPEG | ~50–60 MB |
Two things here surprise people.
The GR III's RAW is Adobe DNG, not a proprietary format. No vendor converter, no waiting for Adobe to add camera support, no .PEF or .ARW to wrangle. The files open directly in Lightroom, Capture One, darktable, RawTherapee, Apple Photos and Affinity. Among compact cameras this is genuinely rare and genuinely valuable — a GR III DNG you shoot today will still open in software that doesn't exist yet.
"RAW" mode still writes a JPEG. Selecting RAW doesn't mean you lose the processed file — the DNG carries a JPEG preview, and that's what you see on the rear screen. RAW+ is the setting that gives you a full-size independent JPEG alongside the DNG. If you want your recipe applied to a real, shareable file, RAW+ is the one you want, not RAW.
The GR III's DNG is 14-bit — a real upgrade over the GR II's 12-bit files, and it's where the shadow-recovery headroom comes from. It's also why the files are so large: the GR III does not compress its RAW data the way most cameras do.
What RAW Actually Costs You on This Camera
This is the part the "always shoot RAW" advice skips. On a full-size body with a fast card and a big buffer, RAW is nearly free. On the GR III it is not.
Card space. Rough working numbers on a 64 GB card:
| Format | Frames per 64 GB |
|---|---|
| JPEG (L / Fine) | ~4,500 |
| RAW | ~1,500 |
| RAW+ | ~1,100 |
For a scale check that comes straight from Ricoh: the GR III's ~2 GB internal memory holds about 140 JPEGs at size L — but only about 31 frames in RAW+. That's a better than 4:1 ratio. On a long trip with one card, that ratio is the difference between shooting freely and rationing frames.
Buffer and continuous shooting. The GR III shoots roughly 4 fps, and the buffer fills fast when each frame is 40+ MB. In JPEG you can hold the shutter through a passing moment; in RAW+ the camera stalls after a short burst and then makes you wait while it flushes to the card. If you shoot skateboarding, street or anything with a decisive moment in it, this is not a theoretical cost — it's the frame you didn't get.
Battery. The GR III is rated at roughly 200 shots per DB-110 charge, which is modest to begin with. Writing 50 MB per frame instead of 10 MB means more time with the card active and more time with the buffer working. RAW+ measurably shortens an already short day. Spare batteries are the first item in our accessories guide for exactly this reason.
Card speed matters more than you'd think. The GR III is UHS-I, so there's a hard ceiling on write speed — but a slow or old card will make RAW shooting feel broken in a way that has nothing to do with the camera. A decent V30 UHS-I card is the cheapest performance upgrade available to a GR III owner.
Pro tip: the format setting is stored in the GR III's U1/U2/U3 user modes. Put JPEG-only in your fast street mode and RAW+ in your deliberate mode, and you switch the whole trade-off with the mode dial instead of a menu dive. Our U1/U2/U3 setup guide walks through it.
The Case for JPEG on the GR III Specifically
Here's the thing that makes the GR III different from a generic "just shoot RAW" camera: its JPEG engine is the reason people buy it.
The GR III's out-of-camera colour is a deliberate design choice, not a compromise. Ricoh's Image Control modes — Positive Film, Standard, Hi Contrast B&W, Negative Film, Bleach Bypass — combined with per-mode saturation, hue, high/low key, contrast, sharpness, shading and clarity sliders, plus white balance with CTE and Kelvin control, form a genuinely deep in-camera colour engine.
And that engine only touches JPEGs.
This is the single most important fact about the format question on this camera: a film recipe is a JPEG recipe. Every Kodak Portra 400 or CineStill 800T setup you dial in, every preset in our collection, exists as a set of in-camera JPEG parameters. Open the DNG from that same frame in Lightroom and you get a flat, neutral file with none of it applied. The recipe isn't lost — it just never existed in the RAW.
Which means the honest argument for JPEG isn't "it's good enough." It's:
- You finish the photo when you take it. No import, no cull, no edit queue. The look you chose is the look you have.
- You actually learn light. When the file you keep is the file the camera made, you start making exposure and white balance decisions on purpose. That's the fastest way to get better.
- The camera stays fast. No buffer stalls, no card anxiety, 4,500 frames on a card you'll never fill.
- The backlog never forms. The real reason most people's RAW files never get edited is that editing 800 frames from a weekend is a job, not a hobby.
The Case for RAW — Honestly
RAW earns its place in specific, identifiable situations. Not all of them.
Extreme dynamic range. 14 bits of latitude means you can lift shadows or pull back highlights by a couple of stops without the file falling apart. Backlit scenes, silhouettes, and the brutal contrast of harsh midday sun are where a JPEG's clipped highlights are gone for good and a DNG's are still there.
Mixed or unknown light. Neon streets, concert lighting, tungsten interiors bleeding into daylight through a window. White balance is a free, lossless decision in RAW and a permanent one in JPEG.
High ISO. Above roughly ISO 3200 the difference between the GR III's in-camera noise reduction and a modern AI denoiser in Lightroom is not subtle. For serious night or astrophotography work, RAW is the right call and it isn't close.
Work you can't reshoot. A wedding, a family milestone, a trip you'll take once. Insurance is worth carrying when the cost of being wrong is permanent.
When you're developing a recipe. Shoot RAW+ while you're testing settings. The JPEG is your feedback loop — it tells you immediately whether the look works — and the DNG means a bad guess isn't a lost frame.
Notice what's not on that list: ordinary daylight street shooting in even light. That's the majority of what a GR III does, and it's exactly where a good JPEG recipe wins on every axis that matters.
In-Camera RAW Development: The Feature That Ends the Argument
This is the most underused feature on the camera, and it changes the whole calculation.
The GR III can develop a DNG into a JPEG on the camera, with no computer involved. Press Playback, select a RAW frame, press the ADJ lever or MENU and choose RAW Development. You then get to re-decide:
- Image Control mode and all its parameters
- White balance, including Kelvin and fine-tuning
- Exposure compensation
- Sensitivity / noise reduction
- Recorded pixels and aspect ratio
- Peripheral illumination correction
Then it renders a new JPEG and leaves the original DNG untouched. Because every adjustment is applied in a single pass before the file is written, there's no generational quality loss the way there would be from re-saving a JPEG repeatedly.
Read that list again with the recipe workflow in mind. You can apply a film recipe to a photo you already took. Shoot a scene in RAW+, get home, decide the frame wants Kodak Tri-X instead of the colour recipe you had loaded, and develop it in-camera with the mono settings dialled in. Same engine, same colour science, different decision — and you can develop the same DNG three different ways and compare.
This is also the best possible way to learn recipes. Take one high-contrast frame and one flat frame, then develop each through four different Image Control setups. Twenty minutes on the couch teaches you more about what each slider actually does than a month of reading settings tables.
So: What Should You Set?
A straight recommendation rather than a list of caveats.
For most GR III owners, most of the time: RAW+ with a recipe loaded, on a large card.
You get the finished JPEG immediately — recipe applied, ready to post, which is the whole reason you bought this camera — and the DNG sits there as insurance for the two or three frames per hundred that turn out to be worth real work. Cards are cheap; the frame you can't recover isn't.
Then override deliberately:
| Situation | Format | Why |
|---|---|---|
| Daylight street, high frame count | JPEG (L / Fine) | Buffer and battery matter more than latitude |
| Travel, one card, no laptop | JPEG | 4,500 frames vs 1,100 |
| Night, neon, concerts, astro | RAW+ | White balance and high-ISO recovery |
| Weddings, once-only events | RAW+ | Insurance |
| Developing a new recipe | RAW+ | JPEG for feedback, DNG for retries |
| Sport, skating, decisive-moment work | JPEG | Never stall the buffer |
And one setting worth changing regardless of which you pick: if you shoot JPEG at all, make sure it's size L at Fine (★★★) quality. The GR III's default isn't its maximum, and a compressed JPEG is the one part of this whole discussion where you lose quality for absolutely nothing in return.
A Note on Crop Mode
Worth knowing if you use it: with Crop Mode set to 35mm or 50mm, the JPEG is cropped as you framed it, but the DNG retains the full 28mm frame. Shooting RAW+ with Crop Mode active gives you a cropped JPEG to share and the whole scene in reserve if you clipped something at the edge. It's the most useful way to run Crop Mode — details in our Crop Mode guide.
Final Thoughts
"Always shoot RAW" is advice built for cameras whose JPEGs aren't worth keeping. The Ricoh GR III is not that camera. Its JPEG engine is the product — the reason a 2019 compact still outsells cameras with better specs.
So the format question isn't really RAW versus JPEG. It's whether you want to finish your photographs at the moment you take them, or later at a desk. The GR III is unusually good at the first, and RAW+ plus in-camera RAW development means choosing the first doesn't cost you the second.
Shoot RAW+ so you have a safety net. Load a recipe so you don't need it.
Ready to put a look on the card? Browse the full collection of Ricoh GR III presets, or start with Kodak Gold 200 for warm everyday frames and Ilford HP5 B&W for high-contrast monochrome. Bundles are here, and our guide to applying presets covers getting them onto the camera.
Get a free recipe + 15% off your first order
Our Natural Analog recipe (exact settings for the GR III, GR IIIx and GR IV) and a personal discount code, straight to your inbox.
No spam. Unsubscribe in one click.