Ricoh GR III White Balance Explained: Kelvin, CTE and Going Beyond Auto
Look at any Ricoh GR III film recipe and you'll notice the same thing: the Image Control values are usually modest, and the white balance is doing most of the heavy lifting. A Kodak Gold look isn't warm because saturation is at +4 — it's warm because the white balance is parked at 6900K with a magenta shift. Saturation and contrast shape the image; white balance decides what colour the whole frame is.
Which makes Auto white balance the setting most likely to quietly undo your recipe. AWB is designed to neutralise colour casts, and colour casts are exactly what you're trying to keep. This guide covers every white balance mode on the Ricoh GR III, what each one is genuinely good for, and the fine-tuning system most owners never open.
The Ricoh GR III White Balance Modes, Ranked by Usefulness
Press the ADJ lever or go to the shooting menu and you'll find the full list. Here's what actually matters in each.
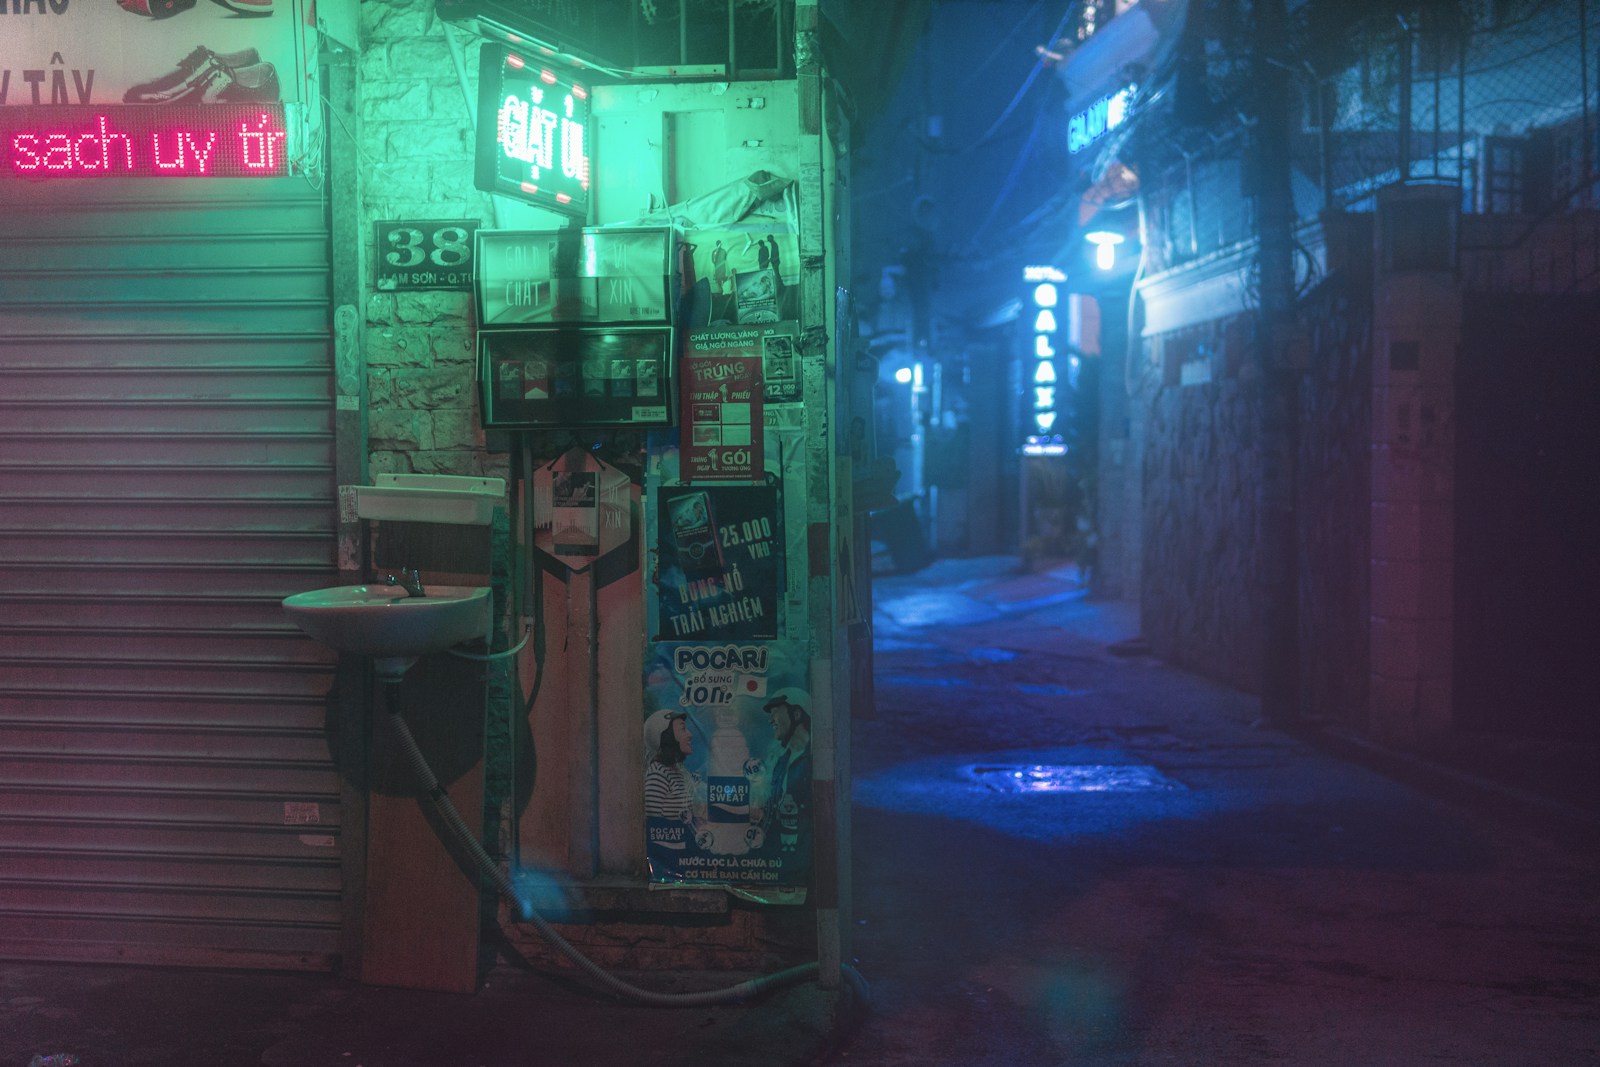
Auto (AWB) — Reads the whole scene and guesses. Excellent in open daylight, unreliable the moment a scene is dominated by one colour: a red brick wall, a green forest canopy, a neon sign. It will "correct" that dominance away, and with it, the reason you took the photo.
Multi Auto — The GR III's smarter auto. It divides the frame into zones and applies different corrections per zone, so a subject under tungsten light against a blue evening sky can both look right. Genuinely useful for mixed-light interiors and shop windows. The trade-off: it's unpredictable frame to frame, so consecutive shots of the same scene can shift. Good for keepers, bad for consistency across a set.
Daylight / Shade / Cloudy — Fixed presets, roughly 5200K, 7500K and 6000K. Their value is predictability, not accuracy. Shooting Cloudy on an overcast day gives you a warm, slightly nostalgic base that Auto would have flattened. A lot of shooters run Cloudy as a permanent slight-warm default and never touch WB again.
Fluorescent (D / N / W / L) — Four flavours: Daylight colour, Daylight white, White and Warm white. Rarely worth hunting through unless you're shooting under a specific known tube — but the Warm white option is a decent shortcut in older offices, laundromats and convenience stores.
Tungsten — Around 3000K, built to neutralise incandescent light. Note what "neutralise" means: it kills the orange glow. If you want that glow — cafés, night interiors, street lamps — Tungsten is the wrong choice and Cloudy or a fixed Kelvin is better.
CTE (Color Temperature Extension) — The one nobody uses and everybody should try. Inherited from Pentax, CTE does the opposite of Auto: instead of removing the dominant colour cast, it exaggerates it. Point it at a sunset and you get deeper oranges; at blue hour, deeper blues. It's the closest thing the Ricoh GR III has to a built-in creative WB mode, and it makes golden hour and sunset frames look like slide film straight out of camera. Under flat midday light it does almost nothing, which is why people try it once and forget it.
Manual WB (1, 2, 3) — Point the camera at a white or grey surface and lock a reading. Three slots. This is the accuracy tool: product shots, documents, museum and gallery work where the lighting is weird and consistent.
Color Temperature (K) — Set the number yourself, from 2500K to 10000K. This is where every serious film recipe lives, because it's the only mode that gives you the same result in the same light every single time.
How Kelvin Actually Works (The Part That Trips People Up)
The counter-intuitive bit: raising the Kelvin number makes your image warmer, not cooler. You're telling the camera "the light is this cold, compensate for it" — so a high value like 7500K adds warmth to correct for light the camera now believes is very blue.
Practical translation:
- 2500–3500K — Cools everything hard. Blue, clinical night frames.
- 4000–4800K — Slightly cool. Good for keeping tungsten interiors from going full orange while retaining some warmth.
- 5200K — Neutral daylight. Your baseline.
- 5600–6500K — Gently warm. The sweet spot for most colour negative film looks.
- 6900–7500K — Distinctly warm and golden. Kodak Gold and consumer-film territory.
- 8000K+ — Heavy amber. Deliberate, stylised, easy to overdo.
Pro tip: if you want honest daylight colour but hate AWB's inconsistency, just set 5400K and leave it. You'll get frames that grade together as a set, which is the thing Auto can never give you.
The Fine-Tuning Grid Nobody Opens
Every white balance mode on the Ricoh GR III — including the Autos — can be nudged on a two-axis grid: A-B (amber to blue) and G-M (green to magenta). Highlight a WB mode and press the button prompted on screen to open it.
This is where recipes get their character. That "6900K, A5 M4" in a Kodak Gold 200 recipe means 6900K, five steps toward amber, four toward magenta. The magenta shift is the important one — it counteracts the slight green cast digital sensors give foliage and concrete, and it's a large part of why film emulations feel filmic rather than just warm.
Two shifts worth memorising:
- M3–M5 (toward magenta) — Cleans green out of shade, forest scenes and fluorescent interiors. Almost universally flattering on skin.
- A3–A6 (toward amber) — Warmth that doesn't wash out highlights the way a big Kelvin jump can. Stacking a modest Kelvin value with an amber shift gives a richer result than one extreme Kelvin value alone.
Fine-tuning survives into your saved User modes, so once you've dialled a combination in you never have to think about it again.
White Balance Settings Worth Saving
Four combinations that cover most shooting:
Everyday street, warm — 6000K, A2 M2. Neutral enough to be honest, warm enough to look intentional. Pairs well with the Reggie's Color Negative recipe.
Night and neon — Fixed 3800K, no shift. Keeps tungsten warmth honest instead of letting Auto flatten it, while stopping neon from blowing out into pure magenta. Details in the neon and city lights guide.
Overcast and shade — 6500K, M4. Fixes the flat blue-green cast cloudy days give you without making the scene look sunny.
Sunset and blue hour — CTE, no shift. Let the camera exaggerate what's already there.
One Habit That Makes All of This Easier
Shoot RAW+ while you're experimenting. The JPEG shows you what your white balance choice does — which is the whole point of getting it right in camera — and the RAW means a wrong call at 5am isn't a lost frame. Once a WB setting has survived a few real shooting days, save it into a User mode and stop thinking about it.
White balance is the most under-adjusted setting on the Ricoh GR III and the one with the biggest effect on how your JPEGs feel. Move off Auto, pick a number, and your photos will start looking like a body of work instead of a collection of individually corrected frames.
Want the exact Kelvin values and A-B/G-M shifts already worked out? Our preset collection spells out every setting for film looks from Kodak Gold to Ilford HP5 — and our guide on how to apply GR III presets walks you through entering them in under two minutes.
Get a free recipe + 15% off your first order
Our Natural Analog recipe (exact settings for the GR III, GR IIIx and GR IV) and a personal discount code, straight to your inbox.
No spam. Unsubscribe in one click.