Ricoh GR III Forest & Woodland Photography: Settings, Tips, and Best Recipes
Forests are one of the most rewarding and most challenging environments for any photographer. Dappled light, dense canopy, towering trunks, tangled undergrowth -- the visual complexity is enormous. Most photographers reach for a telephoto to isolate details, but the Ricoh GR III's 28mm lens forces you to engage with the entire scene, and the results can be extraordinary.
The compact body slips into a jacket pocket, letting you move through trails without the burden of a camera bag. The APS-C sensor handles the extreme dynamic range between sunlit canopy and shadowed forest floor. And the in-camera preset system lets you craft the moody, atmospheric look that woodland photography demands -- straight out of camera.
This guide covers everything you need to shoot compelling forest and woodland images with your GR III.
Why the Ricoh GR III Excels in Forest Environments
Woodland photography has specific demands that the GR III meets surprisingly well:
- 28mm wide-angle lens captures the scale and depth of forest scenes, drawing the viewer into the frame through layered foreground, midground, and background elements
- f/2.8 maximum aperture gathers enough light to shoot handheld in the shade of a dense canopy without pushing ISO to uncomfortable levels
- 4-stop Shake Reduction compensates for the slower shutter speeds that forest shade inevitably requires
- Built-in 2-stop ND filter lets you blur a forest stream or waterfall without carrying external filters
- 24.2MP APS-C sensor delivers the dynamic range needed to hold detail in both bright sky patches peeking through the canopy and deep shadows on the forest floor
- 257g body weight means you'll carry it on every hike, every trail walk, every morning wander -- the best camera is the one you have with you
The 28mm focal length is often considered too wide for forests, but that's a misconception. Used deliberately, it creates images with powerful depth and immersion. The key is getting close to foreground elements -- a moss-covered root, a cluster of ferns, a fallen log -- and letting the wide angle pull the background forest into context.
Essential Camera Settings for Forest Photography
Shooting Mode: Aperture Priority (Av) with Exposure Compensation
Forests consistently fool light meters. Bright gaps in the canopy surrounded by deep shadow create high-contrast scenes that confuse evaluative metering. Start in Aperture Priority (Av) for flexibility, but be ready to dial in exposure compensation.
A good default: set exposure compensation to +0.3 to +0.7 EV. Forest scenes tend to meter dark because the camera tries to average out bright sky patches with shadow areas, underexposing the midtones that carry most of the visual information.
Switch to Manual (M) when shooting in consistent light -- deep forest shade where the canopy is uniform, for example, or during overcast conditions when light barely changes.
Aperture Selection
The GR III's lens performs beautifully in the f/4 to f/8 range, which covers most woodland scenarios:
- f/2.8 -- Use for isolating single subjects: a mushroom on a log, light filtering through a single leaf, a spider web catching dew. Shallow depth of field separates your subject from the visual chaos of the forest.
- f/4 -- A versatile choice. Enough depth of field for a tree trunk with soft background separation. Excellent for portraits of individual trees.
- f/5.6 to f/8 -- The sweet spot for broader forest scenes where you want sharpness from foreground ferns to distant trunks. Most of your woodland shots will live here.
- f/11 -- Reserve for scenes with very close foreground elements where maximum depth of field matters. Diffraction begins to soften the image slightly beyond this point.
ISO Configuration
Forest shade means higher ISOs than you might expect. Configure Auto ISO thoughtfully:
Navigate to MENU > Shooting Settings > ISO Sensitivity:
- Auto ISO range: 200-3200 -- Wider than the typical landscape setting because forest shade genuinely demands it
- Minimum shutter speed: 1/60s for static scenes, 1/125s if there's wind moving branches and leaves
- For tripod work on forest streams or misty mornings, lock ISO at 200 and let the shutter extend
The GR III produces clean files through ISO 1600. At ISO 3200, there's visible grain, but it actually complements the organic texture of woodland scenes -- think of it as adding film-like character rather than degrading quality.
Focus Settings
Dense forests challenge autofocus. Branches, leaves, and trunks at various distances can confuse contrast-detection AF. Here's how to handle it:
- Single-point AF (Spot) -- Move the focus point to your intended subject rather than relying on multi-point AF, which may lock onto the wrong branch or leaf
- Touch AF -- Tap the screen on exactly what you want sharp. Essential when shooting through gaps in foliage
- Manual Focus with Peaking -- The best option for deliberate, tripod-based compositions. Enable focus peaking (MENU > Shooting Settings > Focus Assist) in a high-visibility color like red or yellow
- Snap Focus at 2.5m -- A surprisingly effective technique for walking through forests. Pre-set the focus distance to 2.5m, shoot at f/5.6 or f/8, and everything from roughly 1.2m to infinity stays acceptably sharp. You can shoot instantly without waiting for AF to hunt
White Balance for Woodland Mood
White balance is one of the most powerful creative tools in forest photography. The color of light under a canopy shifts dramatically:
- Daylight (5500K) -- Produces a cool, slightly blue-green cast under canopy. Accurate but can feel clinical.
- Shade (7500K) -- Adds warmth that counteracts the cool shadows. Excellent for autumn woodland or golden hour light filtering through trees.
- Cloudy (6000K) -- A subtle warm shift. Good all-rounder for overcast forest conditions.
- CTE (Color Temperature Enhancement) -- Amplifies whatever color temperature exists. Under green canopy, it pushes green tones. In autumn, it intensifies warm colors. Use with intention.
- Manual Color Temperature: 4800-5200K -- For a deliberate cool, moody forest feel. This slightly cool white balance enhances the mysterious, atmospheric quality of deep woodland.
Metering and Exposure
- Multi-segment metering works as a starting point, but check your histogram frequently. Forest scenes often produce a histogram bunched in the shadows with bright spikes from sky gaps.
- Center-weighted metering can be more predictable in forests since it prioritizes the middle of the frame where your subject typically sits.
- Highlight-weighted metering helps preserve bright sky patches visible through the canopy. Use this when those bright areas are part of the composition.
Key technique: Expose for the midtones and shadows. Bright sky patches through the canopy can blow out -- and that's often acceptable. Overexposed canopy gaps look natural, like your eyes perceive them. Underexposed shadows with crushed detail look like a technical failure.
Best Preset Recipes for Forest & Woodland Photography
Recipe 1: Enchanted Woodland (Lush Green Emphasis)
This recipe enhances the greens and natural tones that dominate forest scenes, producing rich, saturated images that feel alive.
| Setting | Value | |---------|-------| | Image Control | Positive Film | | Saturation | +2 | | Hue | +1 | | High/Low Key | -1 | | Contrast | +1 | | Contrast (Highlight) | -2 | | Contrast (Shadow) | -1 | | Sharpness | +2 | | Shading | +1 | | Clarity | +2 | | White Balance | Daylight (5500K) | | AF Mode | Spot |
When to use: Bright overcast days when the canopy diffuses light evenly. Spring and summer forests with fresh green foliage. Mossy environments, fern-covered forest floors, and scenes where green is the dominant color.
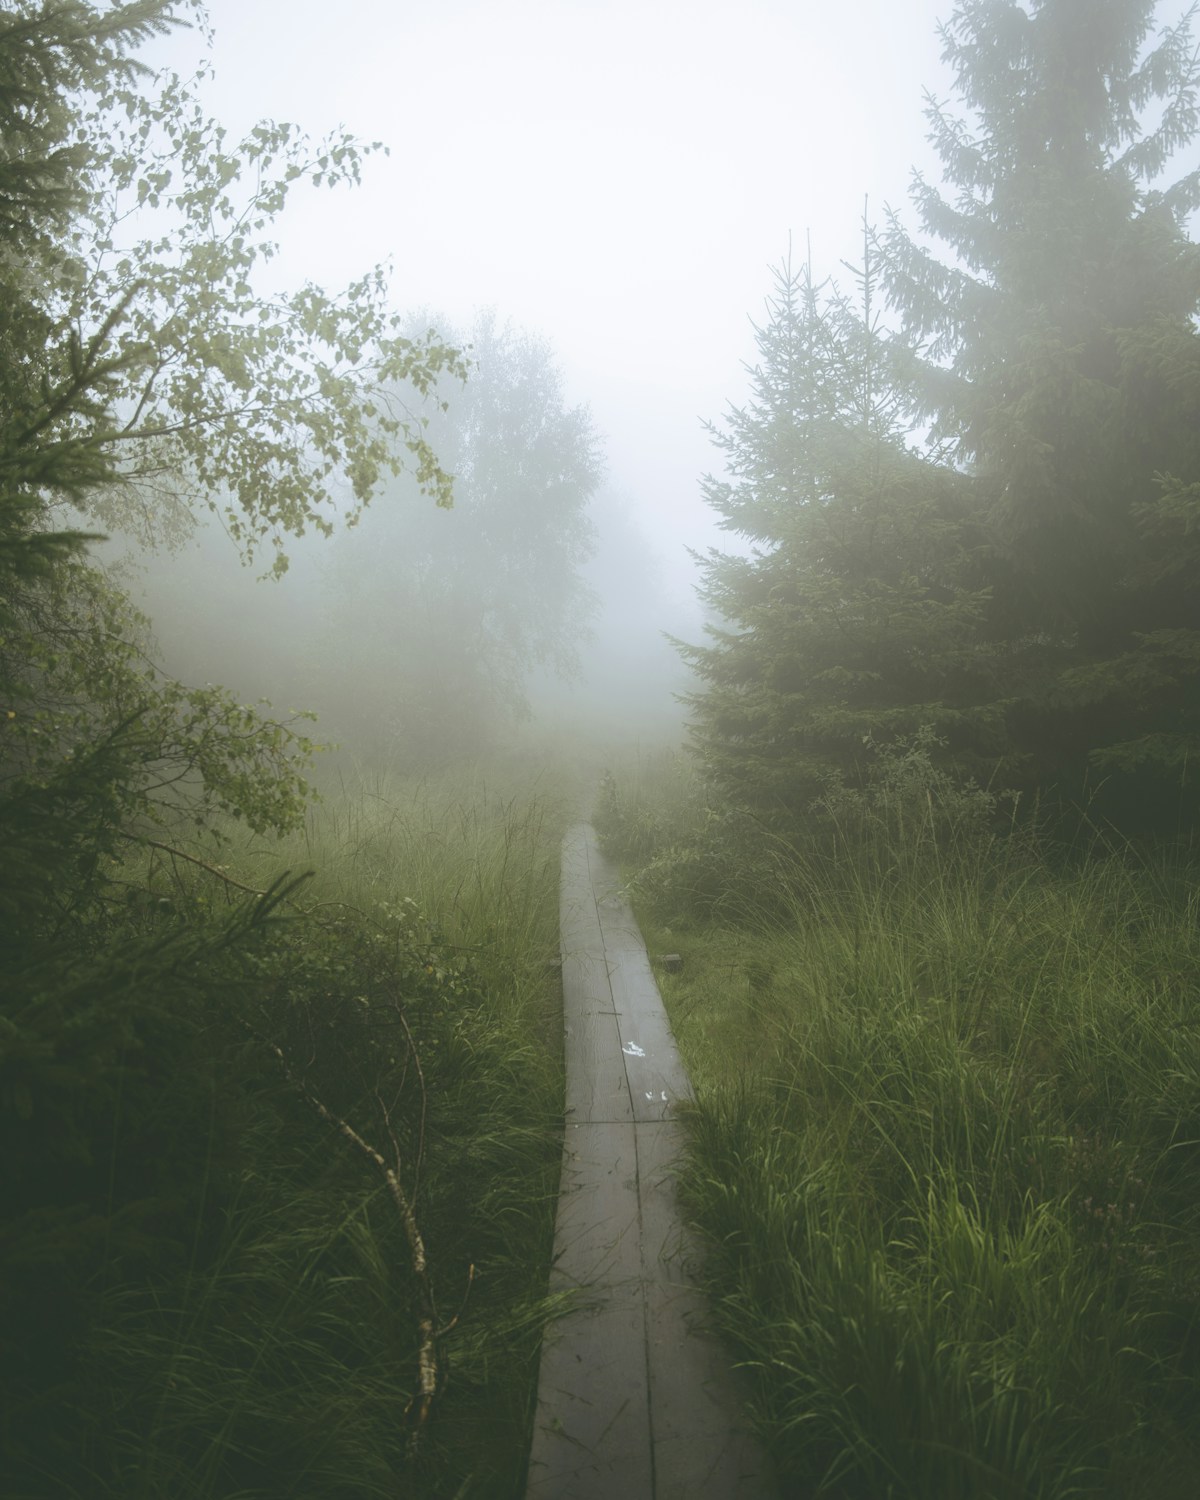
Recipe 2: Misty Forest Morning (Soft, Atmospheric)
Designed for fog, mist, and early morning conditions where forests take on an ethereal quality.
| Setting | Value | |---------|-------| | Image Control | Standard | | Saturation | -1 | | Hue | 0 | | High/Low Key | +2 | | Contrast | -2 | | Contrast (Highlight) | -2 | | Contrast (Shadow) | +1 | | Sharpness | 0 | | Shading | 0 | | Clarity | -2 | | White Balance | Manual CT (5000K) | | AF Mode | Spot |
When to use: Foggy mornings, mist rolling through trees, rain-soaked woodlands. The reduced contrast and lifted shadows create a dreamy, painterly quality. The slight desaturation prevents colors from looking unnatural in flat light, while reduced clarity adds a soft glow that enhances atmospheric haze.
Recipe 3: Dark Forest (Moody, Dramatic)
A high-contrast, desaturated look that emphasizes the dramatic, sometimes intimidating character of dense woodland.
| Setting | Value | |---------|-------| | Image Control | Bleach Bypass | | Saturation | -2 | | Hue | 0 | | High/Low Key | -2 | | Contrast | +3 | | Contrast (Highlight) | +1 | | Contrast (Shadow) | +2 | | Sharpness | +3 | | Shading | +2 | | Clarity | +3 | | White Balance | Manual CT (4800K) | | AF Mode | Spot |
When to use: Dense evergreen forests, deep shade, dramatic light shafts cutting through canopy, and any scene where you want to emphasize texture and form over color. Works exceptionally well in coniferous forests (pine, spruce, fir) where dark trunks and limited undergrowth create a stark, graphic quality.
Recipe 4: Autumn Canopy (Warm Film Look)
Optimized for autumn and late-season forests where warm tones dominate.
| Setting | Value | |---------|-------| | Image Control | Retro | | Saturation | +1 | | Hue | -1 | | High/Low Key | 0 | | Contrast | +1 | | Contrast (Highlight) | -1 | | Contrast (Shadow) | 0 | | Sharpness | +1 | | Shading | +1 | | Clarity | +1 | | White Balance | Shade (7500K) | | AF Mode | Spot |
When to use: Autumn forests with changing leaves, late afternoon light filtering through deciduous canopy, and any woodland scene where you want to emphasize warm amber, gold, and red tones. The Shade white balance pushes warmth, and the Retro image control adds a nostalgic film quality that suits seasonal transitions beautifully.
Composition Techniques for Forest Photography
Use Leading Lines
Forest trails, fallen logs, streams, rows of trunks, and fence lines all create natural leading lines. Position them to draw the viewer's eye from the foreground deep into the forest. With the 28mm lens, these lines gain powerful perspective convergence that creates a strong sense of depth.
Look Up
One of the most impactful forest compositions is shooting straight up into the canopy. Stand at the base of tall trees and point the GR III directly overhead. The converging trunks and radiating branches create a natural frame, and the 28mm lens captures the full spread of the canopy. Works best when the trees are roughly evenly spaced.
Isolate with Light
Forests are visually complex. The most effective way to simplify a woodland scene is to use light as your subject separator. Wait for a shaft of light to illuminate a single tree, a patch of ferns, or a section of trail. Expose for the lit area and let the surrounding shadow fall dark. The eye goes straight to the brightest point.
Layer the Depth
The 28mm focal length excels at creating layered compositions. Place a strong foreground element (roots, rocks, wildflowers) in the bottom third, a mid-ground subject (a distinctive tree, a stream) in the center, and the receding forest as background. This three-layer approach gives flat forest scenes dimensional depth.
Embrace the Chaos
Not every forest shot needs to be clean and minimal. Dense, tangled undergrowth, overlapping branches, and visual complexity can be the subject itself. The key is to commit to the chaos rather than trying to partially tame it. Fill the frame entirely. Let patterns and textures dominate. These images often work best with the Dark Forest recipe for graphic, high-contrast impact.
Best Conditions for Forest Photography
Overcast Days
Bright overcast is the gold standard for forest photography. The cloud layer acts as a giant diffuser, eliminating harsh shadows and hot spots. Colors saturate naturally. Contrast stays manageable. If you have one ideal condition to shoot forests, this is it.
Fog and Mist
Fog transforms familiar forests into otherworldly landscapes. It separates depth layers, making each row of trees progressively lighter and more ethereal. Early morning after a cool night is the most reliable time to find forest fog. Arrive before sunrise and be ready to shoot as light builds.
After Rain
Wet forests are more photogenic than dry ones. Rain darkens bark, intensifies the green of moss and leaves, adds reflections on wet surfaces, and can produce low-hanging mist. Bring a microfiber cloth for the lens, shoot within the first hour after rain stops, and watch the forest come alive.
Golden Hour Light
When the sun is low, light enters the forest horizontally and creates dramatic shafts through gaps in the canopy. This side-lighting emphasizes texture on bark and reveals depth between layers of trees. Position yourself so the light enters from the side or slightly behind your subjects for maximum atmosphere.
Practical Tips for Forest Shoots
- Protect your gear -- Forests are humid. Carry a microfiber cloth and wipe condensation off the lens regularly. The GR III isn't weather-sealed, so avoid shooting in active rain without protection.
- Use the built-in ND filter for forest streams and waterfalls. Activate it through MENU > Shooting Settings > ND Filter > On. Combined with f/8 and ISO 200, you can achieve shutter speeds around 1/4s to 1s depending on light -- enough to blur moving water.
- Shoot in RAW+JPEG -- Use JPEG with your preset recipe for immediate results, and keep the RAW file for scenes where you need to recover shadow detail or adjust white balance later. Forest dynamic range often exceeds what a single JPEG exposure can capture.
- Arrive early, stay late -- The best forest light happens in the first and last hour of the day. Midday sun through canopy creates harsh, unflattering contrast patterns that are difficult to work with.
- Walk slowly -- Forest compositions reveal themselves gradually. A few steps left or right can completely change how trunks align, how light falls, and which foreground elements are available. Don't rush.
- Check your horizon -- It's surprisingly easy to shoot crooked in forests because there are no obvious horizontal reference lines. Use the GR III's built-in electronic level (MENU > Custom Settings > Electronic Level > On) to keep verticals vertical.
Final Thoughts
Forest photography with the Ricoh GR III is an exercise in seeing clearly within visual complexity. The 28mm lens won't let you cheat by zooming past the clutter -- it forces you to find order, use light deliberately, and compose with intention. That constraint makes you a better photographer.
Start with the Enchanted Woodland recipe on your next overcast forest walk. Switch to Misty Forest Morning if fog rolls in. Save the Dark Forest preset for dense pine woods or dramatic light. Each recipe gives you a distinct visual language for a different forest mood.
The best forest images don't just show trees. They make the viewer feel the quiet, the scale, the smell of damp earth and pine needles. Your GR III, small as it is, can do exactly that.