Ricoh GR III Train & Railway Photography: Settings, Recipes, and Tips
There is something endlessly photogenic about trains and railways. The converging lines of tracks disappearing into the distance, steam and diesel smoke curling against a morning sky, the rush of a locomotive blasting through a rural station -- these are scenes that demand to be photographed. The Ricoh GR III, with its razor-sharp 28mm lens and pocketable form factor, is a surprisingly perfect tool for capturing the romance and raw power of rail.
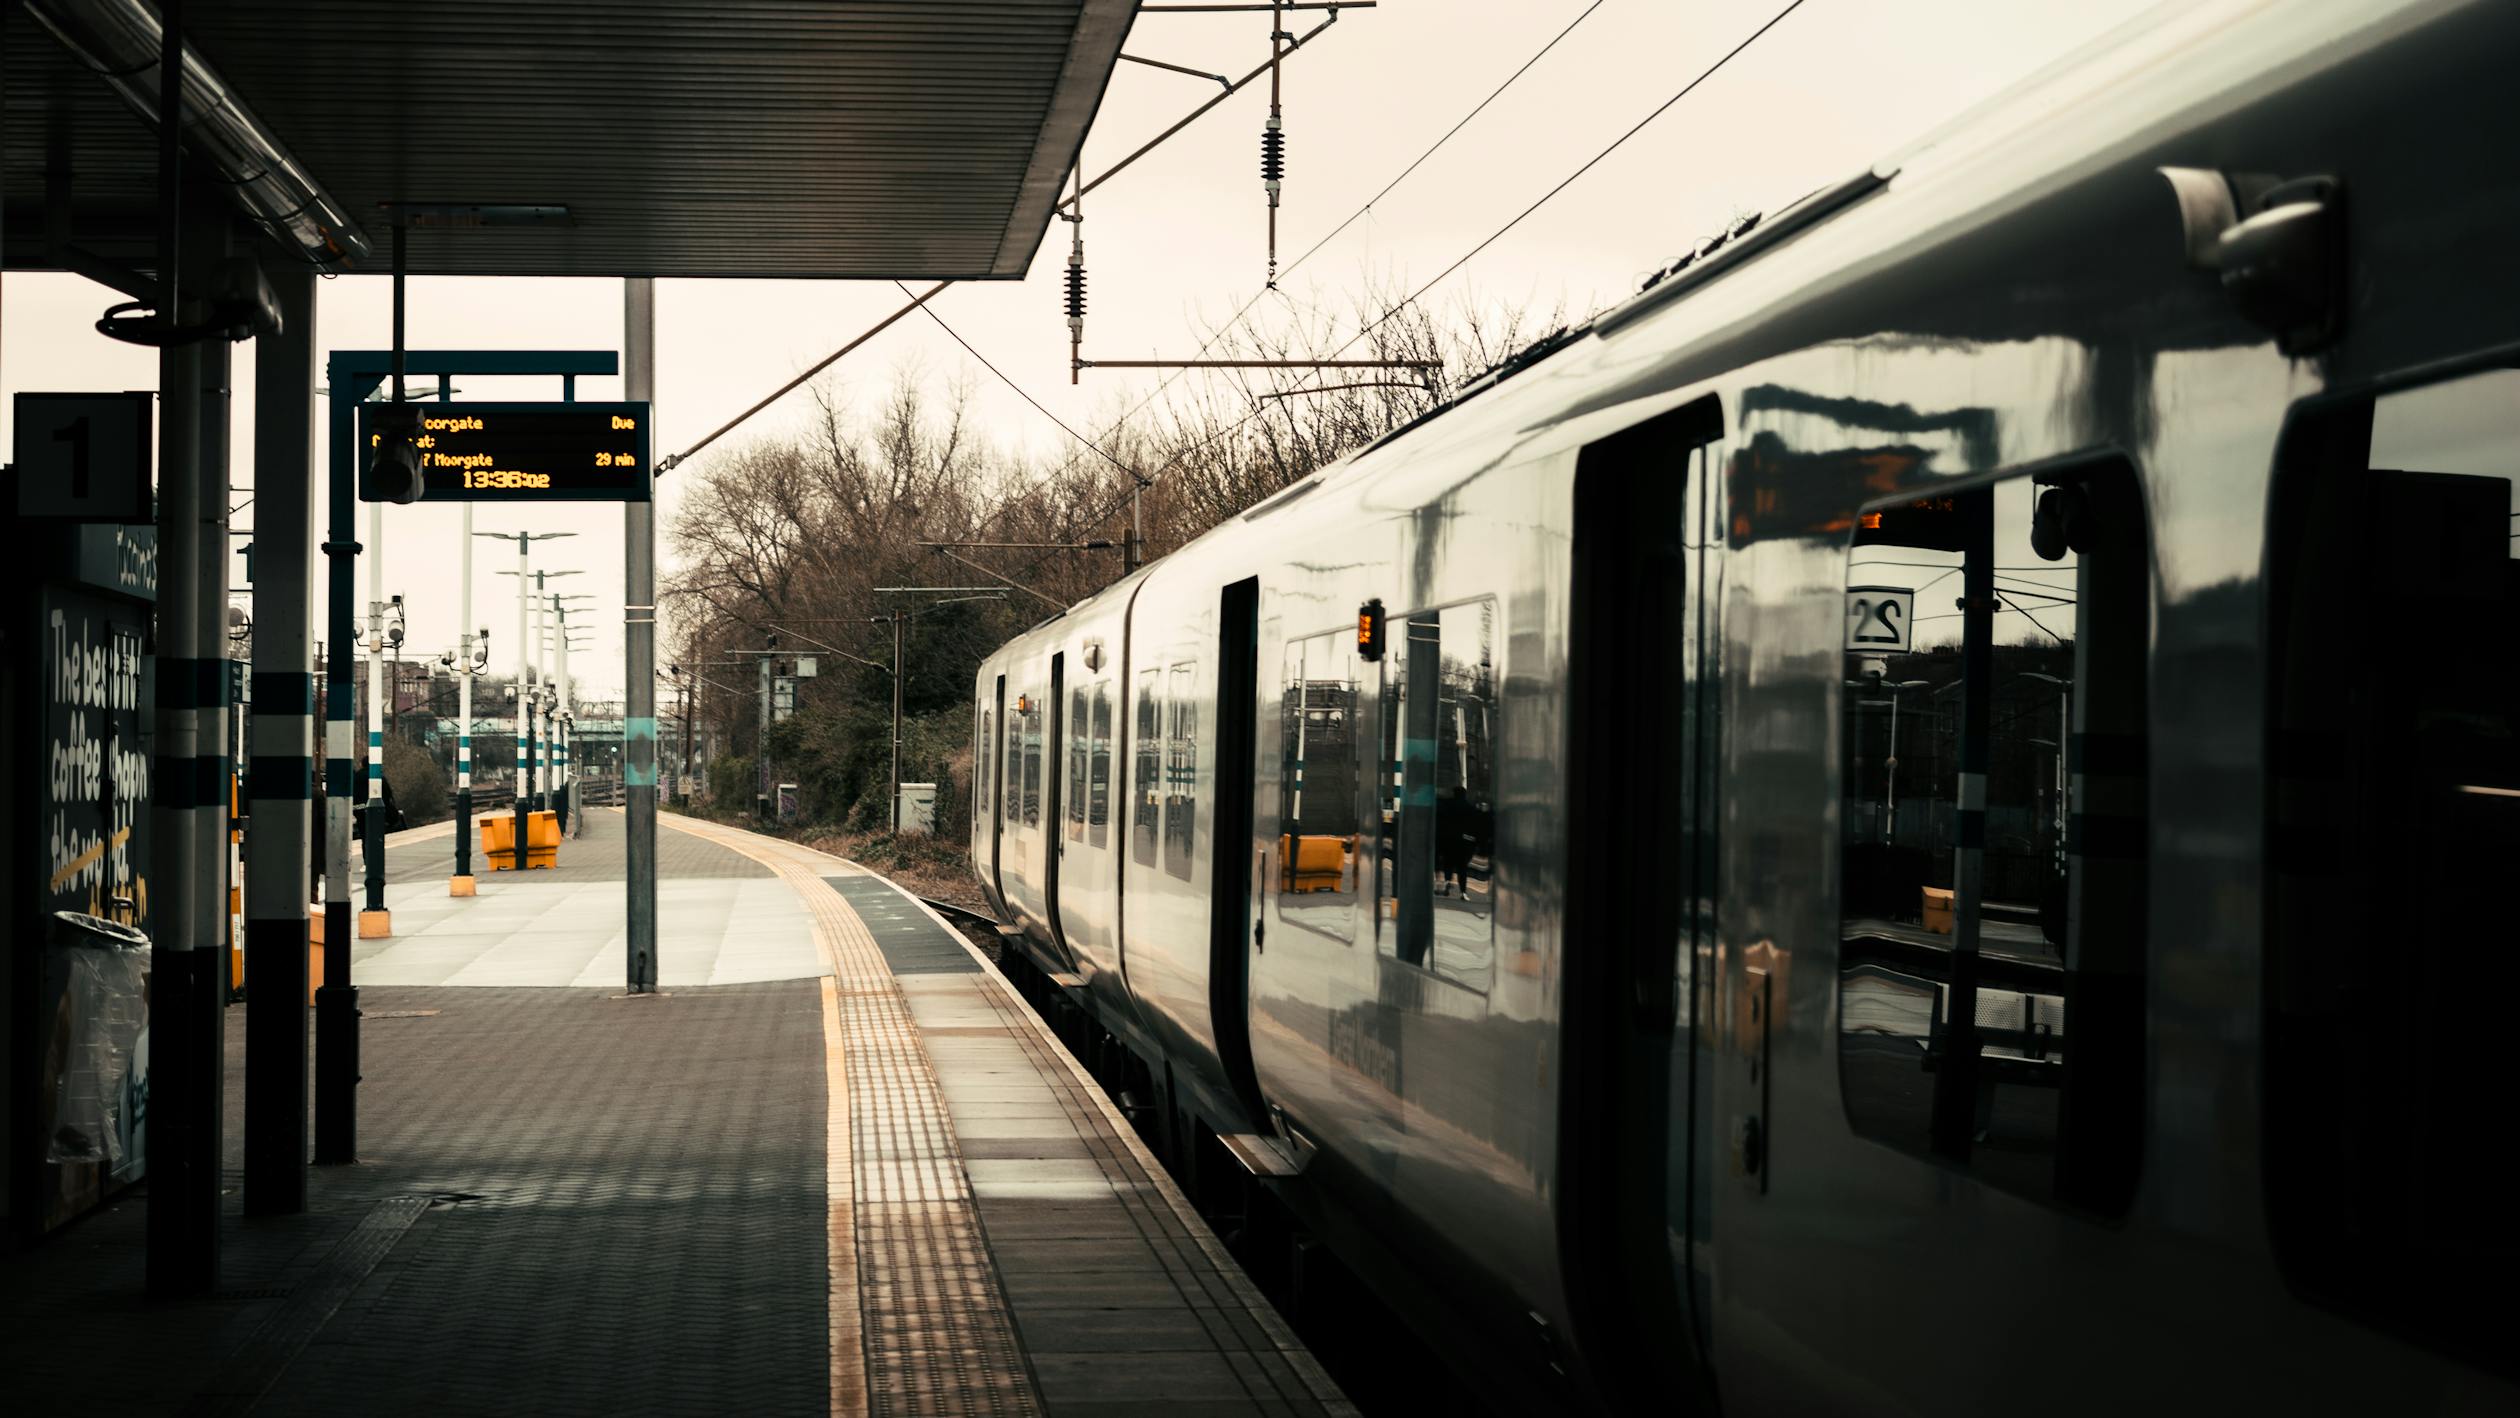
Unlike subway and metro photography, train and railway photography takes you above ground -- into open-air stations, along rural tracks, across bridges and viaducts, and beside some of the most visually dramatic machines ever built. This guide covers everything you need to shoot compelling train and railway images with your Ricoh GR III.
Why the Ricoh GR III Works for Train & Railway Photography
Railways combine industrial power with sweeping landscapes, and the GR III handles both sides of that equation:
- 28mm equivalent lens captures the full breadth of station platforms, locomotive profiles, and track perspectives without needing to step dangerously far back
- Compact pocketable size means you can always have it ready at a platform or trackside -- no fumbling with a camera bag when a train appears with thirty seconds of warning
- Fast f/2.8 aperture handles dim platform canopies, covered stations, and the interior of heritage carriages where light is scarce
- APS-C sensor delivers the dynamic range needed for high-contrast scenes like a backlit locomotive against a bright sky
- Snap Focus fires instantly when a train rounds a curve and you have seconds to react
- 3-axis image stabilization lets you shoot handheld at slower shutter speeds for motion blur effects as trains rush past
Essential Camera Settings for Train & Railway Photography
Shooting Mode: Aperture Priority (Av) or Manual (M)
Aperture Priority (Av) is your default mode for platform shooting, station architecture, and general railside scenes. It lets you control depth of field while the camera adapts to rapidly changing light as trains move in and out of covered platforms and open track.
Switch to Manual (M) when shooting moving trains with intentional motion blur or when you need a specific shutter speed to freeze a locomotive at speed. Trains are fast -- an intercity express at 200 km/h crosses your frame in a blink. Manual gives you full control.
Set your aperture based on the subject:
- f/2.8 for atmospheric platform portraits, detail shots of weathered rolling stock, and shooting through carriage windows
- f/4 - f/5.6 for general station scenes and three-quarter locomotive shots where you want the full train sharp
- f/8 - f/11 for landscape-oriented track shots where sharpness from foreground sleepers to distant signals matters
ISO Configuration
Navigate to MENU > Shooting Settings > ISO Sensitivity for rail photography:
- Auto ISO with a range of ISO 100-3200 covers most daytime railway situations. Set the minimum shutter speed to 1/500s if you intend to freeze moving trains, or 1/125s for static platform scenes.
- Fixed ISO 100-200 for sunny trackside shooting. Trains look their best in crisp, clean light with minimal noise -- this isn't a genre that benefits from grain the way subway photography does.
- ISO 800-1600 for covered stations, dawn and dusk platform shooting, or heritage railway events where steam and smoke reduce ambient light.
- ISO 3200-6400 for nighttime railway photography -- lit stations, headlamp beams cutting through darkness, last trains departing into the evening.
Focus Settings for Railway Shots
Trains present a mix of static and fast-moving subjects. Your focus strategy should match:
Snap Focus at 5m for trackside shooting. At f/5.6, everything from roughly 2.5m to infinity will be acceptably sharp. This lets you react instantly when a train rounds a bend without waiting for AF to lock.
Snap Focus at 2.5m for platform shooting -- passengers waiting, conductor details, luggage and signage. This is your everyday distance on a station platform.
Continuous AF (AF-C) for approaching trains when you have time to compose deliberately. The GR III's contrast-detect AF isn't the fastest for tracking, so start focusing early and press the shutter as the train enters your ideal position.
Manual Focus with peaking for heritage railway events and static locomotive portraits. Turn on focus peaking (red highlight) and dial in precise focus on specific details -- a nameplate, a coupling, a driver's weathered hand on the throttle.
White Balance for Railway Environments
Railway photography spans a huge range of lighting conditions:
- Auto White Balance (AWB) handles most outdoor and well-lit station scenarios reliably
- Daylight (5200K) for consistent results in open-air trackside shooting -- preserves the warm tones of rust, wood, and aged metal
- Cloudy (6000K) adds warmth on overcast days, flattering to both trains and surrounding countryside
- CTE (Color Temperature Enhancement) amplifies golden hour light on railways beautifully -- the warm tones of sunset hitting steel rails and brick station buildings
- Fluorescent corrects the green cast under modern station canopy lighting
- Manual Kelvin at 3200K for a cooler, more industrial feel that suits modern high-speed trains and steel-and-glass stations
Best Preset Recipes for Train & Railway Photography
1. Heritage Rail -- Warm Nostalgic Film
Inspired by the golden age of railway photography, this recipe mimics the warm, slightly faded look of Kodachrome slides from the 1960s-70s. Perfect for heritage railways, steam locomotives, and vintage rolling stock.
- Image Control: Standard
- Saturation: +1
- Hue: +1
- High/Low Key: +1
- Contrast: +1
- Contrast (Highlight): -1
- Contrast (Shadow): +1
- Sharpness: +2
- Shading: +1
- Clarity: +1
- White Balance: Daylight (5200K)
- ISO: Auto (100-1600)
- Aperture: f/5.6 - f/8
The warm Daylight white balance combined with a slight hue shift toward amber produces images that feel like they could have been shot on film decades ago. Lifted shadows ensure you retain detail in the dark undersides of locomotives while the warm key adds a gentle glow.
2. Steel & Speed -- Modern Rail
A clean, punchy recipe for modern trains, high-speed rail, and contemporary station architecture. Crisp detail and saturated tones emphasize the sleek engineering of modern rolling stock.
- Image Control: Vivid
- Saturation: +2
- Hue: 0
- High/Low Key: 0
- Contrast: +2
- Contrast (Highlight): -1
- Contrast (Shadow): 0
- Sharpness: +3
- Shading: 0
- Clarity: +3
- White Balance: AWB
- ISO: Auto (100-3200)
- Aperture: f/4 - f/8
Maximum sharpness and clarity bring out every rivet, wire, and reflective surface on modern trains. Vivid image control with boosted saturation makes livery colors pop -- the reds, blues, and greens of national rail operators come alive. Strong contrast gives images a commercial, editorial feel.
3. Railside Noir -- Dramatic Black & White
A high-contrast monochrome recipe for dramatic railway scenes -- steam billowing from a locomotive, silhouetted figures on a foggy platform, the stark geometry of signal gantries and overhead wires.
- Image Control: Hard Monotone
- Filter Effect: Red
- Saturation: N/A
- Hue: N/A
- High/Low Key: -1
- Contrast: +3
- Contrast (Highlight): +2
- Contrast (Shadow): -3
- Sharpness: +3
- Shading: +2
- Clarity: +3
- White Balance: Daylight
- ISO: Auto (200-6400)
- Aperture: f/2.8 - f/5.6
Hard Monotone with a red filter deepens skies dramatically and adds punch to steam and smoke. Maximum contrast, sharpness, and clarity produce images with a powerful graphic quality. The crushed shadows and bright highlights create the timeless look that defines the best black-and-white railway photography.
4. Dawn Platform -- Soft Morning Light
A gentle, atmospheric recipe for early morning station scenes -- mist on the tracks, first commuters, dawn light filtering through platform canopies. Soft and contemplative rather than dramatic.
- Image Control: Bleach Bypass
- Saturation: -1
- Hue: 0
- High/Low Key: +2
- Contrast: -1
- Contrast (Highlight): -2
- Contrast (Shadow): +2
- Sharpness: +1
- Shading: +1
- Clarity: 0
- White Balance: Cloudy (6000K)
- ISO: Auto (400-3200)
- Aperture: f/2.8 - f/4
Bleach Bypass with reduced saturation and lifted shadows creates a dreamy, desaturated palette. The Cloudy white balance adds subtle warmth that flatters morning light. Reduced contrast and clarity soften the image, producing a mood that feels quiet and reflective -- perfect for the stillness of an early morning platform before the rush begins.
Composition Techniques for Railway Photography
Converging Lines
Railways are the ultimate subject for converging-line compositions. Stand between or beside tracks and let the rails draw the viewer's eye deep into the frame. The GR III's 28mm lens exaggerates this perspective beautifully -- tracks that run parallel in reality appear to converge dramatically in the image.
The Three-Quarter View
Position yourself at roughly 30-45 degrees to the train rather than head-on or in pure profile. This angle shows both the front and side of a locomotive simultaneously, conveying a sense of power, speed, and three-dimensional mass that flat profiles lack.
Platform Depth
Stand at one end of a long platform and shoot down its length. The repeating rhythm of benches, pillars, canopy supports, and platform lamps creates a compelling sense of depth. A train arriving in the distance or a lone figure midway down the platform completes the composition.
Framing with Architecture
Station architecture offers natural frames -- arched doorways, footbridge windows, canopy edges, and signal box openings. Use these elements to frame the train or track within the image, adding layers and context to what might otherwise be a straightforward shot.
The Decisive Moment
Trains are events. They arrive, they pause, they depart. Each stage offers different photographic opportunities -- headlamps growing brighter as a train approaches, doors opening with passengers spilling out, the guard's whistle and the lurch of departure. Anticipate these moments and be ready. Snap Focus is your best friend here.
Low Angle at Track Level
Get low. The GR III's tiltable screen lets you place the camera near rail level for dramatic upward angles that emphasize the mass and height of locomotives. The wide 28mm lens exaggerates the perspective, making trains look enormous and powerful. Be mindful of safety -- never place yourself on active tracks.
Quick Reference Cheat Sheet
| Scenario | Aperture | ISO | WB | Best Recipe | |----------|----------|-----|-----|-------------| | Heritage steam locomotive | f/5.6-f/8 | 100-400 | Daylight | Heritage Rail | | Modern high-speed train | f/5.6-f/8 | 100-800 | AWB | Steel & Speed | | Station platform candid | f/2.8-f/4 | 400-1600 | AWB | Dawn Platform | | Train in landscape | f/8-f/11 | 100-400 | Cloudy | Heritage Rail | | Night station scene | f/2.8 | 3200-6400 | Fluorescent | Railside Noir | | Steam and smoke | f/4-f/5.6 | 200-800 | Daylight | Railside Noir | | Motion blur panning | f/8 | 100-400 | AWB | Steel & Speed | | Dawn/dusk platform | f/2.8 | 800-3200 | Cloudy | Dawn Platform |
Final Tips for Better Railway Photos
Arrive early. The best light at stations is often in the first and last hour of the day. Early morning platforms have a quiet, atmospheric quality that disappears once rush hour begins. Arrive before the crowds and shoot the empty geometry of the station itself.
Learn the timetable. Railway photography rewards preparation. Know when specific trains run, which platform they use, and from which direction they approach. Apps and station departure boards let you plan exactly where to stand and when to shoot.
Pan with the train. Set a shutter speed of 1/30s - 1/60s, track the moving train smoothly, and fire the shutter while panning. The train stays relatively sharp while the background streaks into motion blur. This technique conveys speed and energy even in a still photograph.
Shoot through weather. Trains look spectacular in rain, fog, and snow. Steam and diesel exhaust become visible in cold air. Wet platforms reflect station lights. The GR III's compact body can be shielded inside a jacket pocket between shots -- just wipe the lens before firing.
Look beyond the train. The best railway photographs often focus on the human element -- a conductor checking a watch, passengers embracing on a platform, a child waving from a window. The GR III's discreet size lets you capture these moments without disruption.
Respect safety boundaries. Never stand on or near active tracks. Use designated viewing areas, platforms, and footbridges. Heritage railway events often have designated photo spots that offer safe, optimal angles. A great photograph is never worth a safety risk.
Explore branch lines. Main line stations are photogenic, but rural branch lines offer quieter, more characterful subjects -- single-platform halts, hand-operated level crossings, vintage signal boxes, and trains winding through countryside. The GR III is the perfect companion for a day wandering the quiet corners of a rail network.
Ready to capture the romance of the rails? Browse our curated preset collections for one-click looks, or grab a complete bundle to cover every railway lighting scenario.