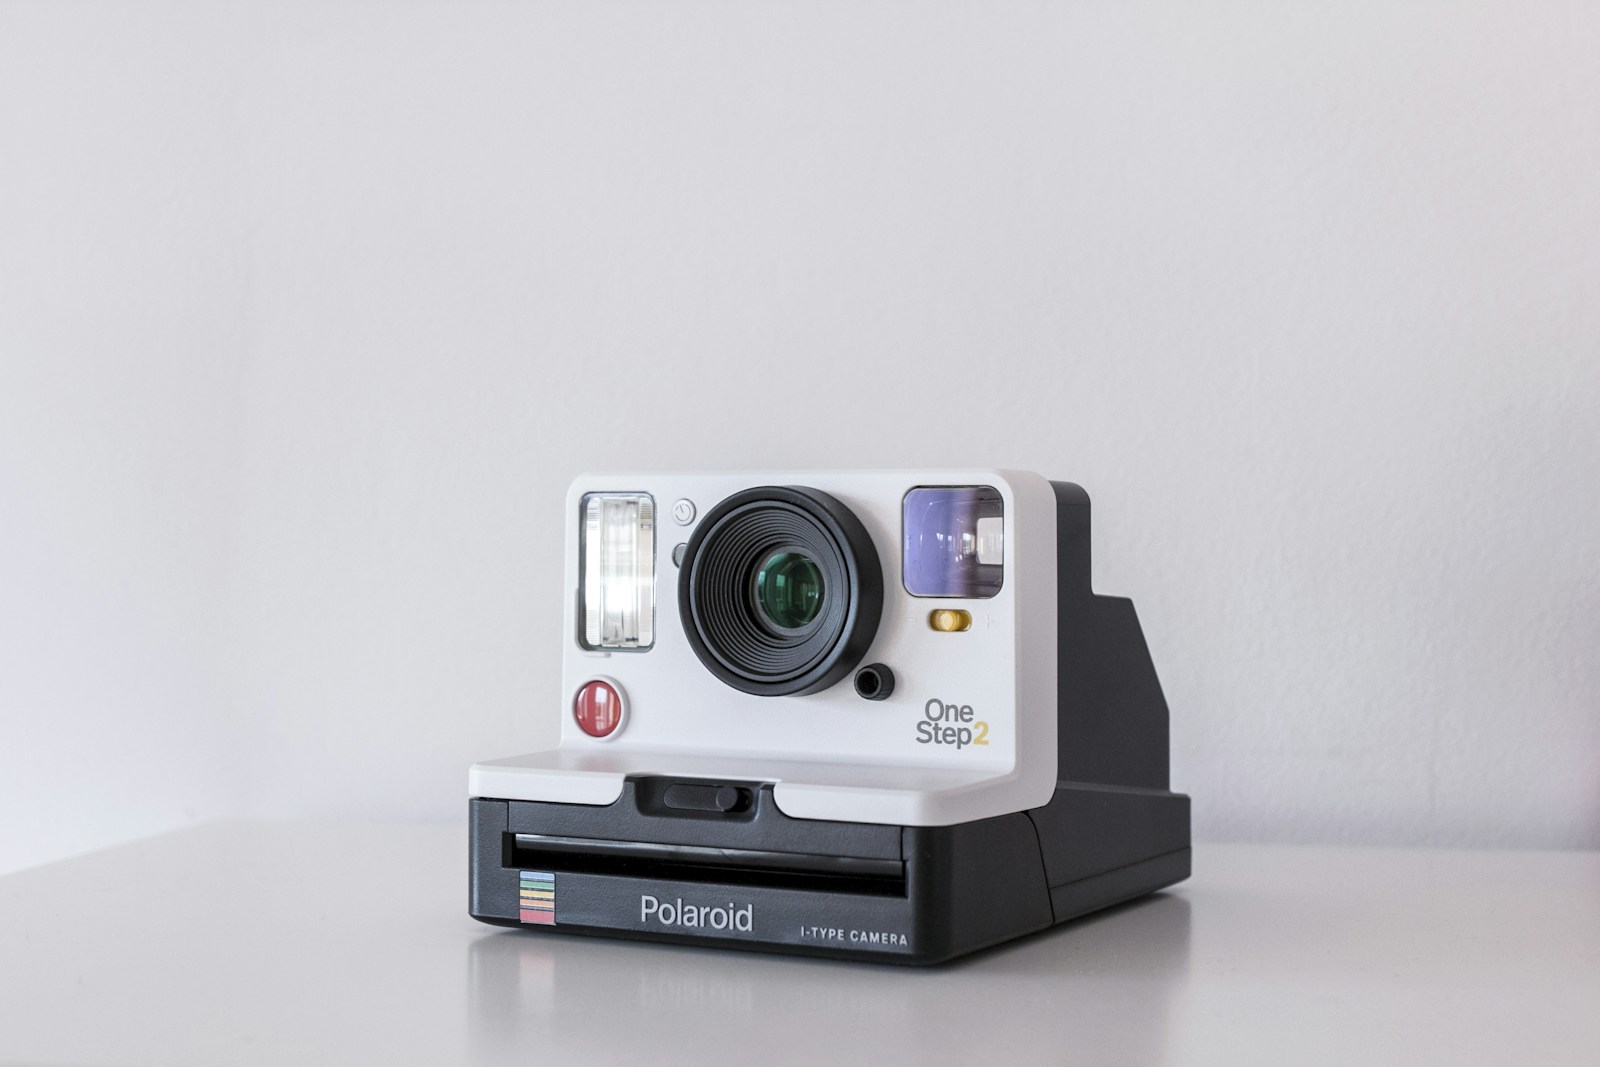
Ricoh GR III Polaroid Film Recipe: The Instant-Camera Look for JPEGs
There is nothing quite like a Polaroid. Not the sharpness — instant film was never sharp — but the feeling: soft edges, milky shadows that never quite reach black, a warm cast that makes every afternoon look like a memory you're already nostalgic for. Instant film flattens a moment into something dreamy and imperfect, and that imperfection is exactly why people love it. The good news is that you can chase most of that magic straight out of your Ricoh GR III — no film pack, no chemistry, no waiting for the image to develop in your palm.
In this guide we'll build a complete Polaroid film recipe for the Ricoh GR III, explain why each setting pushes the image toward that instant-camera character, and cover the light and subjects where the look truly sings.
What Makes the Polaroid Look
Before diving into the menu, it helps to know exactly what you're chasing. A classic Polaroid print — think SX-70 and 600-series film — has a very specific fingerprint, and almost none of it is about technical quality:
- Lifted, milky shadows — blacks never go fully black; the darkest tones sit at a soft, hazy grey
- Low overall contrast with gentle, rolled-off highlights
- A warm, slightly faded color cast that leans amber-yellow, sometimes with a hint of green in the midtones
- Soft, low-microcontrast rendering — instant film resolves detail loosely, not crisply
- Muted, pastel saturation where colors feel bleached by sunlight rather than vivid
- Noticeable edge darkening (vignette) framing the scene toward the center
The single most important trait is that lifted shadow. If you take nothing else from this guide, remember: Polaroid means milky blacks. That one move does more to sell the instant-film feeling than any color shift. The Ricoh GR III's Image Control system handles this beautifully — its Negative Film base already leans soft and filmic, and from there it's about pulling contrast out of the shadows, warming the whole frame, and letting a little haze creep in.
The Ricoh GR III Polaroid Recipe
Head into MENU > Image Control on your Ricoh GR III and dial in the following settings:
| Setting | Value |
|---|---|
| Base | Negative Film |
| Saturation | -2 |
| Hue | 0 |
| Key (Brightness) | +1 |
| Contrast | -2 |
| Contrast (Highlight) | -1 |
| Contrast (Shadow) | -3 |
| Sharpness | -2 |
| Clarity | -2 |
| Shading | +2 |
| Toning | 0 |
| White Balance | Color Temp (K) |
| WB Value | 6300K |
| WB Compensation | A2 / M1 |
The settings doing the heavy lifting here are shadow contrast and white balance. Pulling shadow contrast to -3 is what lifts the blacks into that signature milky haze — it's the difference between "vintage-ish" and "unmistakably instant film." Backing overall contrast off to -2 with -1 highlight contrast keeps the whole image flat and gentle, so nothing snaps into hard black or blown white the way a modern digital JPEG wants to.
The 6300K white balance with A2/M1 compensation is what warms everything into that amber, sun-faded cast, while -2 saturation bleaches the color just enough to feel aged rather than digital. The -2 sharpness and -2 clarity are deliberate: instant film is soft, and killing micro-contrast is how you get that dreamy, low-fidelity texture. Finally, +2 Shading darkens the corners to mimic the way an instant print frames light toward the middle, and +1 Key lifts the overall exposure for the bright, slightly overexposed look Polaroids are known for.
Pro tip: lock it into a User Mode
Don't re-enter fourteen settings every time the light gets nostalgic. Save the recipe to one of the Ricoh GR III's User modes (U1, U2, U3) so the Polaroid look is one dial-click away. Pair it with Snap Focus at 2m and a wide-open aperture around f/2.8 — instant cameras were fixed-focus point-and-shoots, so leaning into that casual, grab-it-now shooting style suits the look perfectly.
If you'd rather skip the menu-diving entirely, browse our preset collection for one-click looks like this one, complete with the camera screenshot, so you can copy the recipe in under a minute.
Best Conditions for the Polaroid Look
Instant film was, above all, a snapshot medium — birthdays, backyards, road trips, and everyday people. Knowing when to reach for this recipe makes a big difference.
Bright, warm daylight
This is the recipe's home turf. Polaroids were shot outdoors in abundant light, and the warm, faded cast reads as authentic when the sun is doing the work. Late-morning and afternoon light, hazy skies, and open shade all let the lifted shadows and amber tones feel natural rather than forced. For golden, low-sun scenes, our golden hour settings guide pairs perfectly with this look.
Candid people and everyday moments
The soft rendering and warm cast flatter skin and make casual moments feel timeless. This isn't a recipe for clinical portraits — it's for the in-between frames: friends around a table, a kid running through a sprinkler, a coffee on a windowsill. Expose for the highlights and let those milky shadows do the emotional work.
Nostalgia-driven scenes
Anything you want to feel like a memory — retro cars, diner interiors, faded storefronts, vintage interiors — sings under this recipe. The bleached saturation and edge vignette lean straight into the aesthetic. If you love this direction, our vintage and retro photography guide covers complementary techniques.
Where to be careful
The lifted shadows that make this look special become a liability in dim light. In low-light or night scenes the milky blacks turn muddy and the raised ISO grain fights the soft, clean instant-film character. When the light drops, this isn't the recipe to reach for — try our CineStill 800T recipe instead, which is built for exactly those tungsten-lit night conditions.
Shooting Tips for the Polaroid Look
- Overexpose slightly. Instant film looks better bright. Dial in +0.3 to +0.7 exposure compensation to push into that airy, sun-washed feel and keep the shadows nice and open.
- Embrace the softness. Don't fight for tack-sharp frames. This look thrives on a little imperfection — casual framing, a subject caught mid-motion, a slightly loose focus all reinforce the snapshot feeling.
- Shoot square. Set the GR III's aspect ratio to 1:1 to nail the classic Polaroid frame. It's the fastest single change that makes an image read as instant film before anyone even notices the colors.
- Get close and get casual. At 28mm, fill the frame with your subject and shoot from where you're standing. Instant cameras were made for arms-length, in-the-moment photos — lean into that.
Polaroid vs. Other Faded Looks on the GR III
If you've tried our vintage and retro recipes, the Polaroid look is the softest and haziest of the family. Where a general retro recipe keeps some structure and a Kodak Gold-style recipe stays punchy and golden, this one goes further into low-fidelity territory: milkier shadows, softer detail, and a more washed-out palette. Many GR III shooters keep it saved to a User mode specifically for sunny, casual days when they want frames that feel like they came out of a shoebox of old prints rather than a 2026 camera.
Trying it side by side against a cleaner film recipe on the same scene is the fastest way to feel what the lifted shadows and reduced clarity actually do — a great exercise for any Ricoh GR III owner building their own style.
Final Thoughts
The charm of a Polaroid was never resolution or accuracy — it was the warmth, the softness, and the way an instant print turned an ordinary afternoon into something worth keeping. The Ricoh GR III is uniquely suited to chasing that feeling: small and unintimidating enough to catch candid moments, and equipped with an Image Control system flexible enough to lift the shadows, warm the color, and soften the detail exactly the way instant film does. Dial in the recipe above, set your aspect ratio to 1:1, lock it to a User mode, and head out into some bright afternoon light. You'll come back with frames that feel like memories — straight out of camera, no film pack required.
Ready to make it effortless? Browse our complete collection of Ricoh GR III presets, including film-emulation recipes like this one, or grab a bundle to get our most popular looks together at the best value.
Get a free recipe + 15% off your first order
Our Natural Analog recipe (exact settings for the GR III, GR IIIx and GR IV) and a personal discount code, straight to your inbox.
No spam. Unsubscribe in one click.