Ricoh GR III Reflection Photography: Settings, Tips, and Creative Techniques
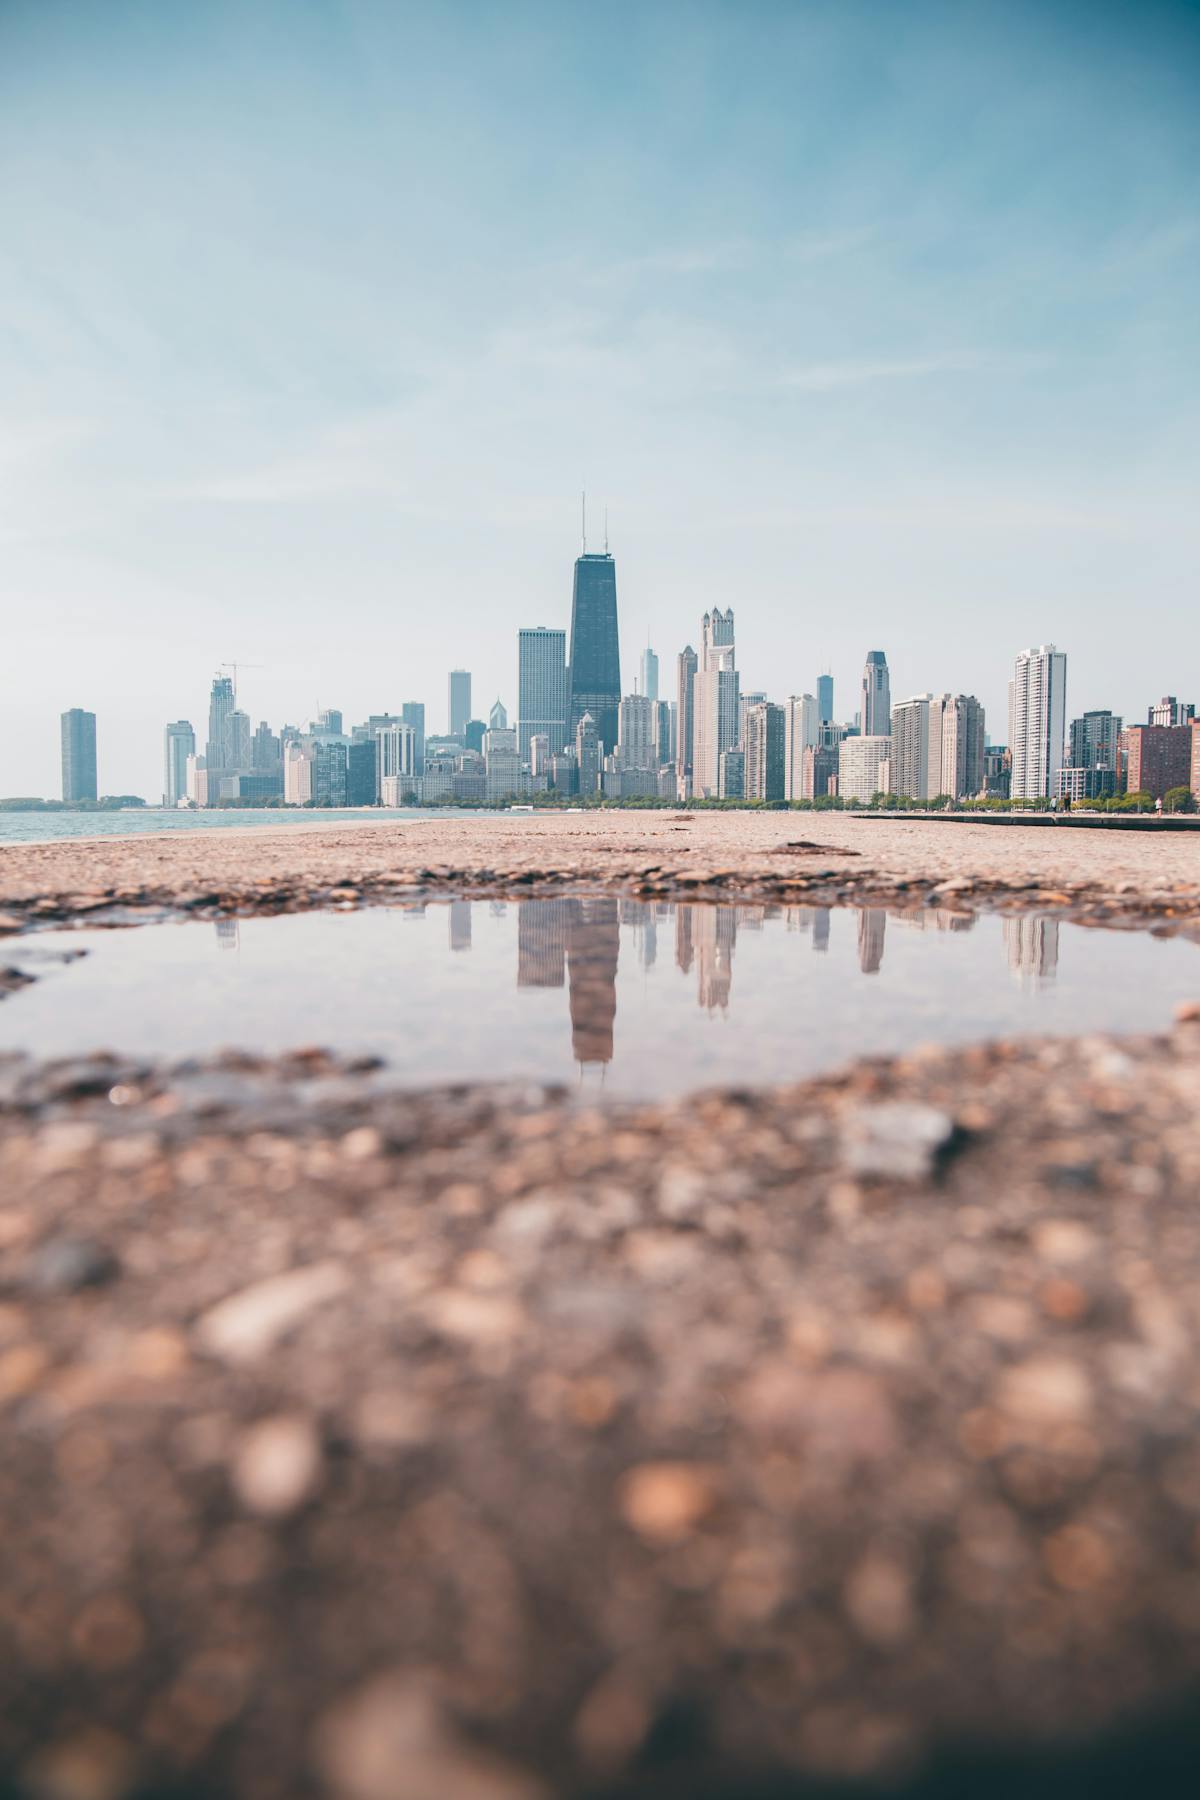
Reflections turn a single scene into two. A puddle after rain holds an entire skyline. A shop window layers the street behind you over the merchandise inside. A still lake folds mountains in half. The Ricoh GR III -- with its sharp 28mm lens, compact body, and fast shooting -- is an ideal tool for chasing reflections wherever you find them.
This guide covers how to see, compose, and shoot reflections with your Ricoh GR III: the camera settings that work best, preset recipes tuned for different reflection scenarios, and the techniques that separate ordinary mirror shots from images with real depth.
Why Reflection Photography Works So Well on the GR III
The GR III has specific strengths that make it a natural fit for reflection work:
- 28mm wide angle pulls in both the subject and its reflection without needing to step far back, essential when shooting in tight urban spaces or close to water
- Close focus to 6cm in macro mode lets you get right up to a puddle or reflective surface, filling the frame with the mirrored image
- Fast f/2.8 aperture creates shallow depth of field that can isolate either the reflection or the real scene, giving you creative control over what's sharp
- Touch AF lets you tap precisely on the reflection or the source to control focus placement without fumbling with buttons
- Silent shooting keeps you invisible when crouching at puddles on busy streets -- no shutter sound drawing attention
Types of Reflections to Look For
Puddle Reflections
The most accessible and popular form of reflection photography. After any rain, even a light shower, puddles form on sidewalks, roads, and plazas. These temporary mirrors reflect buildings, signs, trees, and people. The GR III's compact size lets you crouch low or even place the camera at ground level, looking across the puddle's surface.
Glass and Window Reflections
Storefronts, office buildings, and bus shelters offer permanent reflective surfaces. Glass reflections are especially interesting because they layer two scenes: what's behind the glass and what's reflected in front of it. This double exposure effect happens in-camera with no post-processing needed.
Water Reflections
Lakes, rivers, harbors, and even fountains provide large, continuous reflective surfaces. Calm water gives clean, mirror-like reflections. Slight ripples add texture and abstraction. The GR III's 28mm lens captures wide stretches of water and their reflections in a single frame.
Mirror and Metal Reflections
Convex mirrors at intersections, polished metal surfaces on buildings, chrome on vehicles, and sunglasses all create distorted reflections that add surreal, abstract qualities to your images.
Wet Surface Reflections
Even without standing puddles, wet pavement, marble floors, and polished stone reflect light and color. These subtler reflections add depth and richness to street and architectural photography, especially at night when artificial lights streak across damp surfaces.
Essential Camera Settings for Reflection Photography
Shooting Mode: Aperture Priority
Aperture Priority (Av) gives you control over depth of field while the camera handles exposure -- critical for reflection work where you constantly switch between wide scenes and close-up details.
- f/2.8 to isolate either the reflection or the real scene. Use this when you want one plane in focus and the other softly blurred, creating a dreamy layered effect
- f/5.6 for a good balance of sharpness across both the reflective surface and the reflected scene. This works well for most puddle and water reflections
- f/8 to f/11 when you want everything sharp -- the puddle, the reflection, and the background. Best for wide compositions where sharpness throughout the frame matters
Focus Strategy
Reflections sit on a different focus plane than the real scene. Where you place focus determines the entire mood of the image.
To focus on the reflection: Use Touch AF and tap on the reflected image within the puddle or glass. The camera will focus at the distance of the reflected subject, not the surface. This keeps the reflection sharp while the real-world elements above or around it may soften.
To focus on the surface: Switch to manual focus or use macro mode and focus on the water's surface, raindrops on glass, or texture on the reflective material. The reflection goes soft, creating an atmospheric backdrop.
Snap Focus at 2.5m works well for standing puddle reflections of buildings and street scenes. At f/5.6, your depth of field covers roughly 1.5 to 8 meters, which typically includes both the puddle surface and the reflected scene.
Macro mode is essential for close-up reflections -- a small puddle at your feet, raindrops on a window, or a reflection in a pair of sunglasses. Switch to macro via the side lever and focus as close as 6cm.
ISO and Shutter Speed
Configure Auto ISO through MENU > Shooting Settings > ISO Sensitivity:
- Daytime reflections: ISO 200-1600, minimum shutter speed 1/125s. Puddles and water in daylight have plenty of light, so you can keep ISO low for maximum image quality
- Night reflections: ISO 200-6400, minimum shutter speed 1/60s. Neon signs and streetlights reflected in wet pavement need higher ISOs, but the GR III's sensor handles this well
- Still water: Lower your minimum shutter speed to 1/30s or even 1/15s with Shake Reduction enabled. Calm water doesn't need a fast shutter to freeze, and lower ISOs mean cleaner shadow detail in the reflection
Metering
Use Multi-segment metering for most reflection scenes. Reflective surfaces can include both very bright highlights (direct light reflections, sky) and deep shadows, and multi-segment metering balances these across the frame.
For high-contrast scenes where a bright sky reflects next to dark pavement, switch to Spot metering and meter on the reflection itself. Then dial in -0.3 to -0.7 exposure compensation to preserve highlight detail in the reflected bright areas.
White Balance
White balance dramatically affects the feel of reflection images:
- Auto White Balance for neutral, accurate colors -- good for natural water reflections during daytime
- Daylight (5200K) preserves the warm-cool contrast in golden hour reflections, keeping sunlit surfaces warm while shadows stay blue
- Tungsten (3000K) creates a deep blue mood in daytime reflections, or preserves the natural color temperature when shooting neon reflections at night
- Cloudy (6000K) adds warmth that makes sunset and golden hour reflections glow
Best Preset Recipes for Reflection Photography
Mirror City
A clean, high-clarity recipe that maximizes detail in urban reflections. Slightly boosted contrast separates the reflected subject from the surface, while moderate sharpness enhancement brings out architectural details in the mirrored image. Keep saturation neutral to let the scene's natural colors speak.
| Parameter | Value | |-----------|-------| | Image Control | Standard | | Saturation | 0 | | Hue | 0 | | High/Low Key | 0 | | Contrast | +1 | | Contrast (Highlight) | +1 | | Contrast (Shadow) | +1 | | Sharpness | +2 | | Shading | 0 | | White Balance | Auto |
This recipe is available in our Ricoh GR III Presets Collection for one-click application.
Liquid Gold
Designed for golden hour and sunset reflections in water. Push saturation to emphasize the warm amber and orange tones that scatter across rippled water surfaces. Slightly lifted shadows keep detail in the darker portions of the reflection without losing the warm glow.
| Parameter | Value | |-----------|-------| | Image Control | Vivid | | Saturation | +2 | | Hue | 0 | | High/Low Key | +1 | | Contrast | +1 | | Contrast (Highlight) | -1 | | Contrast (Shadow) | -1 | | Sharpness | +1 | | Shading | 0 | | White Balance | Daylight (5200K) |
Phantom Glass
A moody, desaturated recipe for glass and window reflections. Reduced saturation creates an ethereal, ghost-like quality in the layered reflection. Low contrast lets the two layers -- reflected and transmitted -- blend together naturally rather than competing for attention.
| Parameter | Value | |-----------|-------| | Image Control | Standard | | Saturation | -2 | | Hue | 0 | | High/Low Key | +1 | | Contrast | -1 | | Contrast (Highlight) | -1 | | Contrast (Shadow) | -2 | | Sharpness | 0 | | Shading | 0 | | White Balance | 4500K |
Neon Pool
For night reflections of city lights in wet surfaces and puddles. High saturation and contrast make neon colors pop against dark, wet pavement. The vivid image control pushes reds, blues, and greens to their most vibrant, turning a simple puddle into a kaleidoscope of urban light.
| Parameter | Value | |-----------|-------| | Image Control | Vivid | | Saturation | +3 | | Hue | 0 | | High/Low Key | -1 | | Contrast | +2 | | Contrast (Highlight) | +1 | | Contrast (Shadow) | +2 | | Sharpness | +2 | | Shading | 0 | | White Balance | Daylight (5200K) |
Explore all of our reflection and creative photography presets in the complete preset bundles.
Composition Techniques for Reflection Photography
Flip Your Perspective
The most powerful reflection technique is simple: turn the image upside down. When you frame a puddle reflection so the reflected image fills most of the frame, rotating the final image 180 degrees makes the reflection look real and the real world look like the reflection. The viewer's brain takes a moment to resolve what they're seeing, which creates engagement.
Use the Split Composition
Divide your frame horizontally with the reflective surface as the dividing line. Place the real scene in the top half and its reflection in the bottom half (or reverse for puddles shot from above). This symmetry is immediately striking and works with buildings, trees, people, and skylines.
Break the Symmetry
Perfect mirror reflections are visually satisfying, but adding an element that breaks the symmetry makes the image more dynamic. A fallen leaf floating on a puddle, ripples from a raindrop, a person stepping through the reflection, or a crack in the glass -- these disruptions tell the viewer they're looking at a reflection and add narrative tension.
Get Low
For puddle reflections, the lower your camera, the more reflection you capture. At eye level, a puddle is a small bright spot on the ground. At ground level, that same puddle becomes a vast mirror. Place the GR III directly on the ground, tilt the screen up, and compose using the LCD. The 28mm wide angle captures an expansive reflected scene even from small puddles.
Frame Within a Frame
Use the edges of a reflective surface as a natural frame. A puddle's irregular borders, the frame of a window, the curved edge of a convex mirror -- these boundaries create a frame within your frame that draws the eye to the reflected scene and adds compositional structure.
Lead with the Reflection
Use reflected lines -- buildings, lampposts, tree trunks -- as leading lines within the reflection to guide the viewer's eye. These inverted lines create unusual visual paths that feel fresh compared to standard leading-line compositions.
Include a Human Element
A person walking through a reflection, a silhouette in a puddle, or a face glimpsed in a window adds scale and narrative. Reflections of people feel candid and voyeuristic in a way that direct portraits don't, which gives the image emotional depth.
Advanced Techniques
Polarizing Filter for Control
Attach a clip-on circular polarizer to the GR III lens. Rotating the polarizer lets you control how much reflection you see on glass and water surfaces. At maximum polarization, reflections nearly disappear, letting you shoot through glass cleanly. At minimum, reflections are at full strength. Partial polarization lets you balance both layers in a window reflection -- one of the most powerful tools for this kind of photography.
Double Exposure Mode
The GR III's built-in double exposure function lets you combine a reflection shot with another frame in-camera. Shoot a puddle reflection, then overlay a close-up texture, a face, or a different scene. The result is an artistic composite that goes beyond what a single reflection can offer.
Access this via MENU > Shooting Settings > Multi Exposure > On, then shoot your two frames.
Long Exposure Reflections
Use the GR III's built-in ND filter (MENU > Shooting Settings > ND Filter > On) to slow your shutter speed near water. At 1/2s to 2s, slight ripples smooth out into a clean, mirror-like surface that produces sharper, more perfect reflections. Combine with a small tripod or rest the camera on a flat surface for stability.
Panoramic Reflections
For wide water reflections that exceed the 28mm field of view, shoot a series of overlapping frames by panning the camera. Stitch them later in post-processing for a panoramic reflection image that captures an entire lakefront or riverbank mirror scene.
Shooting in Different Conditions
After Rain
The first 30 minutes after rain stops are the golden window for reflection photography. Puddles are at their largest, surfaces are uniformly wet, and the overcast sky acts as a giant softbox, creating even, diffused reflections. Clouds may break apart during this period, adding dramatic sky elements to your puddle reflections.
At Night
Nighttime multiplies the power of reflections. Every light source -- neon signs, headlights, streetlamps, traffic signals -- reflects off wet surfaces, creating streaks and pools of color. Shoot after rain or near fountains for the most dramatic effect. Use the Neon Pool preset recipe and set ISO up to 6400.
Golden Hour
The low sun during golden hour creates warm, directional light that produces vivid reflections in water and glass. Side-lit buildings glow orange and gold, and their reflections carry that warmth into puddles and rivers. This is the best time for the Liquid Gold preset recipe.
Overcast Days
Flat, overcast light might seem dull, but it creates clean, even reflections with no harsh highlights or deep shadows. Building details, signage, and colors all reflect faithfully. This is ideal for architectural reflection photography where you want maximum detail in the mirrored image.
Common Mistakes to Avoid
Focusing on the surface instead of the reflection. Unless you intentionally want the surface texture in focus, make sure your focus point is on the reflected image, not the water or glass surface. These are on different focus planes, and getting the wrong one sharp is the most common reflection photography error.
Overexposing the sky in the reflection. Reflected skies are bright. Check your histogram and dial in negative exposure compensation (-0.3 to -1.0) to preserve cloud detail and color in reflected sky areas.
Ignoring the edges of the reflection. The border where the reflective surface meets the real world is a critical compositional element. Don't let it fall at an awkward angle or cut through important elements randomly. Place it deliberately -- centered for symmetry, or following the rule of thirds for dynamic compositions.
Shooting only perfectly still reflections. Ripples, distortion, and movement in reflections add character. A slightly disturbed water surface creates impressionistic, painterly reflections that can be more interesting than a perfect mirror image.
Standing too far from the reflective surface. Distance flattens the reflection and reduces its size in the frame. Get close -- often much closer than feels natural. The GR III's 28mm lens and close focus capability reward proximity.
Recommended Shooting Workflow
- Scout for reflective surfaces after rain, near water features, or along streets with large glass facades
- Get low to evaluate the reflection from camera height -- what looks like a small puddle at standing height can be a vast mirror at ground level
- Set up your camera: Aperture Priority, f/5.6, Auto ISO 200-1600, Touch AF, Multi-segment metering
- Load a preset recipe -- Mirror City for clean detail, Liquid Gold for warm light, Phantom Glass for windows, Neon Pool for night
- Focus on the reflection using Touch AF by tapping on the mirrored image, not the surface
- Compose deliberately -- decide on split composition, broken symmetry, or the flipped perspective approach
- Shoot multiple frames with slight variations in angle, focus point, and exposure compensation
- Review and adjust -- check the histogram for blown highlights in the reflected sky or light sources
Reflection photography trains you to see the world twice -- once as it is, and once as it appears in every reflective surface around you. The Ricoh GR III's wide lens, close focus, and pocket-sized body make it the perfect camera to carry as you develop this double vision. Start with puddles after the next rain and work your way to glass, water, and metal. Every surface tells a different version of the same story.
Browse our complete collection of Ricoh GR III presets optimized for every creative scenario, including reflection and low-light photography. For the best value, check out our preset bundles that include creative photography recipes alongside our most popular film emulation looks.