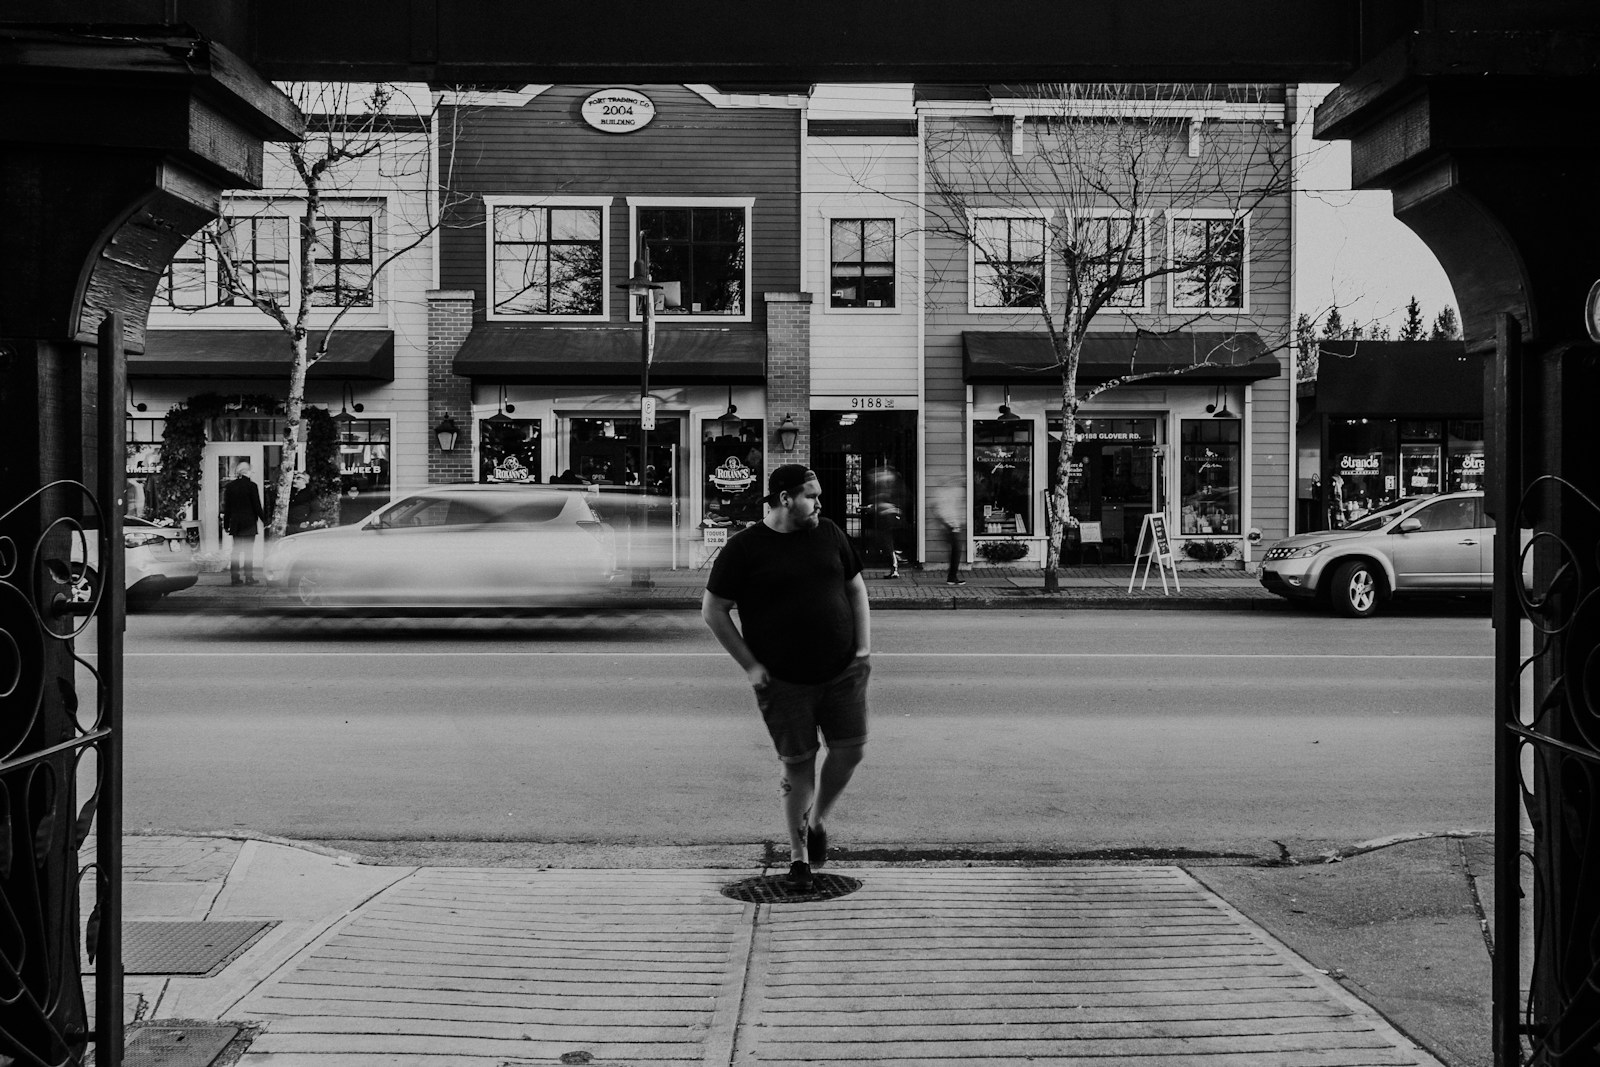
How to Shoot from the Hip with the Ricoh GR III: Settings, Framing and Practice Drills
Most people who try shooting from the hip give up after one afternoon. They come home with forty frames of pavement, three decapitated strangers, and a conviction that the photographers who make it work are getting lucky.
They aren't. Shooting from the hip is a technique with a fixed setup and a learnable body position, and the Ricoh GR III is close to the best camera ever made for it — a 28mm equivalent lens, a snap focus system that fires with zero lag, and a body small enough that holding it at waist height reads as "man carrying a thing" rather than "photographer working."
What follows is the configuration, the framing method, and the practice that turns it into a reliable skill rather than a lottery.
Why Bother Shooting from the Hip at All
Two reasons, and neither is about being sneaky.
The moment closes when you raise the camera. People change when they see a lens come up — posture stiffens, eyes flick over, the gesture you wanted resolves into self-consciousness. Hip shooting isn't about capturing people without their knowledge. It's about not interrupting something that was already happening.
The low angle is genuinely better. Waist height at 28mm is a different photograph from eye height at 28mm. Subjects gain presence, backgrounds drop away, ceilings and sky enter the frame, and the perspective stops looking like every other snapshot taken by a standing adult. Half the reason hip shots look interesting is not the candour — it's the elevation.
The Ricoh GR III Setup for Hip Shooting
Load this into U2 so it's a single dial click from your normal setup. If you haven't configured user modes yet, the U1/U2/U3 guide walks through it.
- Mode: Av (or TAv if you want to lock both)
- Aperture: f/8 in daylight, f/5.6 in shade
- Focus: Snap, set to 2m
- Full Press Snap: On
- Auto ISO: 200–3200, minimum shutter 1/500s
- Metering: Multi-segment
- Exposure compensation: −0.3 EV
- Screen: off or dimmed — you are not going to look at it
- Shooting mode: single frame, not continuous
Three of these do almost all the work.
Full Press Snap is the whole feature
MENU > C1 > Full Press Snap > On. This is the setting that makes the GR III a hip-shooting camera rather than a small camera you happen to be holding low.
With Full Press Snap on, a single hard press of the shutter — no half-press, no focus confirm — fires immediately at your snap distance. The camera doesn't hunt, doesn't confirm, doesn't beep, doesn't hesitate. Press and it's done. You can leave the GR III in normal AF mode for everything else and still get instant snap-distance capture whenever you jam the button down.
The lag between deciding and capturing drops to roughly the time it takes your finger to move. That is the entire game.
2m is the hip distance
Snap at 2m is closer than most people set it for eye-level work, and deliberately so. When the camera is at your waist, your subject is usually a metre or two in front of you on a pavement — much closer than the 2.5m or 5m you'd use shooting wide street scenes at eye level.
At f/8 with snap set to 2m, the GR III's depth of field runs from roughly 1.2m to about 5m. Everything in that band is acceptably sharp. Your job is to keep subjects inside it, which on a normal pavement means "the person walking toward you." The snap focus and zone focusing guide has the full distance tables if you want to build your own band.
If light drops and you have to open to f/4, the band collapses to roughly 1.6m–2.7m and hip shooting gets much harder. This is a daylight technique. Accept that.
1/500s, not 1/250s
At eye level, braced against your face, 1/250s is fine. At hip level you're holding the camera one-handed, at arm's length, usually while walking. Every source of shake is worse and there's no bracing point. 1/500s minimum, and 1/1000s if the light allows. The GR III's sensor handles ISO 1600 cleanly enough that this costs you nothing you'll notice — see the ISO and noise guide for where the real ceiling sits.
The Framing Method
This is the part nobody explains, and it's why most people's hip shots have no heads in them.
Aim with your body, not the camera. The GR III's 28mm equivalent field of view is roughly 75 degrees horizontally. That is very wide — wider than most people intuit. If you point your navel at the subject, the subject is in the frame. Almost always. The failure mode is never horizontal, it's vertical.
Tilt up, always. Held flat against your hip, the GR III points at the pavement four metres ahead. Almost every beginner hip shot is a picture of paving slabs with a pair of shoes at the top edge. The fix is to tilt the camera up about 15–20 degrees from flat. It feels wrong — it feels like you're pointing at the sky. You aren't. At waist height, 15 degrees of up-tilt puts an adult's head near the top third of the frame at two metres.
Keep the camera level on its roll axis. Vertical tilt is a correction you learn; a crooked horizon is a crop you'll regret. Hold the GR III flat in your palm rather than gripped like a pistol — flat palm naturally stays level, a pistol grip naturally rotates.
Use the wrist strap as a stop. Loop it short so the camera hangs at a consistent height every time. Consistency is what makes the 15-degree correction repeatable. If the camera is at your ribs one frame and your thigh the next, you're re-learning the angle every shot.
Pro tip: use the 35mm crop mode as a safety net — in reverse. Leave the GR III shooting full 28mm frames, but compose mentally as if you were at 35mm. You get a border of slack on every side for free. When a frame is off by ten degrees you crop back to something usable instead of throwing it away; when a frame is dead on you keep the full 28mm width. The crop mode explainer covers what the in-camera version actually does to your files — for hip shooting, you want the slack, not the crop.
Three Drills That Actually Build the Skill
Skip these and you'll be guessing for months.
Drill one: the lamppost calibration. Stand two metres from a lamppost or doorway. Hip-shoot it ten times, checking the screen after each. Adjust your tilt until the top of the post sits where you want it. You are calibrating an angle into your arm. Twenty minutes of this replaces a season of random results.
Drill two: walk and fire. Pick a busy street and shoot fifty frames while walking at normal pace, never looking at the screen. Review at home, not on the street. Count how many are level and how many have the subject where you intended. Under 20% is normal on day one. Over 50% means the calibration has taken.
Drill three: one street, one recipe, one hour. Lock a single look and stop thinking about colour entirely. Dramatic Monochrome is ideal here — hip shots often have messy, uncontrolled backgrounds, and black and white converts that mess into texture instead of clutter. If you'd rather stay in colour, Classic Chrome keeps muted, documentary tones that forgive the mixed light you get when you aren't choosing your angles carefully.
What to Shoot, and the Part About Restraint
Hip shooting suits subjects that are already in motion and already public: markets, crossings, transit platforms, protests, festivals, queues. It's poor for anything that needs precise framing — architecture, portraits, anything with a strong geometric line you'd want to place exactly.
And the obvious thing, said plainly: a technique built around not being noticed puts the ethics entirely on you rather than on the camera. Don't shoot children. Don't shoot people in visible distress. Don't point it at anyone who has already signalled they'd rather you didn't. If someone notices and objects, show them the frame and delete it. The Ricoh GR III is discreet enough that nobody will stop you — which means the only limit is the one you set.
The Short Version
- Full Press Snap On — this is the setting that makes it work
- Snap focus 2m, f/8, 1/500s minimum, Auto ISO to 3200
- Tilt up 15–20 degrees from flat; aim with your navel, not your eyes
- Flat palm, short strap for a consistent height and a level horizon
- Calibrate on a lamppost before you waste an afternoon on strangers
- Compose for 35mm, capture at 28mm so every frame has crop slack
Hip shooting with the Ricoh GR III isn't a trick for getting away with something. It's a way of photographing at an angle and a distance you can't reach with the camera at your eye, on a camera small enough that the technique is actually practical.
If you'd rather leave the house with the looks already dialled in than fiddle with Image Control between frames, our full preset collection has street, monochrome and documentary recipes you can copy straight into U1, U2 and U3.