New York City Street Photography with the Ricoh GR III: Settings, Neighborhoods and Recipes
The first thing New York does to a camera is break its meter.
You step out onto a numbered avenue at two in the afternoon and one side of the street is in blazing direct sun while the other side is in shade eight stops darker. There is no middle. The buildings are thirty stories of vertical wall on both sides, so the sun only reaches street level for a narrow window each day, and when it does it arrives like a spotlight. Every automatic decision your Ricoh GR III makes in that environment is a compromise between two exposures that cannot both be right.
Manhattan is not a hard city to photograph. It is a hard city to expose. Once you accept that, the setup writes itself — and it is genuinely different from what works in Tokyo or Paris.
The Core New York Setup
Load this into U1 — the U1/U2/U3 user modes guide covers how if you haven't set them up.
- Mode: Av
- Aperture: f/8 in sun, f/4 on the shadow side
- Focus: Snap, set to 2.5m
- Auto ISO: 100–6400, minimum shutter 1/250s
- Metering: Highlight-weighted
- Exposure compensation: −0.3 EV
- Image Control: your recipe of the day
Three of those are the New York-specific calls.
Highlight-weighted metering, not multi-segment. This is the single most useful change you can make. In an avenue canyon, multi-segment metering averages the sunlit wall against the shaded wall and blows out the sun side trying to rescue the shade. Highlight-weighted protects the bright end, and the GR III's shadows have far more recoverable latitude than its highlights do. Underexposed brick comes back. Clipped glass does not. The metering modes guide explains the mechanism in full.
−0.3 EV, not +0.3. The inverse of the Paris rule, for the same underlying reason: Paris is pale stone under flat sky, New York is dark brick and glass punched through with hard specular light. Protect the highlights and let the shadow side go dark. It is supposed to be dark.
1/250s minimum, not 1/125s. People move faster here and so do you. New York street photography is largely shot at walking pace, in crowds, without stopping — see the shooting from the hip guide. 1/250s is the floor that keeps a mid-stride subject clean.
Snap at 2.5m is right for sidewalks. At f/8 that gives you roughly 1.5m to infinity-ish depth of field, which is the whole sidewalk plus the traffic behind it. The snap focus and zone focusing guide has the tables.
Manhattanhenge and the Light Window
The grid is the reason to plan your day around the clock.
Manhattan's street grid is rotated roughly 29 degrees off true east-west. Twice a year — late May and mid July — the setting sun aligns exactly with the cross streets and drops down the middle of every numbered street at once. That is Manhattanhenge, and it is worth shooting once, from a wide cross street like 14th, 23rd, 34th or 42nd, well east of the avenue so the buildings compress.
Pro tip: for Manhattanhenge, do not shoot it wide open and do not shoot it at sunset exposure. Set f/11, meter off the sky at −1.0 EV, and let the silhouettes go black. The photo people remember is not the sun — it's the row of black building edges with the disc jammed between them. Get there forty-five minutes early. You will not be alone.
The rest of the year, the equivalent knowledge is simpler: cross streets get light in the morning and evening, avenues get it around midday. If you want raking side-light on faces, walk the cross streets early. If you want a hard graphic shadow, the avenues at 11am to 1pm will give you nothing else. The harsh midday sun guide covers making that work rather than waiting it out.
Neighborhood by Neighborhood
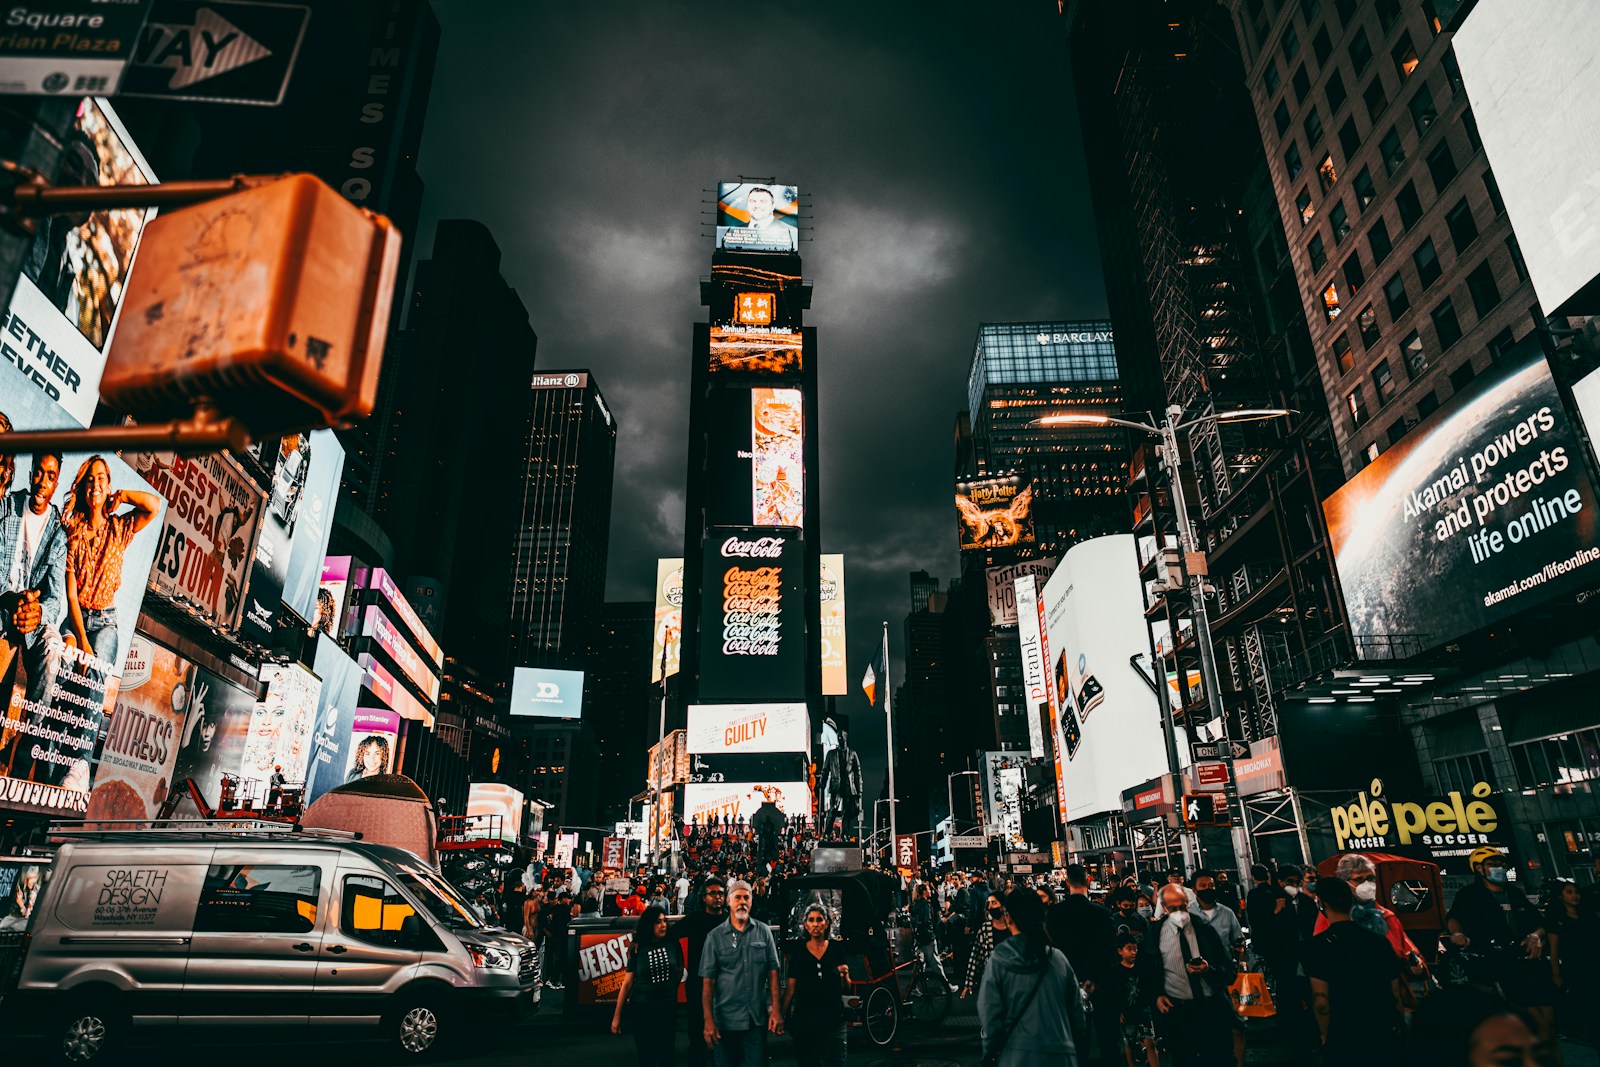
Midtown and Times Square
The most photographed and least photographable place in America. The move is to stop shooting the signage and shoot the people watching the signage — faces lit in magenta and cyan from a screen forty feet up, which is a light source you get almost nowhere else.
f/2.8, ISO up to 6400, minimum shutter 1/250s, and lock white balance rather than letting Auto chase the LED walls frame to frame. The neon city lights guide has the full approach, and the white balance guide explains why Auto WB falls apart under mixed LED.
Indigo Film 800 is built for this exact scene — it keeps the night sky properly blue while the signage does whatever it wants.
SoHo, Tribeca and the cast-iron blocks
Cobbled streets, fire escapes, low buildings that actually let light down to the pavement. This is the most classically "New York" texture in the city and it photographs best in late afternoon when the sun rakes along the facades.
f/8, snap 2.5m, ISO 200. Classic Chrome treats the cast iron as metal rather than as a colour, which is what you want. For the geometry-first frames, Dramatic Monochrome is the honest answer — see the black and white guide.
The Lower East Side, Chinatown and the Bowery
Dense, cluttered, layered, the closest New York gets to shooting Asia. Awnings, signage in four languages, produce stacked on the sidewalk, fish on ice. Narrow enough that you can work at snap 2m and f/4 and shoot into the stalls.
This is where the street market and bazaar guide applies directly. Kodak Gold 200 puts warmth back into the awnings and the produce without going syrupy.
Brooklyn — DUMBO, Williamsburg, Bushwick
DUMBO is the one postcard worth taking: the Manhattan Bridge framed between the warehouse walls on Washington Street. It is extremely crowded and best before 8am. The bridge photography guide covers the angles; f/8, snap to infinity, and get low so the cobbles lead.
Bushwick is the street art and graffiti answer — whole blocks of it, repainted constantly. Americana Color suits the slightly sun-bleached industrial palette out there.
The subway
The New York subway is a genuinely difficult and genuinely rewarding photographic environment: mixed fluorescent and tungsten, tile that bounces everything, trains that arrive as a wall of moving light. ISO 3200–6400, f/2.8, 1/125s if you're on a platform rather than following a subject. The subway and metro guide covers the technique, and the ISO and noise guide will tell you the GR III's high-ISO grain is a feature down here, not a problem.
Rooftops and bridges at blue hour
New York's blue hour is short and violent — the sun drops behind New Jersey and the skyline turns on in about twelve minutes. Be in position early. The Brooklyn Bridge walkway, the Williamsburg waterfront, and any accessible rooftop all work; the rooftop and skyline guide has the settings.
Three Things That Will Save Your Trip
Photography in public is legal, including the subway. New York is one of the easiest major cities in the world to photograph in. The MTA's rules explicitly permit still photography on platforms and in cars without a permit, as long as you're not using a tripod, flash, or lighting equipment and you're not blocking anything. You will occasionally be told otherwise by someone who does not know the rules. You are not obliged to delete anything or hand over a camera to anyone but a police officer with a warrant.
Federal and private property are different. Grand Central's main concourse is privately managed and permits casual photography but not tripods or commercial shoots. The 9/11 Memorial has its own restrictions. One World Observatory, the Vessel and similar attractions set their own terms at the door. Handheld and personal is essentially always fine; anything that looks like a production is not.
Carry a third battery in winter. New York winters are colder than most visitors budget for, and the GR III's battery is small. Cold plus a full walking day will empty two. Keep the spares in an inside pocket against your body — see the battery life guide and, for the season itself, the winter and snow settings.
The Short Version
- Highlight-weighted metering, −0.3 EV — the avenue canyon will blow out your highlights on any other setting
- Snap 2.5m, f/8, 1/250s minimum on sidewalks; 2m and f/4 in Chinatown and the LES
- Shoot cross streets early and late, avenues at midday — the grid decides when light reaches the ground
- Lock white balance in Times Square and the subway; Auto WB cannot cope with LED walls or platform fluorescents
- Manhattanhenge at f/11 and −1.0 EV, shot from well east on a wide cross street
- High ISO is fine. The GR III's grain at 6400 looks like film, and New York at night is not a low-ISO city
The Ricoh GR III is close to the ideal New York camera for a reason that has nothing to do with image quality: on a crowded sidewalk, a small black compact held at chest height is invisible. You get to keep walking. In a city where everyone is already moving, that is the entire advantage.
If you'd rather land with the Times Square, cast-iron and blue-hour looks already sitting in U1, U2 and U3, our full preset collection has them ready to copy straight into the camera.