Ricoh GR III Metering Modes and Exposure Compensation: The Settings That Fix Your Exposures
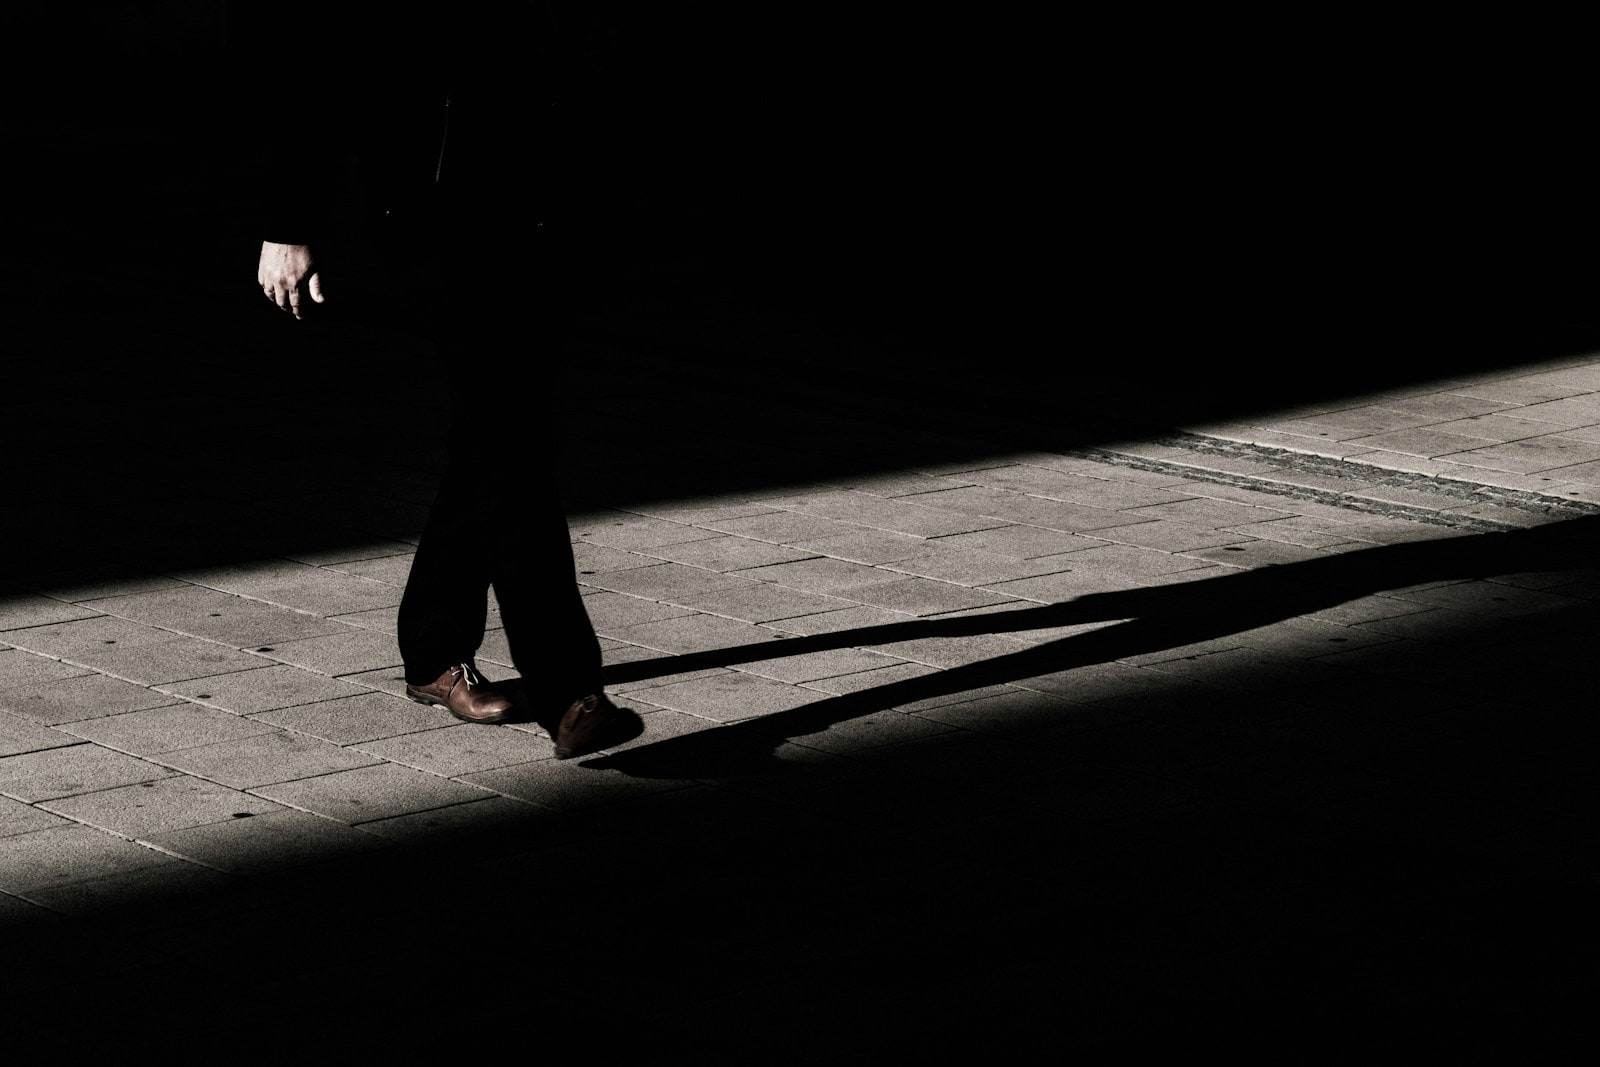
You find the frame. A figure walking out of shadow into a hard blade of afternoon light on the pavement. You lift the Ricoh GR III, press the shutter, and the camera hands you something flat and grey — the dramatic light gone, the shadows lifted into mud, the highlight that made the picture worth taking blown to paper white.
Nothing was wrong with your settings. The camera metered exactly as it was told to. The problem is that the default metering mode is designed to make average scenes look correct, and the scenes worth photographing are almost never average.
Metering is the least glamorous menu on the Ricoh GR III and the one that changes your keeper rate most. Here's what actually matters.
The Four Metering Modes, and What Each One Is Actually For
Metering lives in MENU > A1 > Metering, though the faster route is to assign it to the ADJ lever or the Fn button so you can switch without leaving the frame. The GR III gives you four options.
Multi-Segment — the default, and the compromise
The camera divides the frame into zones, reads them all, and picks an exposure that averages out sensibly. On an evenly lit scene it's excellent and you should leave it alone.
Where it fails is contrast. Point it at a subject standing in a bright pool of light surrounded by deep shade, and Multi-Segment splits the difference — it brightens the shadows you wanted black and clips the highlight you wanted to keep. The scene's drama is exactly the thing it's engineered to remove.
Keep it for overcast days, interiors with soft light, and general travel shooting where you're not chasing a specific quality of light.
Center-Weighted — predictable, and underrated
Reads the whole frame but weights the middle heavily. It ignores where your focus point is, which sounds like a limitation and is actually the point: it behaves the same way every single time.
That consistency is why a lot of experienced GR III shooters live here. After a week you develop an instinct for how much compensation a given scene needs, because the camera isn't quietly changing its mind based on what it thinks the subject is. For zone focusing and snap focus work — where you're not placing an AF point anyway — Center-Weighted is the honest choice.
Spot — precise, demanding, occasionally essential
Meters roughly the central 2% of the frame and ignores everything else. Point it at a face and the face will be correctly exposed no matter what the background does.
The catch is that Spot is only as good as your aim, and it takes a lot of light out of the equation. In practice it's a tool for specific problems: a backlit portrait, a performer under a stage light, a subject in a window of sun on an otherwise dark street. Meter the thing that matters, hit AE-L to lock it, recompose, shoot.
Pro tip: Spot metering is far more useful once you turn on Link AE and AF Point (MENU > A1). With it enabled, the metering point follows your focus point instead of staying nailed to the centre, which means you can meter off-centre subjects without the lock-and-recompose dance. It's one of the highest-value toggles in the GR III menu and it ships off.
Highlight-Weighted — the one nobody uses and everybody should
This is the mode that earns its place on the Ricoh GR III. Highlight-Weighted metering finds the brightest significant area in the frame and exposes to protect it, letting everything else fall where it falls.
The result looks "wrong" on the rear screen — dark, moody, shadows crushed. It is also, almost always, the more recoverable file and the more truthful photograph. Highlights that clip are gone permanently; shadows on this sensor hold a genuinely surprising amount of detail, particularly at lower ISO values.
Use it for: hard side light, silhouettes, neon and stage lighting, harsh midday sun, anything shot into the light. If you shoot high-contrast street, this should probably be your default rather than your exception.
Exposure Compensation Is the Dial You Should Be Touching Constantly
Whatever mode you pick, the meter is a machine trying to make everything average out to middle grey. Exposure compensation is how you tell it you meant something else.
The Ricoh GR III gives you ±5 EV in 1/3-stop steps — a wider range than most cameras, and worth having. The fast way in: hold the +/− button and turn the rear dial, or assign compensation directly to the front dial in MENU > C2 > Dial Function so it's a single thumb roll with the camera at your eye.
Set it to the front dial. Compensation you have to think about is compensation you won't apply.
The rules are unglamorous and they work:
- Snow, sand, white walls, bright fog → +0.7 to +1.3 EV. The meter sees a bright scene and darkens it to grey. Snow needs to be white.
- Night streets, dark interiors, black clothing → −0.7 to −1.3 EV. The meter lifts darkness to grey and destroys the mood. Let dark be dark.
- Backlit subject, Multi-Segment metering → +1 to +2 EV, or switch to Spot.
- Preserving a highlight you care about → −1 EV, or let Highlight-Weighted do it for you.
Pro tip: exposure compensation persists when you turn the camera off. More GR III frames have been ruined by yesterday's −1.7 EV than by any metering mode. Glance at the display before your first shot of the day — the value sits bottom-right, and it is very easy to stop seeing it.
Building It Into a Setup You Don't Have to Think About
The point of all this is to stop making exposure decisions in the street. Two configurations cover most shooting, and both slot neatly into the U1/U2/U3 user modes.
Hard light / high contrast Highlight-Weighted metering, −0.3 EV, Av at f/5.6, Auto ISO capped at 1600. The camera protects the highlight, you protect the shadow, and the light does the composition for you. Pair it with a high-contrast rendering — Dramatic Monochrome treats crushed shadows as structure rather than as loss, and Kodak Chrome holds saturation in the midtones while the darks fall away.
Everything else Center-Weighted, 0 EV, front dial assigned to compensation, minimum shutter 1/125s. Neutral, predictable, and correctable in a quarter-second when the scene demands it. Portra 160 sits beautifully on well-exposed midtones here.
One more thing worth knowing: if you shoot RAW alongside JPEG, metering choice becomes a choice about which file you're protecting. Highlight-Weighted gives you a RAW with everything still in it. If you're a JPEG-only shooter — and with a good recipe loaded, you reasonably might be — your exposure at the moment of the shutter is the finished photograph, which makes getting the metering right considerably more than a technicality.
The Short Version
Turn on Link AE and AF Point. Put exposure compensation on the front dial. Use Highlight-Weighted when the light is hard, Center-Weighted when it isn't, and Spot only when you have a specific subject to meter. Check your compensation value before the first frame of the day.
The Ricoh GR III is a camera built around not deliberating, and a metering setup you trust is what makes that possible in difficult light — the difference between a camera that averages the world and one that renders it the way you saw it.
If you want the rendering handled in-camera too, browse the full collection of Ricoh GR III presets, or start with Dramatic Monochrome for high-contrast light and Ilford HP5 B&W for something grainier. Bundles are here, and the guide to applying presets covers loading one into a user mode alongside these metering settings.