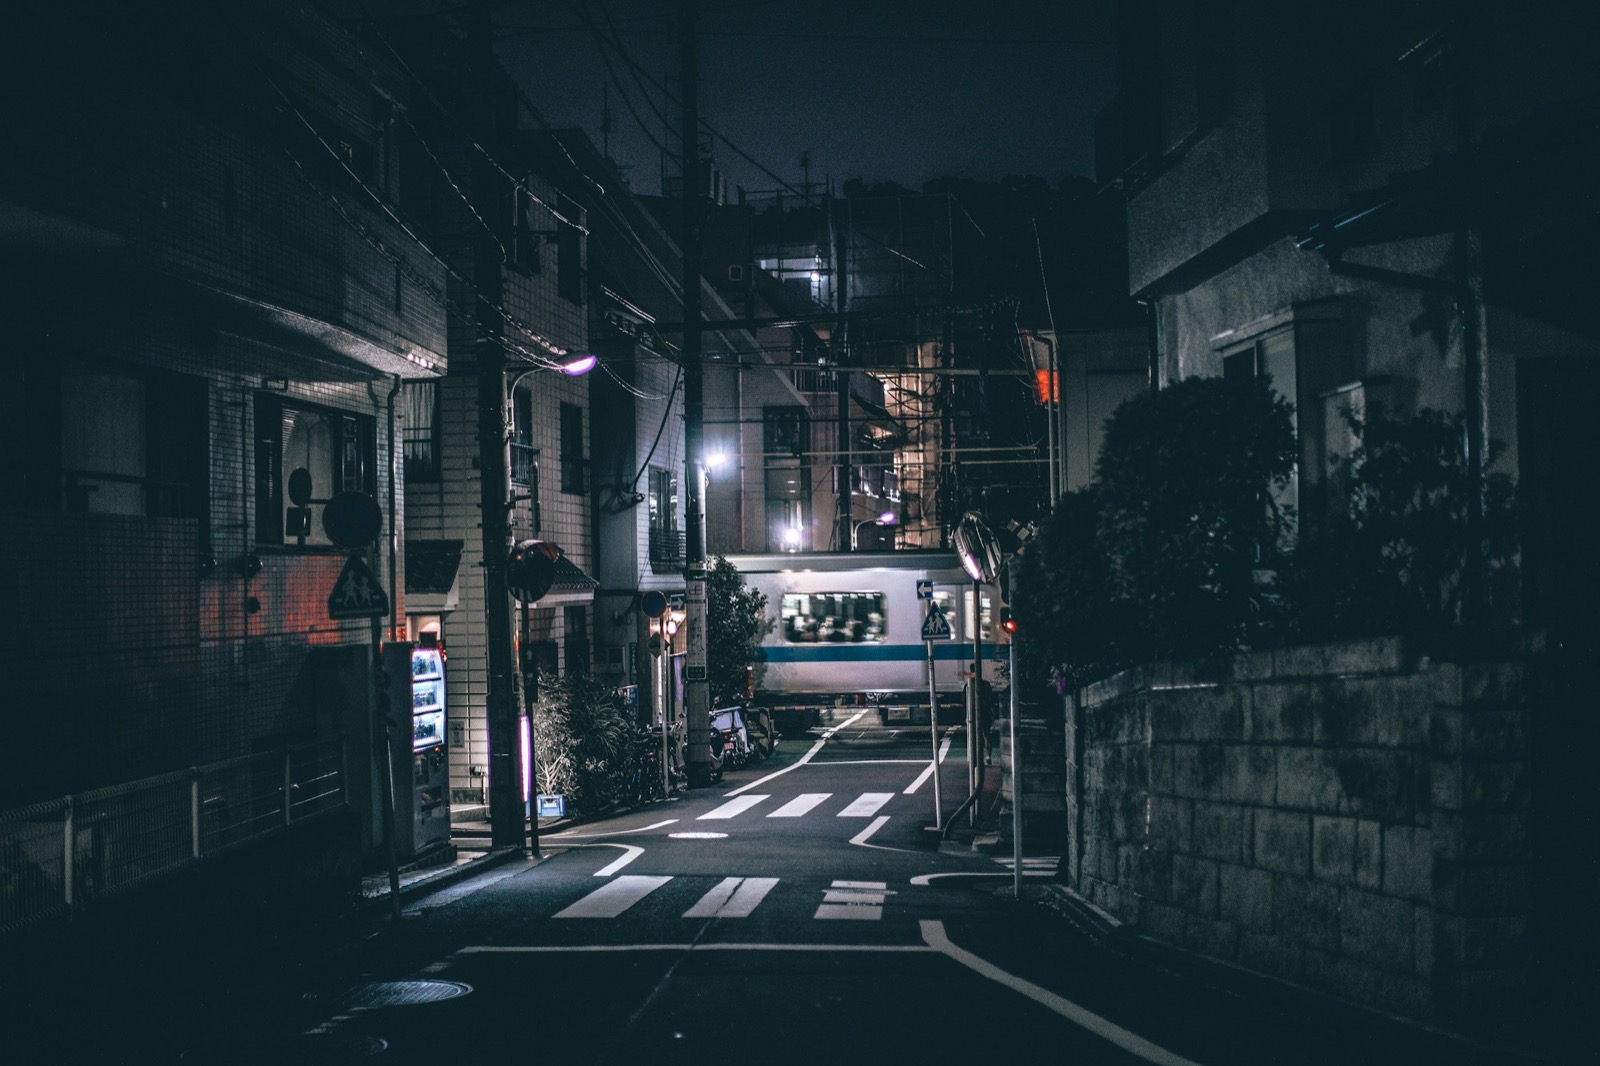
Tokyo Street Photography with the Ricoh GR III: Settings, Neighbourhoods and Recipes
Tokyo will overwhelm a camera and it will overwhelm you. The light changes every twenty metres — daylight to fluorescent convenience store to orange sodium alley to a wall of LED signage, sometimes all inside a single frame. The streets are narrow, the crowds are dense, and the moment you stop to change a setting is the moment the frame closes.
This is exactly the environment the Ricoh GR III was designed around. A 28mm equivalent lens that sees roughly what your eyes see, a body that disappears into a jacket pocket, and a snap focus system that fires with no autofocus lag at all. There is a reason you see so many GRs in Shibuya.
But the default settings will let you down here. Tokyo demands a specific configuration. Here's the one that works.
The Core Tokyo Setup
Build this into U1 so it's one dial click away (see the U1/U2/U3 user modes guide if you haven't set them up yet).
- Mode: Av
- Aperture: f/8 in daylight, f/2.8 after dark
- Focus: Snap, set to 2.5m
- Auto ISO: 100–3200, minimum shutter 1/250s
- Metering: Highlight-Weighted
- Exposure compensation: −0.3 EV
- Image Control: whichever recipe you're running that day
The two numbers that matter most are the snap distance and the minimum shutter speed.
2.5m is the Tokyo distance. Tokyo pavements are narrow. Your subject is usually closer than you think — a person crossing at Sukiyabashi, a shopkeeper in a doorway, a salaryman under an awning. At f/8, snap focus at 2.5m gives you a depth of field running from roughly 1.5m out past 6m. Everything in that band is sharp and the camera never hunts. If you're shooting wider avenues like Omotesando, push snap to 5m. The snap focus and zone focusing guide has the full breakdown.
1/250s is not negotiable. Tokyo pedestrians move fast and you'll be walking while you shoot. 1/125s looks fine on the rear screen and falls apart at 100% on a laptop. The GR III's sensor handles ISO 3200 well enough that trading a stop of noise for a stop of sharpness is always the right call.
The Light Changes by Neighbourhood — So Should Your Recipe
Tokyo isn't one photographic city. It's about six, and each has its own colour problem.
Shibuya and Shinjuku after dark
This is the postcard Tokyo: saturated LED signage, wet asphalt, mixed tungsten and white-balance chaos. Auto white balance will fight you all night, swinging wildly as signage dominates the frame. Lock it. Use CTE to lean into the colour cast, or a manual Kelvin around 3800K if you want the cyan-shadow, warm-highlight separation that reads as cinematic. The white balance guide goes deeper.
For the rendering, Indigo Film 800 is built exactly for this — a tungsten-balanced night look that keeps the blues cold and the neon warm instead of letting everything collapse into magenta soup.
Settings: f/2.8, ISO up to 6400, snap off, AF on with the centre point. At night in a crowd you want the accuracy more than the speed.
Golden Gai, Omoide Yokocho and the back alleys
Tiny, lantern-lit, two metres wide. This is where the GR III's size stops being a convenience and becomes the only reason the photograph exists — nobody reacts to it.
Go wide open at f/2.8, snap focus to 1.5m, and let ISO run to 6400. Shoot from chest height rather than raising the camera. The GR III's leaf-quiet shutter means you can work a doorway for a minute without anybody noticing.
The colour here is warm and low. Nostalgic Negative Film V2 holds the lantern warmth without pushing it into orange, and the lifted shadows suit a place where the darkness is part of the atmosphere.
Daytime Ginza, Marunouchi and the business districts
Hard geometry, glass, reflections, harsh reflected light bouncing off towers. Stop down to f/8, drop ISO to 100, and shoot into the light rather than with it — the shadow-and-light approach is what makes these frames rather than snapshots.
This is black and white territory. Dramatic Monochrome treats the crushed shadows between buildings as structure, which is precisely what they are.
Shitamachi — Yanaka, Nezu, Kagurazaka
The old low city. Slower, lower, warmer, more human. Residential streets, cats, bicycles, laundry, temple walls. Shoot this at f/5.6 with snap at 2.5m and let the pace drop.
Classic Chrome is the right register — muted, unhurried, documentary. Everything about Shitamachi resists saturation.
Trains, stations and the Yamanote loop
Shinjuku station moves 3.5 million people a day. Bring 1/500s minimum, Auto ISO to 6400, and Highlight-Weighted metering to survive the fluorescent ceilings. Our subway and metro settings guide covers the platform-level technique.
Three Things That Will Save Your Trip
Pro tip: turn the AF assist lamp off. MENU > A2 > AF Assist Light > Off. That little green beam is the single most conspicuous thing your GR III does, and in a quiet Tokyo alley at night it announces you from ten metres away. You lose almost nothing with snap focus engaged, and you gain invisibility — which in a country where street photography depends entirely on not disturbing anyone is the whole ballgame.
Carry three batteries, minimum. The GR III runs down fast and Tokyo days are long — you will genuinely shoot from 9am to midnight. Charging over USB-C from a power bank while you're on the Yamanote line between neighbourhoods is the move. More on stretching them in the battery life guide.
Know the etiquette. Photographing people in public is legal in Japan, but publishing identifiable faces without consent sits in murkier territory, and cultural expectations are stricter than in most of Europe or the US. Don't photograph inside shrines where it's marked, don't shoot children, don't photograph in or from train carriages pointed at passengers, and if someone gestures no, delete it and bow. The GR III is discreet enough that you'll rarely be noticed — which makes restraint your responsibility rather than the camera's.
Shoot JPEG, But Shoot RAW Too
Tokyo's mixed lighting is the one situation where even committed JPEG shooters should turn on RAW+JPEG. You'll get the finished recipe look immediately for the frames that work, and a recoverable file for the neon frames where the white balance went somewhere unexpected. The RAW vs JPEG breakdown explains the tradeoff, but in Tokyo specifically the card space is worth it.
The Short Version
- Snap focus 2.5m, f/8, 1/250s minimum for daytime streets
- f/2.8, ISO 6400, AF centre point, locked white balance after dark
- Highlight-Weighted metering at −0.3 EV everywhere — Tokyo's signage will blow out otherwise
- AF assist lamp off, always
- One recipe per neighbourhood, loaded into U1/U2/U3 before you leave the hotel
The Ricoh GR III doesn't make Tokyo easier. It makes you faster, quieter and less visible, which in a city this dense is the same thing as making you better.
If you want the looks above ready to load rather than dialled in on a hotel bed at 1am, our full preset collection covers night, daylight and monochrome Tokyo in recipes you can copy straight into the camera.