Ricoh GR III Interval Shooting and Interval Composite: Star Trails, Light Trails and Time-Lapse
Most GR III owners never find these two modes, because Ricoh filed them somewhere nobody looks: Drive Mode. You go hunting for a time-lapse menu, find nothing, and conclude the camera can't do it.
It can. Interval Shooting and Interval Composite sit in the same list as Self-timer and Continuous Shooting, and between them they cover star trails, traffic light trails, blooming city lights at dusk, and time-lapse sequences — all from a camera that fits in a jacket pocket and doesn't need a single accessory beyond a tripod.
They're also two genuinely different tools that get confused constantly. Here's what each one actually does, and the handful of behaviours that will ruin a run if you don't know about them in advance.
The One-Line Difference
Interval Shooting takes a series of separate photos at a time gap you choose. You get a folder of individual frames. Nothing is merged. This is your time-lapse mode, and your unattended-shooting mode.
Interval Composite takes frames continuously and merges them into one image, keeping only the bright areas from each frame. You get one accumulating photograph. This is your star trail and light trail mode.
If you want motion over time, Interval Shooting. If you want accumulated light in a single frame, Interval Composite. They're not variants of each other.
Interval Shooting: The Settings Screen
MENU > Drive > Interval Shooting, then press the right arrow for the detail screen. Four parameters:
- Interval — from the minimum time up to 60 minutes
- Number of Shots — 2 to 99, or unlimited
- Start Interval —
NoworSet Time - Start Time — the clock time, when Start Interval is set to
Set Time
Four things worth knowing before you set a run going.
The 99-shot limit is the trap. Ninety-nine frames at 24fps is four seconds of video. If you're shooting a time-lapse, set Number of Shots to unlimited and stop the run yourself with the playback button. The finite count is for documentation work — photographing a build, a plant, a slow-changing sky — not for movie output.
Your interval is a floor, not a promise. Ricoh states it plainly in the manual: depending on your shooting settings, the gap until the next frame may be longer than the interval you set. Long exposures, in-camera noise reduction, and slow cards all stretch it. If you need exactly 5 seconds between frames, set 5 and verify against the timestamps of the first ten files — don't assume.
Short intervals reuse the first exposure. When the gap is very short, the camera may apply the first frame's exposure to every subsequent frame. Sometimes that's a gift — it removes the flicker you'd otherwise get from frame-to-frame metering drift. Sometimes it's a disaster, because the light was changing and the camera stopped following it.
Touching the exposure mode cancels everything. Changing the mode dial or powering off ends the run. So does the battery dying, which is the usual failure. Ricoh explicitly recommends a full battery or the optional AC adapter (D-AC166) for interval work — and remember that Auto Power Off is suspended during interval shooting, so the camera has no power-saving fallback while it waits.
Each run creates its own folder on the card, which makes assembly afterwards painless.
Interval Composite: The Star Trail Mode
MENU > Drive > Interval Composite. This one has a different shape, and the differences matter.
- Shooting Period — from 10 minutes to 24 hours, or unlimited
- Start Interval —
NoworSet Time - Start Time — as above
- Save Interim Images — whether to also keep the unprocessed frames and the in-progress merges
There is no interval setting, and that's deliberate. The camera shoots at the shortest interval it can manage, because any gap between frames shows up as a gap in your star trail. Ricoh removed the parameter rather than let people accidentally produce dashed lines. You choose how long to run, not how often to fire.
The critical part: everything is locked from the first frame
This is the single most important fact about Interval Composite, and it's the reason most people's first attempt fails:
- ISO, shutter speed and aperture are fixed at the first frame when ISO AUTO is set
- White balance is fixed at the first frame when Auto White Balance is set
- Autofocus does not run from the second frame onward
- Slow Shutter Speed NR and Shake Reduction are forced Off for the duration
So the workflow is: mount the tripod, compose, set exposure and focus and white balance manually, take a test shot, look at it properly, and only then start the composite. Whatever that test frame looked like is what the next two hours will look like. There is no correcting it mid-run.
Set white balance to a fixed Kelvin value rather than Auto — around 4000K is a sane starting point for a night sky, and the white balance guide covers how to dial it for sodium-lit urban scenes. Focus manually to infinity and leave it.
Starting values
For star trails, a widely used GR III baseline is ISO 200, f/2.8, 4 seconds, WB 4000K, with the AA Filter Simulator on High to suppress the stepping you can get on fine point sources. Run it for an hour and you'll have visible arcs; run it for three and you'll have the classic circles. The astrophotography guide covers the dark-sky side of this in depth.
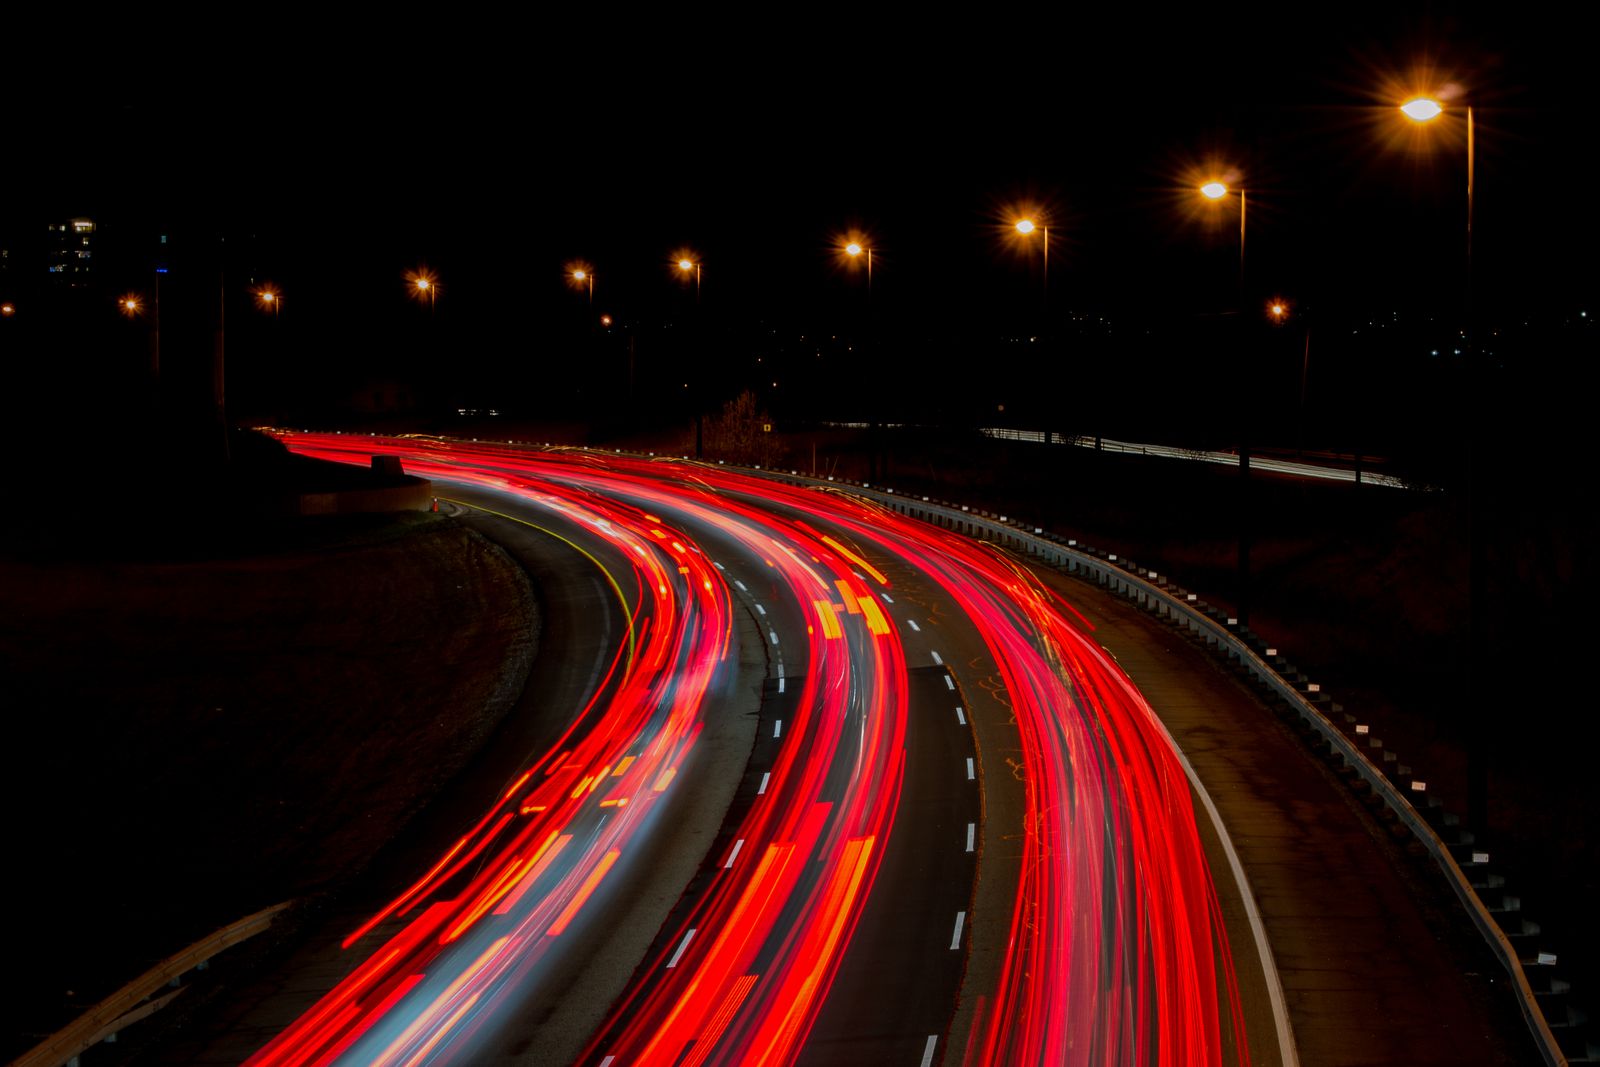
For traffic light trails, you're working at a fraction of that: ISO 200, f/8, 2–4 seconds from an overpass at the end of blue hour, running the composite for ten to twenty minutes. Because the merge keeps only bright areas, the road surface stays dark and clean while the trails pile up — which is exactly what makes the composite result better than one enormous single exposure, where the road would blow out long before the trails accumulated.
Controls during the run
- Half-press the shutter to preview the merge so far without interrupting anything
- Full-press the shutter to bank what you have as a finished image and immediately start a new composite from the next frame
- Press the playback button to cancel — note that the frame being exposed at that instant is discarded
That full-press behaviour is more useful than it sounds. Working a busy intersection, you can bank a version every five minutes and pick the best density later rather than gambling everything on one forty-minute run.
Save Interim Images costs you nothing meaningful in battery and gives you the raw frames to re-stack in software if the in-camera merge goes too far. Turn it on for anything you care about.
Turning Interval Frames into a Time-Lapse
The GR III has no in-camera interval movie mode — there is no setting that spits out an MP4. You shoot frames and assemble them afterwards. One ffmpeg line does it:
ffmpeg -framerate 24 -pattern_type glob -i '*.JPG' \
  -s 1920x1080 -c:v libx264 -crf 18 -pix_fmt yuv420p timelapse.mp4
The arithmetic that decides your interval: seconds of footage × frame rate × interval = shooting time. Ten seconds of 24fps video is 240 frames. At a 4-second interval that's 16 minutes on the tripod. At a 30-second interval — right for clouds or a sunset — it's two hours, and now battery is the binding constraint rather than patience. Real-world interval composite runs on a fresh battery land around two and a half hours, and straight interval shooting is comparable.
Two habits that make the difference between usable and unusable sequences: shoot in fixed exposure mode (M or TAv) rather than letting Auto ISO re-meter every frame, because frame-to-frame metering drift produces flicker that's tedious to fix afterwards; and lock focus to Snap or MF before you start, so the camera isn't re-acquiring a slightly different plane every few seconds.
What Usually Goes Wrong
- Auto everything. Auto ISO plus Auto WB plus AF equals a sequence that shimmers. Lock all three.
- Cold batteries. Interval runs are a winter activity by nature. Keep the spare in an inside pocket — the battery guide has the rest.
- Touching the camera. No Shake Reduction during Interval Composite means a nudge at minute forty puts a kink in every trail. Use the 2-second self-timer for the first frame, or the optional CA-3 cable switch.
- Starting too late. Begin the composite while there's still a trace of blue in the sky. A pure-black background with bright trails reads as a screensaver; a deep blue one reads as a photograph.
- Expecting 99 frames to be a time-lapse. Set the count to unlimited and stop it manually.
The Short Version
- Both modes live in Drive Mode, not in a time-lapse menu
- Interval Shooting: separate frames, interval up to 60 min, 2–99 shots or unlimited — use unlimited for time-lapse
- Interval Composite: merged frames keeping bright areas, 10 min to 24 hours, no interval setting by design
- Composite locks ISO, shutter, aperture, white balance and focus at the first frame — get the test shot right
- Slow Shutter Speed NR and Shake Reduction are off during composite; use a tripod and a self-timer start
- Half-press to preview, full-press to bank and restart, playback button to cancel
- No in-camera movie output — assemble the folder with
ffmpeg
Interval work is the one GR III use case where the camera sits still, which makes the colour rendering matter more than usual — you have one look for the whole run and no chance to change your mind. Indigo Film 800 holds the cool blues of a night sky without going grey, and Classic Chrome keeps sodium-lit streets from turning orange-yellow across a two-hour sequence.
If you'd rather have the looks already loaded into U1, U2 and U3 before you set up the tripod, our full preset collection has night, blue-hour and monochrome recipes you can copy straight into the camera.