Ricoh GR III Sensor Dust: How to Check, Prevent and Fix It
Every camera has a signature complaint. For the Ricoh GR III it's dust — soft grey blobs that appear in the sky of an otherwise perfect frame, always in the same spot, and never quite where you can ignore them.
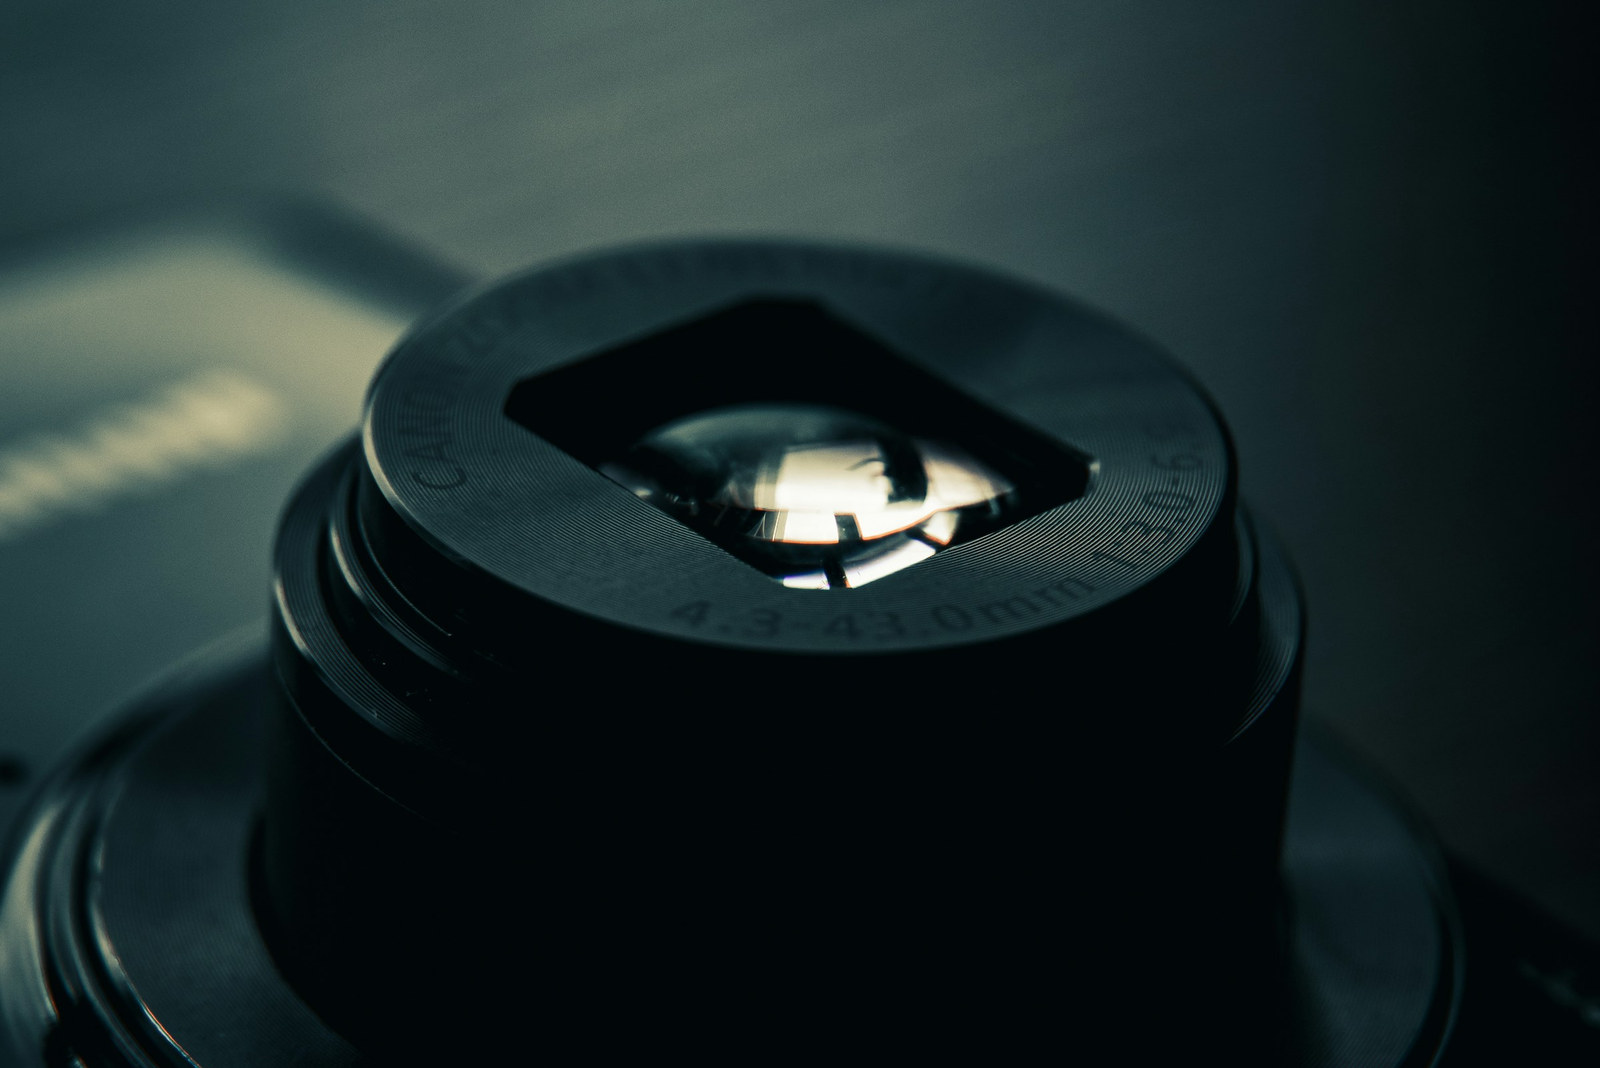
The reason it happens is baked into the design. When you switch a GR III on, the lens assembly extends. When you switch it off, it retracts. That's a small bellows moving air in and out of the body several times a day, and the sensor sits directly behind it in a body with no weather sealing and almost no internal volume to trap particles before they arrive. It isn't a manufacturing defect. It's the cost of a 28mm f/2.8 lens that disappears into a camera you can put in a jacket pocket.
The good news: it's more manageable than the forum threads suggest, and the difference between an owner who deals with it and one who ends up paying for a service is mostly a matter of knowing three things. This guide covers all three — how to test for it properly, what actually prevents it, and what your real options are once you have it.
First, Test Properly
Most people diagnose GR III dust by squinting at a photo of a cloudy sky. That tells you almost nothing. Here's the test that gives you a definitive answer in about a minute:
- Point the camera at a plain, evenly lit white surface — a wall, a sheet of paper, a laptop screen showing a blank white document.
- Set the aperture to f/16 (the GR III's minimum) in Av or M mode.
- Turn Macro mode on. This is the step everyone skips, and it's the important one — focusing close throws the wall itself completely out of focus, so any texture in the wall disappears and only dust remains sharp.
- Take the shot. Fill the frame; don't worry about focus lock.
- Review it at 100% on a screen, and push the contrast hard if you're editing.
Every particle on the sensor will show up as a distinct soft-edged dark spot. Do the same test at f/2.8 and most of them will vanish. That comparison is the whole story of GR III dust: it's an aperture problem before it's a cleanliness problem.
Small apertures make the light hitting the sensor more collimated, so a particle sitting a fraction of a millimetre in front of the sensor casts a small, hard shadow. Wide open, the same particle is smeared across a wide enough area to be invisible. This is why one GR III owner shoots for three years and never sees a spot while another finds them constantly — the first shoots street at f/2.8–f/5.6, the second shoots architecture and landscapes at f/8–f/16 against smooth skies.
Pro tip: run this test the day you buy the camera, used or new, and keep the file. It's your baseline. Without it you can't tell whether the spots you find next spring are new or whether they shipped with the camera.
Dust or Hot Pixels? They're Different Problems
Before you go any further, make sure you're diagnosing the right fault. These look similar in a thumbnail and have completely different fixes.
| Sensor dust | Hot / stuck pixels | |
|---|---|---|
| Appearance | Soft-edged dark blob, irregular shape | Single hard bright dot (often coloured) |
| Worst at | Small apertures (f/11–f/16) | Long exposures, high ISO |
| Position | Fixed across all frames | Fixed across all frames |
| Fix | Cleaning | Pixel Mapping |
If you're seeing bright specks after long exposures or astro work, that's not dust — that's sensor pixels misbehaving, and the GR III can fix it itself. Go to MENU > E9 (Sensor Maintenance) > Pixel Mapping. It takes around 30 seconds and Ricoh specifically warns you to run it on a full battery, since interrupting it partway is not something you want to do. It's worth running once a year regardless.
Use the Camera's Own Dust Removal — and Know Its Limits
The GR III has a real sensor-cleaning system. Ricoh calls it DR II, and it works by vibrating the sensor with ultrasonic pulses, using the same 3-axis sensor-shift unit that provides Shake Reduction. It's the first thing Ricoh's own troubleshooting section points you to when dust appears in images.
You'll find it at MENU > E9 (Sensor Maintenance) > Dust Removal, and there are three separate controls worth understanding:
- Execute Dust Removal — runs a cleaning cycle right now.
- Startup Action: On / Off — cleans every time you power on.
- Shutdown Action: On / Off — cleans every time you power off.
Both are off by default, which is the single easiest thing to fix on a new GR III.
Here's the recommendation, and it's deliberately asymmetric: turn Shutdown Action on and leave Startup Action off. The GR III's roughly one-second startup is one of the best things about the camera, and adding a cleaning cycle to it works directly against the reason you carry it. Shutdown Action costs you nothing you care about — the camera is already going in your pocket — and gets you a cleaning cycle every single session.
Now the limit, which matters. Sensor shake only helps dust that's on the sensor. In the GR III's optical path there's also a hot mirror in front of the sensor and a built-in ND filter, and particles land on those surfaces too — this is why some owners run Dust Removal a dozen times and nothing changes. If a spot survives repeated cycles, it almost certainly isn't sitting on the part that vibrates, and no amount of button-pressing will move it. (If you use the ND filter regularly, our ND filter guide covers when it engages.)
Prevention: What Actually Works
Once dust is inside a GR III, your options get expensive. Everything upstream of that is cheap.
The GA-1 adapter plus a clear filter. This is the only prevention measure that addresses the actual mechanism rather than the symptoms. The GA-1 ring screws onto the lens collar and gives you a 49mm filter thread; a plain clear or UV filter then closes off the front of the lens assembly. Air still moves as the lens extends, but it's no longer drawing directly from open air. Owners who've fitted one consistently report the rate of new spots dropping sharply. It's the first item in our accessories guide for exactly this reason. The trade-off is honest: the camera stops being genuinely pocketable, and you've added a glass surface that needs wiping.
Stop power-cycling in bad conditions. Every on/off cycle is one pump of the bellows. In desert wind, on a beach, at a dusty festival — the habit of switching off between shots is the worst thing you can do.
Use Sleep Mode instead. Both settings live at MENU > E7 (Power Supply Settings), and the distinction between them is the point:
- Sleep Mode (1, 3, 5, 10, 30 min or Off) turns the monitor off but leaves the camera on — status lamp lit, lens extended, instant wake.
- Auto Power Off actually powers the camera down, which retracts the lens. That's a full bellows cycle you didn't choose.
So for a dusty session: set Sleep Mode to 3 or 5 minutes and push Auto Power Off out to a long interval or Off. You get the battery savings without pumping air through the barrel every ten minutes. Power down properly once you're somewhere clean.
Store it in something. Ricoh's own advice, despite the camera being designed to go in a pocket: keep it in a case or pouch. A jacket pocket is a bag of lint and grit with a camera in it. A cheap neoprene sleeve plus a silica gel packet costs almost nothing.
Blow the exterior, never the barrel. A rocket blower is genuinely useful on the body seams, the control dial and the front element. Do not blow air into a retracted lens assembly — you're pushing particles further in, toward the part you can't reach. And never use canned compressed air on any of it: the propellant can spray freezing liquid residue onto glass and coatings.
Pro tip: if you shoot in a dusty environment on purpose, put a small-aperture-free version of your setup in a user mode. Capping Auto ISO's aperture at f/5.6 for a desert trip means that even if you pick up dust that week, it won't be visible in anything you shot.
If You Already Have It: Three Real Options
1. Retouch it and move on. This is the correct answer far more often than photographers want to admit. Dust spots sit in a fixed position, which makes them the easiest possible retouching job — one click with a healing or spot-removal tool, and in Lightroom you can sync that correction across an entire import in seconds. If you have two spots and shoot mostly at f/5.6, you have a two-second problem, not a repair bill. Note that this applies whichever format you shoot: dust is optical, so it's baked into JPEGs and DNGs alike (more on that trade-off here).
2. Send it to Ricoh's service partner. The honest position on cost: get a quote before you commit, because reported prices vary wildly. Ricoh states plainly that sensor dust and the cleaning it requires are not covered by warranty and will be charged by their service partner. Owners have reported bills as low as around $84 plus roughly $30 shipping, while others have been quoted several hundred dollars for what sounds like the same job. Same camera, same complaint, very different numbers — so ask first, and if the quote is high, ask what specifically is being replaced. This is also the only route that can reach dust on the hot mirror or the ND filter without risk.
3. Open it yourself. Detailed teardown guides exist, and the job is not conceptually difficult: a PH00 screwdriver, the top plate and back case off, then a rocket blower on the exposed sensor and lens. People do it successfully in under an hour. Be clear-eyed about the trade: it voids your warranty, there are ribbon cables in there that do not enjoy being handled, and if you damage something the repair costs more than the cleaning would have. If you've never taken a camera apart, this is not the camera to learn on.
What Not to Worry About
Two things worth putting in perspective.
The issue is not universal. Plenty of GR III owners go years without a visible spot. Forums systematically over-represent problems, because nobody posts a thread to report that their camera is fine. If you're reading this before buying, dust is a real consideration — not a reason to skip the camera.
A few spots do not mean your camera is failing. A GR III with three dust particles and a good recipe loaded still makes better photographs than a spotless camera left at home. Run the f/16 test twice a year so you know where you stand, turn Shutdown Action on, and get on with shooting.
The Five-Minute Checklist
Do this once and you've handled most of what's in this article:
- Run the f/16 + Macro white-wall test, save the file as your baseline
- MENU > E9 > Dust Removal > Shutdown Action: On
- Leave Startup Action: Off to protect the GR III's fast wake-up
- MENU > E7 — set Sleep Mode to 3–5 min and stretch Auto Power Off out
- Run Pixel Mapping once, on a full battery
- Order a GA-1 + 49mm clear filter if you shoot in dust, wind or at the coast
- Put the camera in a pouch, not a bare pocket
Final Thoughts
Sensor dust on the Ricoh GR III is a design trade-off, not a defect, and it responds well to being understood rather than worried about. The mechanism is the retracting lens; the visibility is controlled by your aperture; the camera's own cleaning cycle handles the sensor surface and nothing else; and the GA-1 is the one accessory that changes the odds.
Test it properly, turn on the setting Ricoh left off, stop switching the camera off in the wind, and spend the time you'd have spent worrying on shooting instead. Shopping second-hand? Run the same f/16 test before you pay, as our checklist for buying a used Ricoh GR III explains.
Ready to put a look on the card? Browse the full collection of Ricoh GR III presets, or start with Kodak Gold 200 for warm everyday frames and Ilford HP5 B&W for high-contrast monochrome. Bundles are here, and our guide to applying presets covers getting them onto the camera.
Get a free recipe + 15% off your first order
Our Natural Analog recipe (exact settings for the GR III, GR IIIx and GR IV) and a personal discount code, straight to your inbox.
No spam. Unsubscribe in one click.