Ricoh GR III ND Filter Explained: When to Use the Built-In 2-Stop ND
There's a small mechanical filter sitting inside your Ricoh GR III's lens assembly that most owners never deliberately use. It costs nothing, weighs nothing, adds no bulk, and solves two problems the camera genuinely has. And it lives three taps deep in a menu called ND Filter, set to Off from the factory.
This guide covers what the Ricoh GR III's built-in ND filter actually does, the specific hard limit in the camera that makes it necessary rather than optional, when Auto is the right answer, and the honest ceiling on what two stops can buy you.
What the Built-In ND Filter Actually Is
The Ricoh GR III has a 2 EV (two-stop) neutral density filter built into the lens barrel. It's a physical element that swings into the light path on command — not a software trick, not an electronic gain adjustment. It cuts the light reaching the sensor to one quarter, and it does so without shifting color.
You'll find it at MENU > Shooting Settings > ND Filter, with three options:
| Setting | Behavior |
|---|---|
| AUTO | Camera engages the ND when the scene is bright enough to need it |
| ON | ND always in the light path, −2 EV at all times |
| OFF | ND parked, full light to the sensor (factory default) |
Two things worth knowing that the manual doesn't spell out:
It's genuinely neutral. Cheap screw-on ND filters are notorious for dumping a green or magenta cast into your files, which is exactly the kind of thing that wrecks a carefully dialed-in film recipe. The GR III's internal filter is spectrally clean, so your white balance and your Image Control settings behave the same with it in or out. This matters more than it sounds if you shoot JPEG.
"2-stop" is not "ND2." Filter naming trips people up constantly. Two stops of light reduction is a filter factor of 4 — an ND4 in the conventional naming scheme, or ND0.6 in optical density. If you go shopping for an external filter to stack on top, "ND2" will get you one stop, not two.
The Real Reason It Exists: The f/2.8 Shutter Ceiling
Here's the part that turns the ND filter from a nice-to-have into a genuinely necessary feature, and it's buried in the spec sheet.
The Ricoh GR III's leaf shutter tops out at 1/4000 sec — but only at f/5.6 or smaller. Wide open at f/2.8, the maximum shutter speed is 1/2500 sec.
Now run the numbers on a bright sunny day. Sunny-16 says ISO 100 at f/16 needs about 1/100 sec. Open up five stops to f/2.8 and you need 1/3200 sec. The camera can only give you 1/2500. There is no lower ISO to fall back on — ISO 100 is the floor.
| Scene | Needed at f/2.8, ISO 100 | GR III can deliver | Result |
|---|---|---|---|
| Bright sun, no ND | 1/3200 | 1/2500 | ~⅓ stop overexposed |
| Snow or beach, no ND | 1/6400 | 1/2500 | ~1⅓ stops overexposed |
| Bright sun, ND on | 1/800 | 1/800 | Correct |
| Snow or beach, ND on | 1/1600 | 1/1600 | Correct |
So without the ND filter, f/2.8 is simply not usable at ISO 100 in bright sunlight. The camera will either blow your highlights or quietly stop itself down in Av mode without telling you why. With the ND engaged, f/2.8 in full sun lands comfortably mid-range at 1/800.
Pro tip: this is the single strongest argument for leaving the ND filter on AUTO and forgetting about it. On Auto, the camera reaches for the filter precisely when the exposure it wants would otherwise run past the shutter ceiling — and leaves it parked when you're indoors and need every photon. Set it once, and the whole clipping problem disappears from your life. The only reason to use ON instead is when you want a guaranteed two stops for a deliberate slow shutter, which we'll get to below.
Use Case 1: Shooting Wide Open in Daylight
The GR III's 18.3mm f/2.8 lens is not a bokeh machine — it's an APS-C sensor behind a 28mm-equivalent. But f/2.8 still does real work: it separates a subject from a background at close distances, it's the sharpest usable aperture for macro work, and it's the look you want for cinematic frames where you're deliberately softening the surroundings.
All of which is unavailable at midday without the ND filter. If you shoot Av mode at f/2.8 and wonder why your summer frames look flat and blown out in the highlights, this is the reason. Flip the ND on and the aperture you actually chose becomes the aperture you actually get. Our guide to shooting in harsh midday sun leans on this heavily.
Use Case 2: Slowing the Shutter for Motion
This is where honesty matters, because a lot of writing online implies two stops of ND will get you 30-second daylight exposures. It won't. Two stops is two stops.
Here's what the ND filter realistically buys you at f/8, ISO 100:
| Light | Shutter without ND | Shutter with ND |
|---|---|---|
| Open shade, overcast | 1/60 | 1/15 |
| Heavy overcast, forest canopy | 1/30 | 1/8 |
| Deep shade, late overcast | 1/15 | 1/4 |
| Dusk, well after sunset | 1/4 | 1 sec |
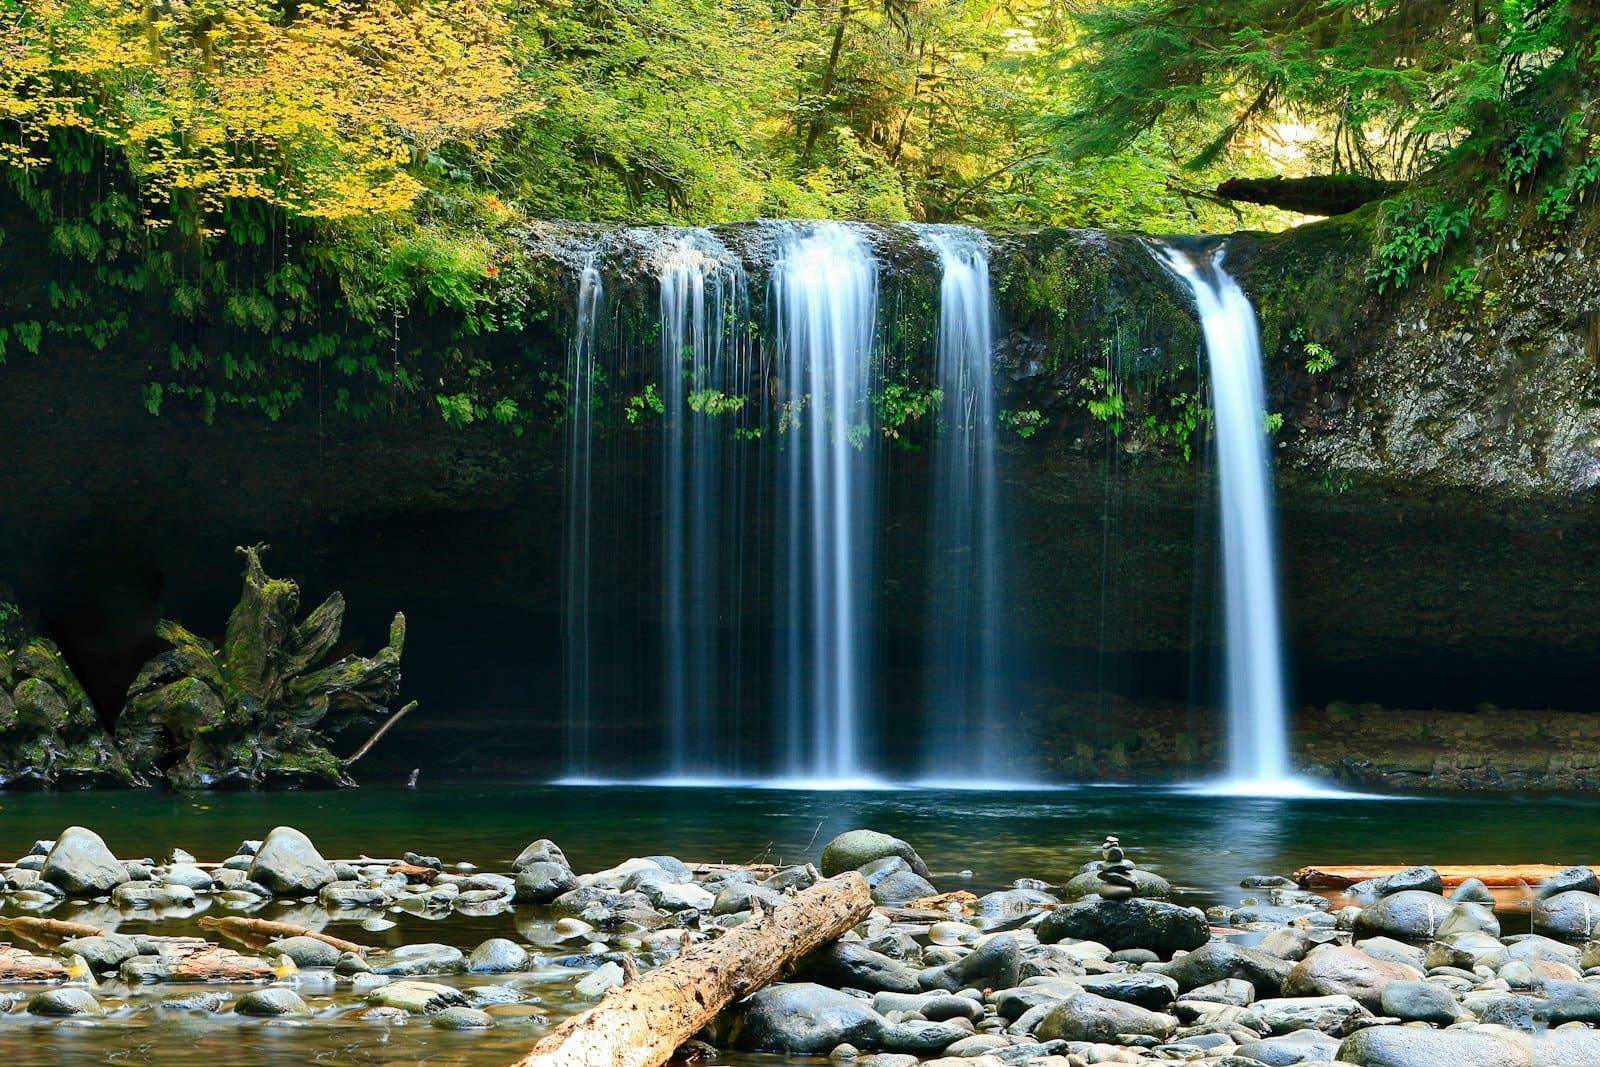
Read that table carefully, because the useful conclusion is specific: the ND filter is what makes flowing water blur in shade and overcast. A stream under a forest canopy at 1/8–1/4 sec is genuinely silky. That's exactly the shot our waterfall and river guide and forest photography guide are built around, and the built-in ND is what gets you there without carrying anything.
What it will not do is give you minute-long daylight cloud streaks. For that you need 6 or 10 stops, which means the GA-1 adapter and a 49mm screw-on filter — covered in our accessories guide. Our full long exposure guide walks through the tripod-and-external-ND version of this workflow.
Workflow tip: for motion work, use Tv mode with the ND set to ON, not Auto. Dial the shutter speed you want, let the camera pick the aperture, and set the ND manually so the two stops are guaranteed rather than at the camera's discretion. Add the 2-second self-timer to kill shutter-press shake. The GR III's 3-axis Shake Reduction will carry you handheld to roughly 1/8 sec on a good day, but anything slower wants a wall, a railing, or a tripod.
Use Case 3: Staying Out of the Diffraction Zone
The less obvious use. When you need a slow shutter in daylight, the instinct is to stop down to f/16. But on a 24-megapixel APS-C sensor, f/16 is well past the point where diffraction starts softening fine detail — you trade motion blur for a mushy frame.
The ND filter gives you the same two stops of exposure reduction that f/8 → f/16 would, while keeping the lens at f/5.6–f/8, where the GR III lens is at its sharpest. For landscape work where corner-to-corner detail is the whole point, this is the correct way to buy a slower shutter.
When to Turn It Off
The ND filter costs you two stops, and two stops is expensive in dim light — it's the difference between ISO 800 and ISO 3200. So:
- Indoors, at night, or in blue hour: Off, or trust Auto to stay parked.
- When you're chasing fast shutter speeds to freeze street or skateboarding motion: Off. You want every bit of light going toward 1/1000 sec.
- With flash: Off. You're already fighting for output.
This is the argument for Auto one more time. Left on ON, the ND will silently tax you two stops when you duck into a café — and a filter you have to remember to disable is a filter you'll eventually forget to disable.
Save It Into a User Mode
The ND filter setting is stored in the GR III's U1/U2/U3 user modes, so you never have to think about it again. A setup that works:
- U1 — Daylight street: Av f/5.6, ISO Auto (100–3200), ND Auto
- U2 — Slow water: Tv 1/8 sec, f/8, ISO 100, ND On, 2-sec self-timer
- U3 — Low light: Av f/2.8, ISO Auto (100–12800), ND Off
Our U1/U2/U3 setup guide covers the full process. It's also worth assigning ND Filter to the ADJ lever or an Fn button via MENU > Controls, so you can toggle it between frames without diving into menus — the same one-tap logic that makes Crop Mode actually useful.
A Note for HDF Owners
If you're shooting a GR III HDF or GR IIIx HDF, none of the above applies to you: those models replaced the ND filter mechanism with the Highlight Diffusion Filter. It's a different tool entirely — it blooms highlights for a soft, filmic glow rather than cutting light for exposure control. Standard GR III and GR IIIx bodies have the 2 EV ND; the HDF variants do not. Worth knowing before you buy, alongside the focal length question in our GR III vs GR IIIx comparison.
Final Thoughts
The Ricoh GR III's ND filter isn't an exotic feature — it's the fix for a real limitation of the camera, namely that f/2.8 and bright sunlight don't coexist at ISO 100. Set it to Auto and the clipping problem quietly goes away. Switch it to On deliberately when you want blurred water in the shade or a sharp aperture with a slow shutter. Turn it Off the moment light gets scarce.
Two stops isn't dramatic. But it's two stops you're carrying for free, in a camera that fits in your pocket. If you are weighing it against diffusion instead, our GR IIIx HDF vs standard guide explains exactly what you trade.
Getting the exposure right is half the job — the other half is the look. If you're shooting JPEG straight out of camera, browse our full collection of Ricoh GR III presets, or start with Kodak Slide for bright daylight landscapes and Indigo Film 800 for wide-open cinematic frames. Bundles are here.
Get a free recipe + 15% off your first order
Our Natural Analog recipe (exact settings for the GR III, GR IIIx and GR IV) and a personal discount code, straight to your inbox.
No spam. Unsubscribe in one click.